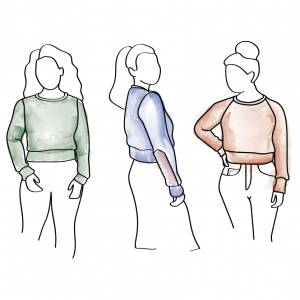
Cedar Sweater Raglan View Friends! Let’s sew this sweater up! Whether this is your first raglan style top or not, we will go through all the steps together and make a stylish and sporty Cedar Sweater Raglan. The methods you learn here can hopefully help you in your future knit garments too. So grab your cut out pattern pieces and your Cedar Sweater Instructions and let’s do this. If you’re looking for info on getting started before you start sewing, pop over to this intro article here.
If you are sewing the Crew View, check out the sewalong here!
If you don’t have the Cedar Sweater Pattern yet, shop for it here (instant download)!
-
 Cedar Sweater PDF Pattern$13.00
The sections of this article correspond to the steps of the Cedar Sweater Sewing Instructions booklet, starting on page 8.
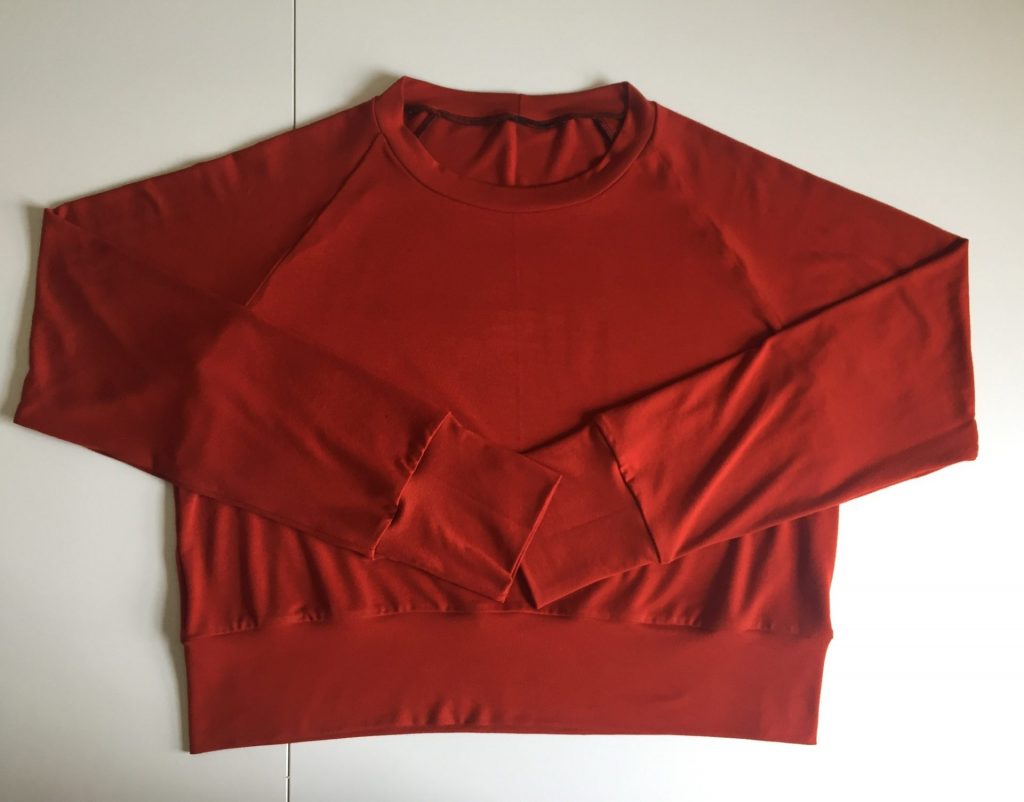
I’m sewing my Cedar Sweater Raglan View in size 8 in a burnt orange rayon knit fabric with my serger using black thread so you can clearly see the seams. You can of course use your sewing machine with a zig zag stitch. Use a narrow zig zag stitch for the constructions seams and then finish all the seams together with a wide zig zag stitch, encasing the seam allowances. This fabric is as lightweight as I would recommend for this pattern. I am omitting the elbow patches for this sweater, because the patches work best with heftier fabric.
Prepare Bands and Cuffs
Steps 1-3 start off with preparing the bands and cuffs of the sweater. It’s so nice to get these done right away and have them ready to go so the final steps later on are a breeze. If you are using a regular sewing machine, sew a narrow zig zag stitch, and finish the seam allowances together using a wide zig zag stitch over the raw edges. You can always plan to finish your seam allowances together in all future steps too! A helpful tip from a pattern tester is to pre-press the bands by folding them in half, long edges together (or un-notched edges of the cuffs together) and wrong sides of the fabric touching. Then unfold and follow steps 1-3 below. The pre-press will make Step 5 a breeze!
Cuffs 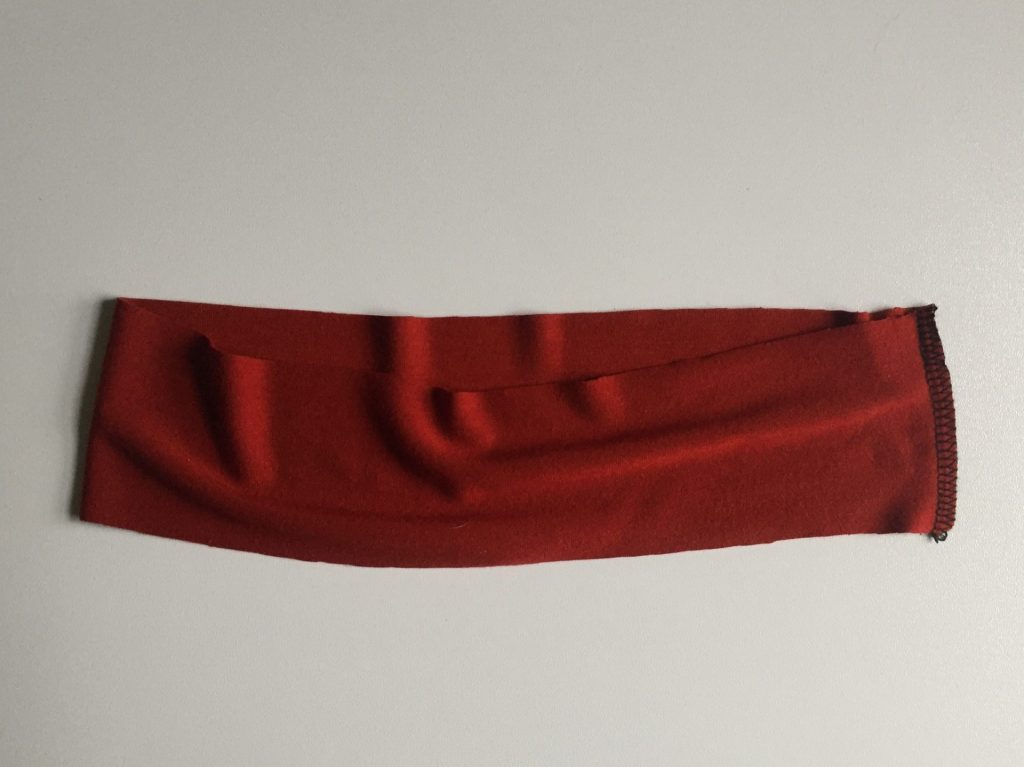
Neckband 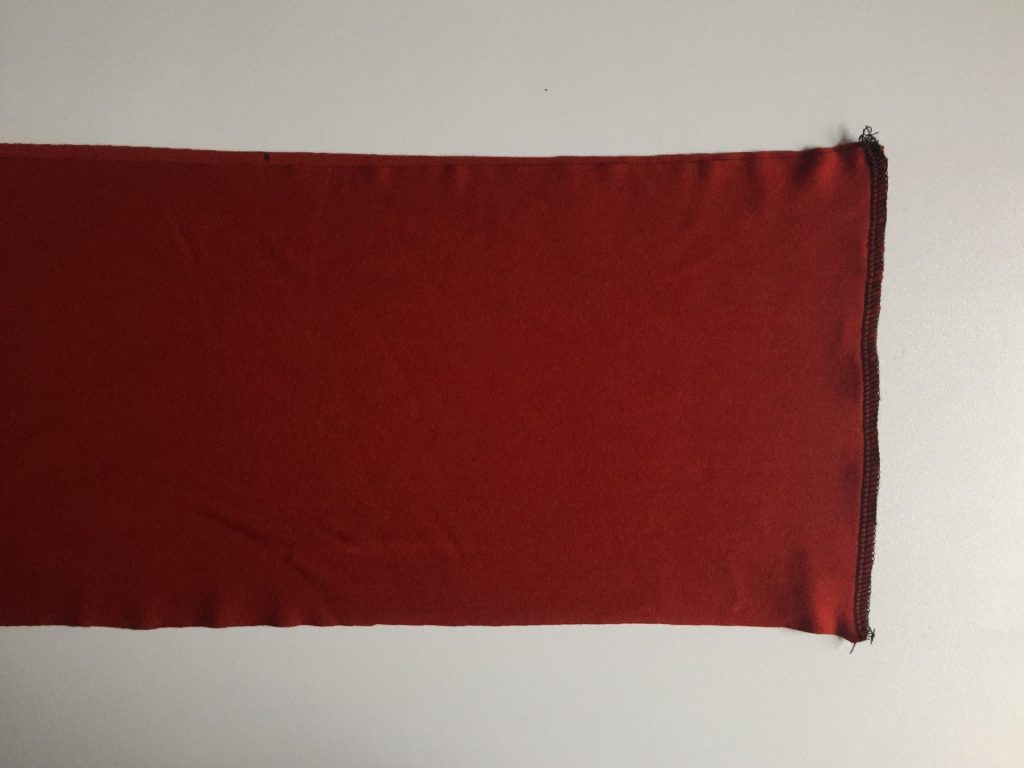
Hem Band
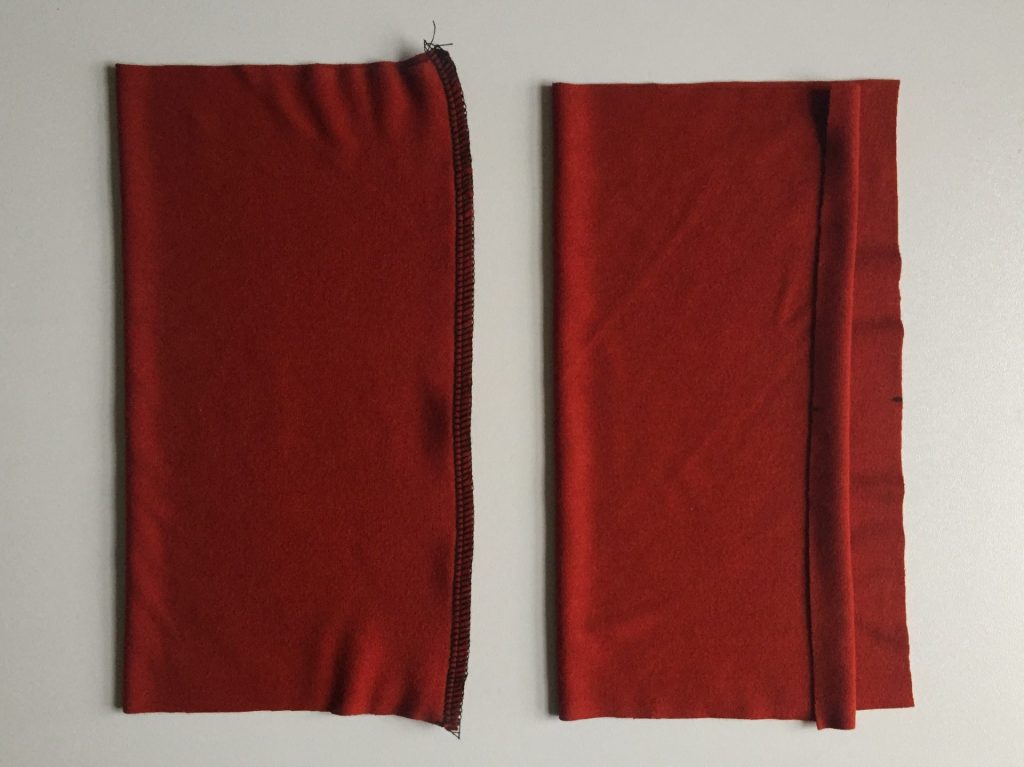
Step 4 helps to reduce bulk when we fold these bands in half.
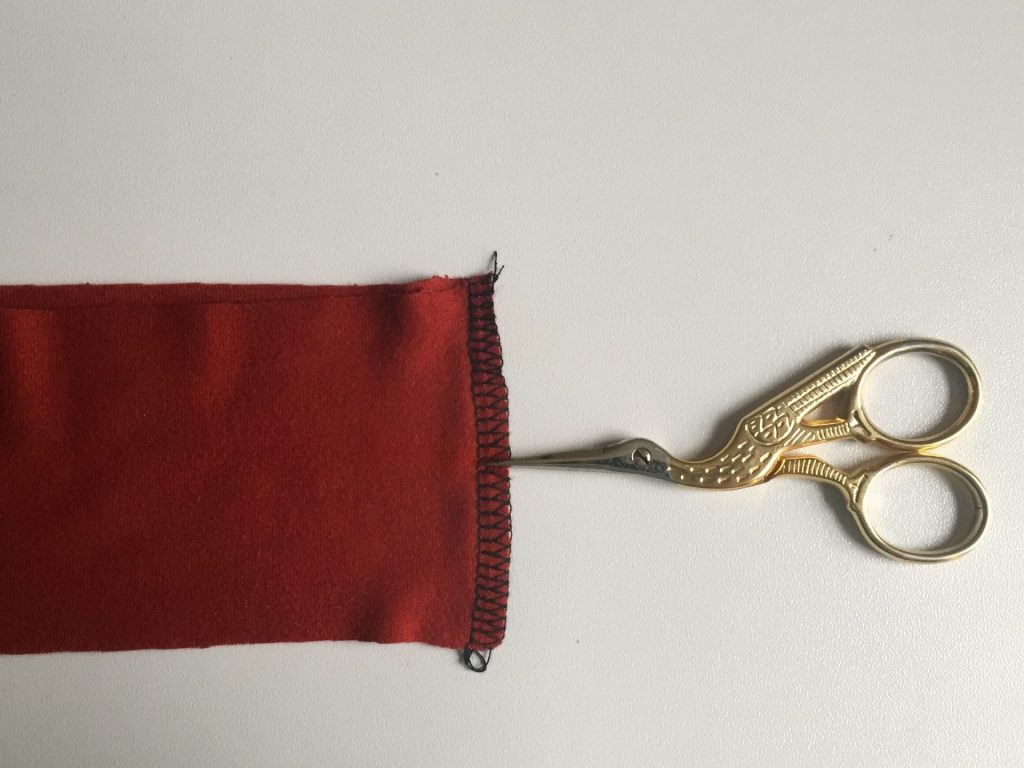
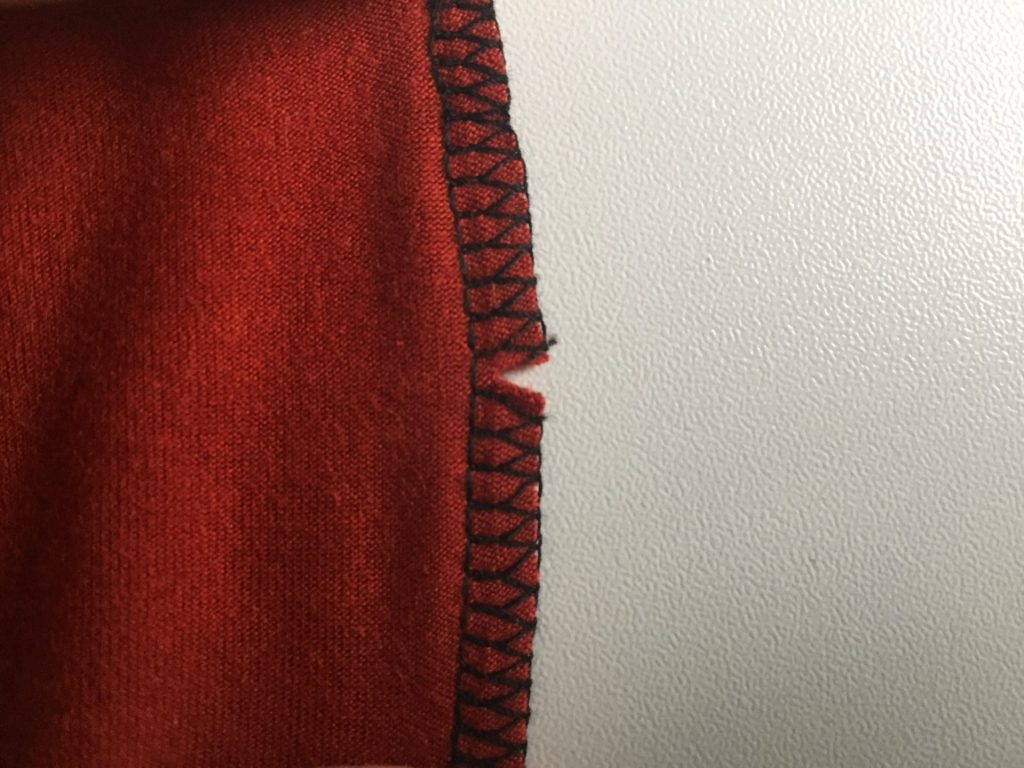
Be careful not to clip through the construction seams. On a 4-thread overlocker or serger, you’ll see two lines of straight stitches. I clip up to the first line but not through it. Press the seams apart.

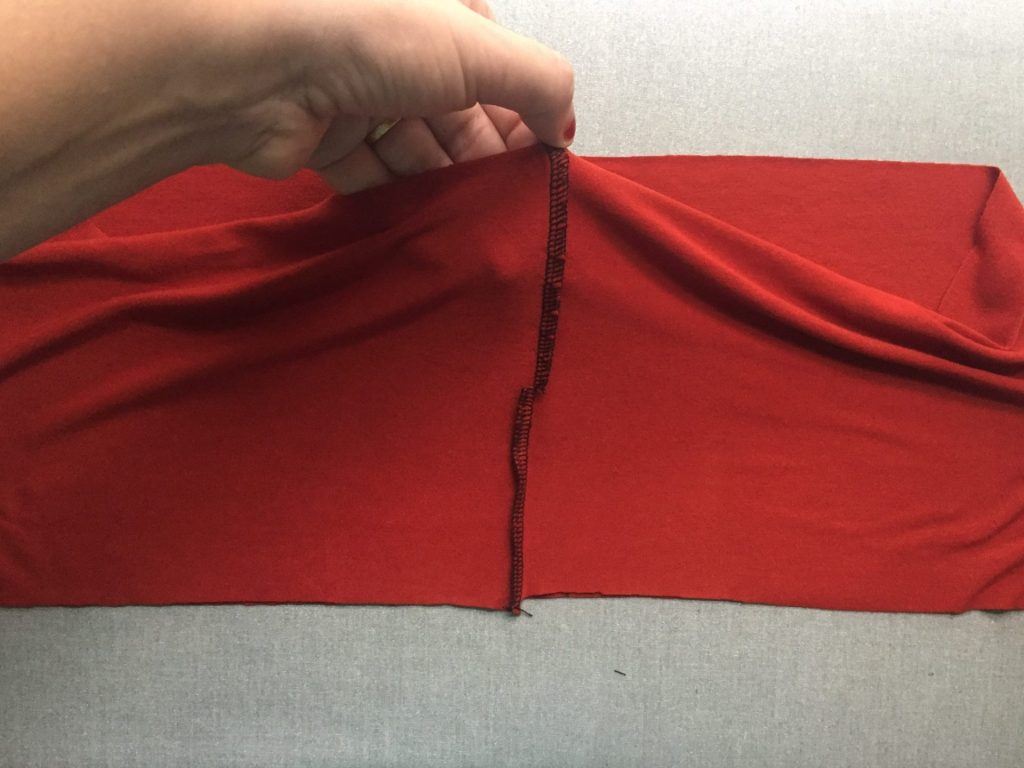
Step 5 is to fold the tubes in half so the raw edges meet and the wrong sides of the fabric are touching. If you pre-pressed at the very beginning, this will be easy. Even if you didn’t, not to worry! Make sure your seam allowances are still pressed apart from each other so when they come together, they face different directions and reduce bulk.
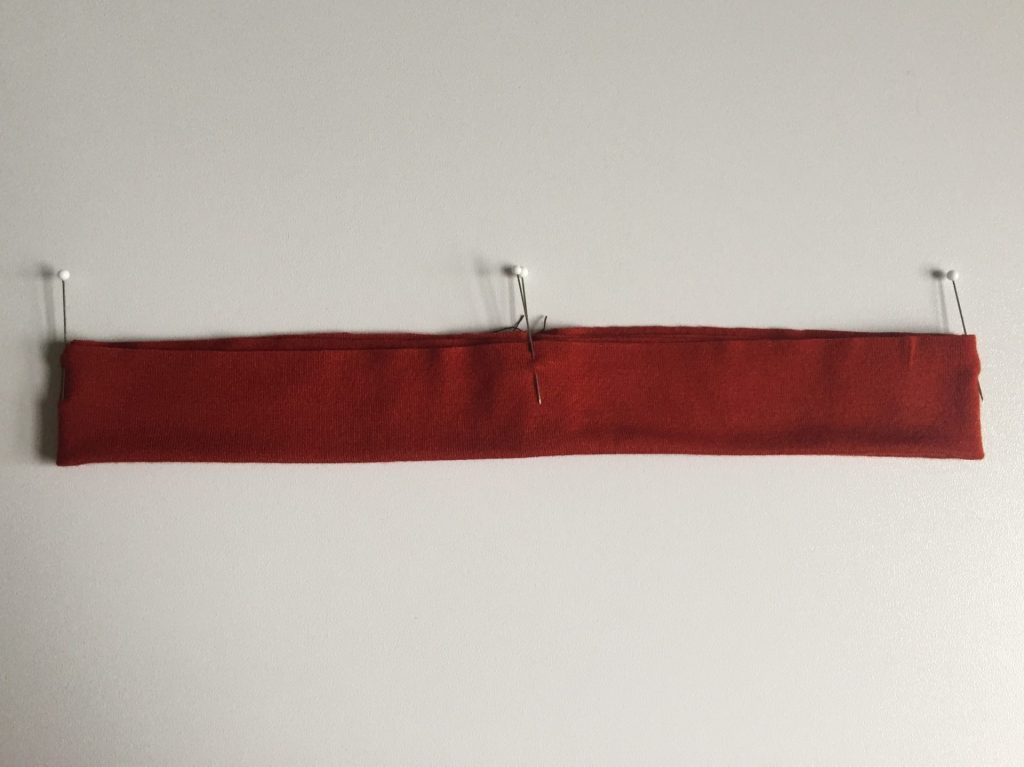
Hem Band 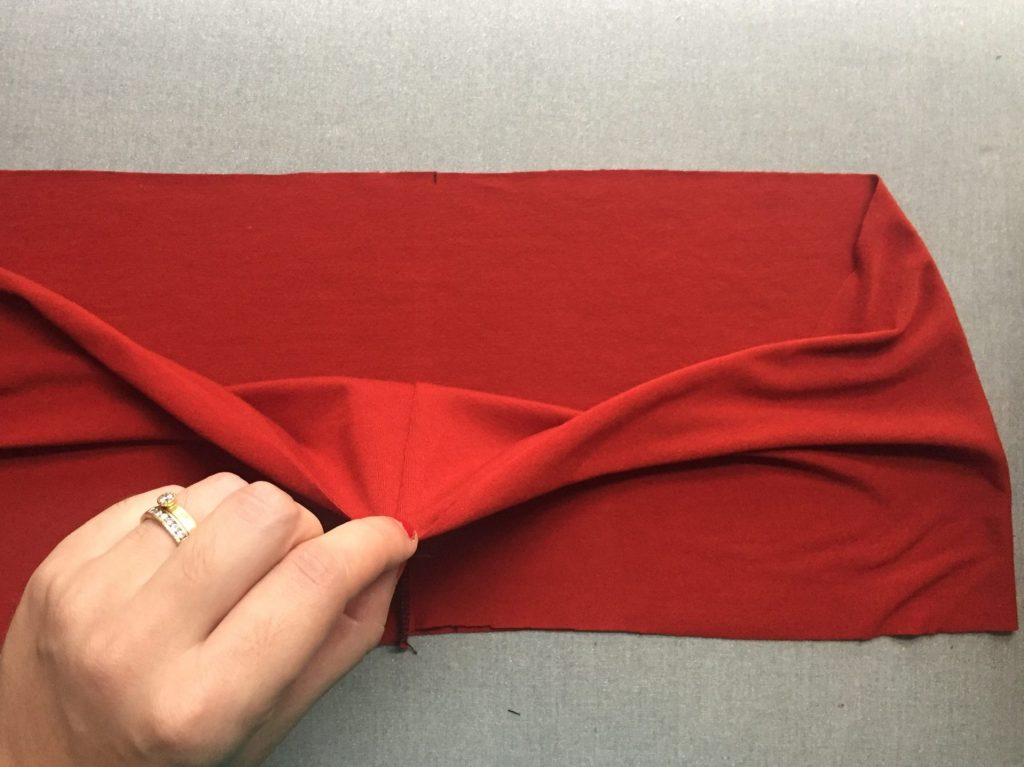
Fold wrong sides together. 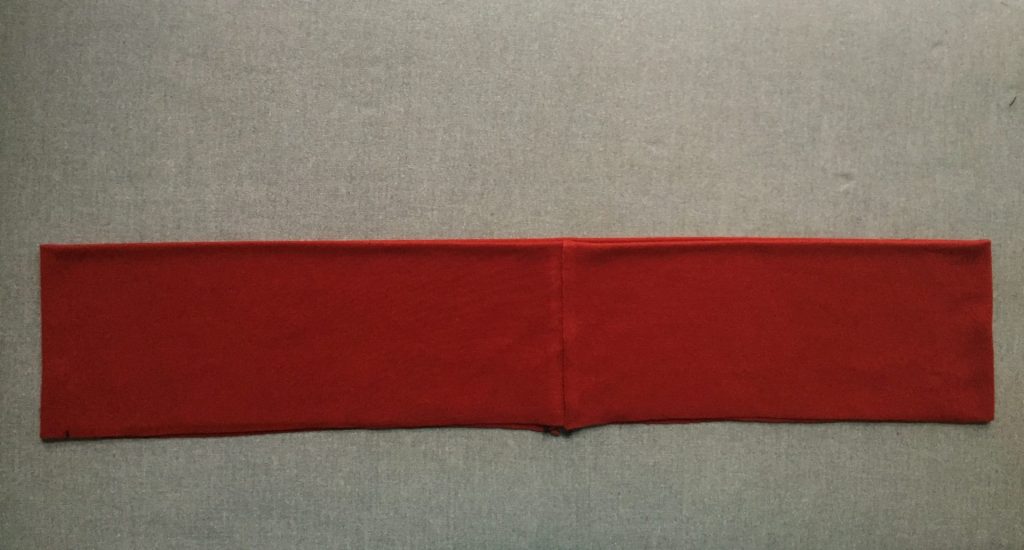
Press. 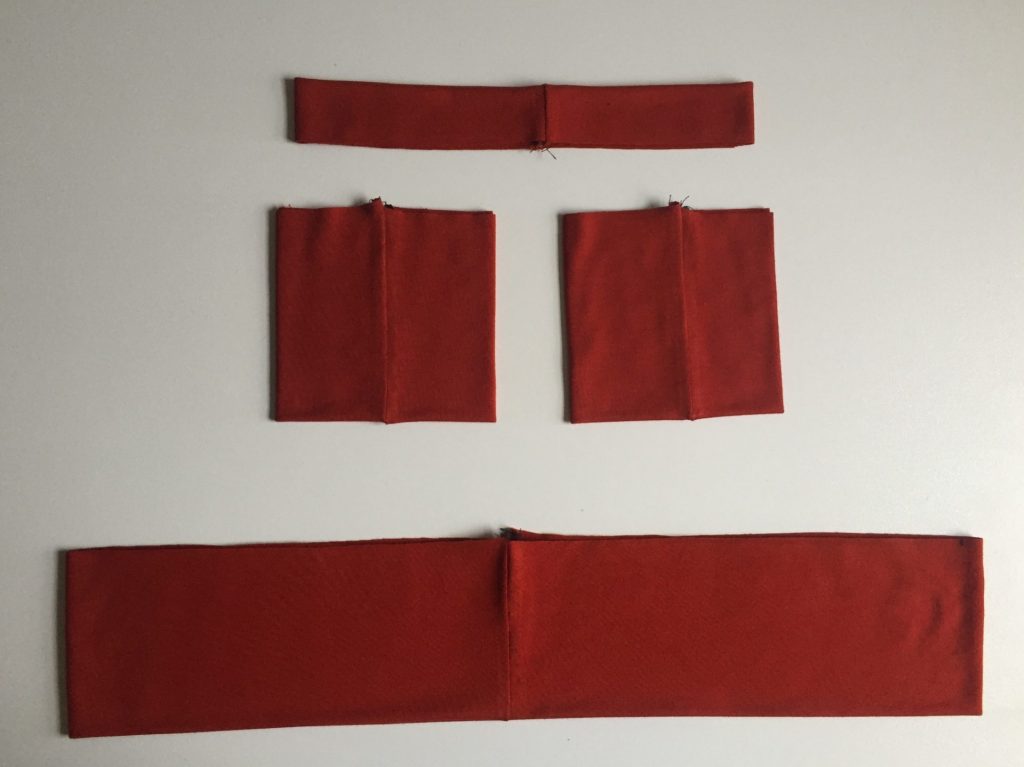
Repeat for Neckband and Cuffs.
Give your bands and cuffs a good press and now is a great time to divide the length of your bands and cuffs into quarters. The Hem Band is already done for you with the seam line and three notches around the raw edge. The Neckband is already divided in half by using the seam line and the notch. Measure and mark halfway between the seam and the notch of the neckband, and this will divide it into quarters. You can do the same on the cuffs. If you prefer, you can also baste your raw edges together at this point, which can make attaching them a bit easier later on.
Prepare Elbow Patches
As I mentioned above, I am omitting the Elbow Patches for my Cedar Sweater Raglan. The fabric I am using is on the lighter side, and it has a lot of drape. The elbow patches are best suited for sturdier fabrics, and I wanted to show a nice example of what a Cedar Sweater can look like in thinner fabric with nice drape like this one. So! Click over to the Crew View Sewalong Prepare Elbow Patches section, and then head right back here when you are finished sewing the Elbow Patches to the Sleeves.
Assembling the Raglan Sleeves
For Steps 12-13, it’s time to attach the Raglan Sleeves to the Raglan Front and Raglan Back body pieces. Start by laying your Raglan Front piece right side facing up, and place a Raglan Sleeve right side facing down. Identify single notched edge of the armhole and match it to the armhole edge of the Raglan Front. Align matching notches and pin.
Stitch and press the seam allowance toward the body of the sweater.
Repeat the same steps for the other sleeve and the other armhole edge for the Raglan Front.
Press the seams toward the body of the sweater.
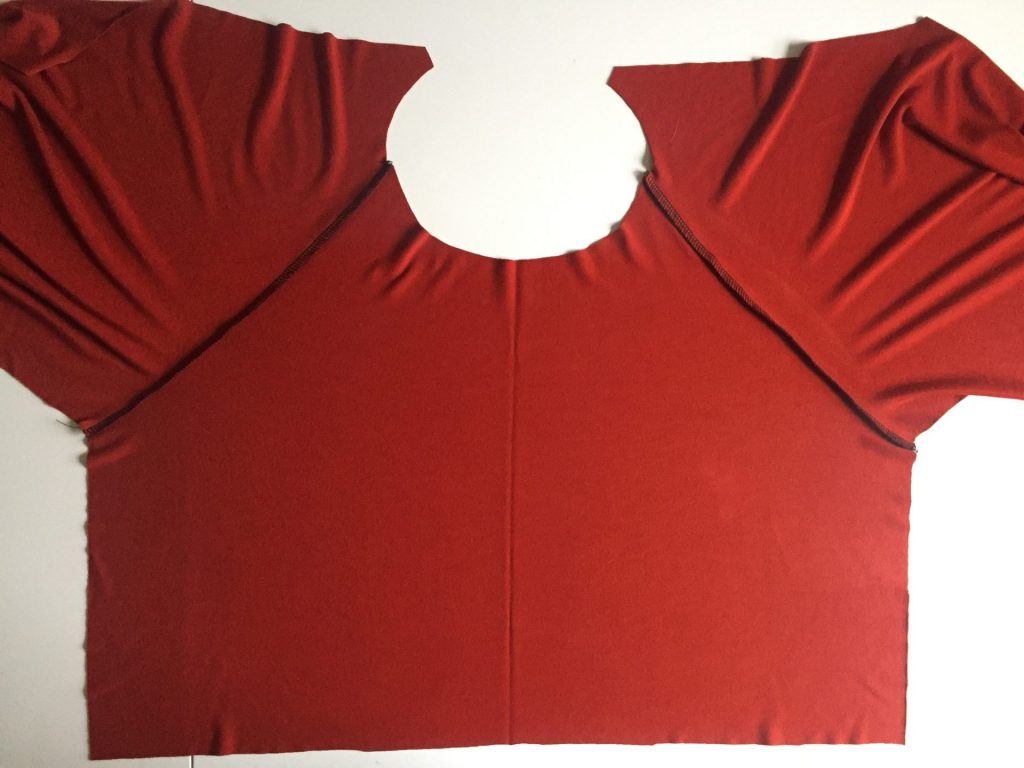
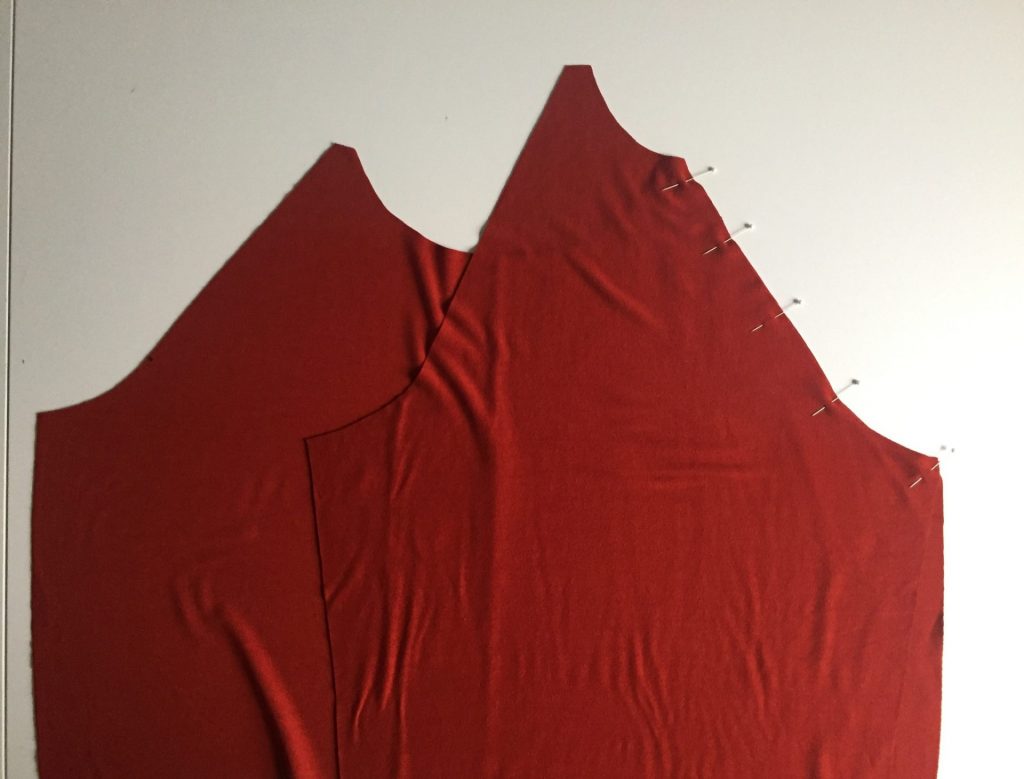
Now in Step 13 we will repeat the same steps for the Raglan Back. Place the Raglan Front and attached Raglan Sleeves flat and right side up. Identify the armhole edge of each Raglan Sleeve that has a double notch. Place the Raglan Back right side down on top of the sleeve, align the double notched edges and pin. Stitch and press the seam allowance toward the body of the sweater.
Align Raglan Back to double notched edge of sleeve. Pin. 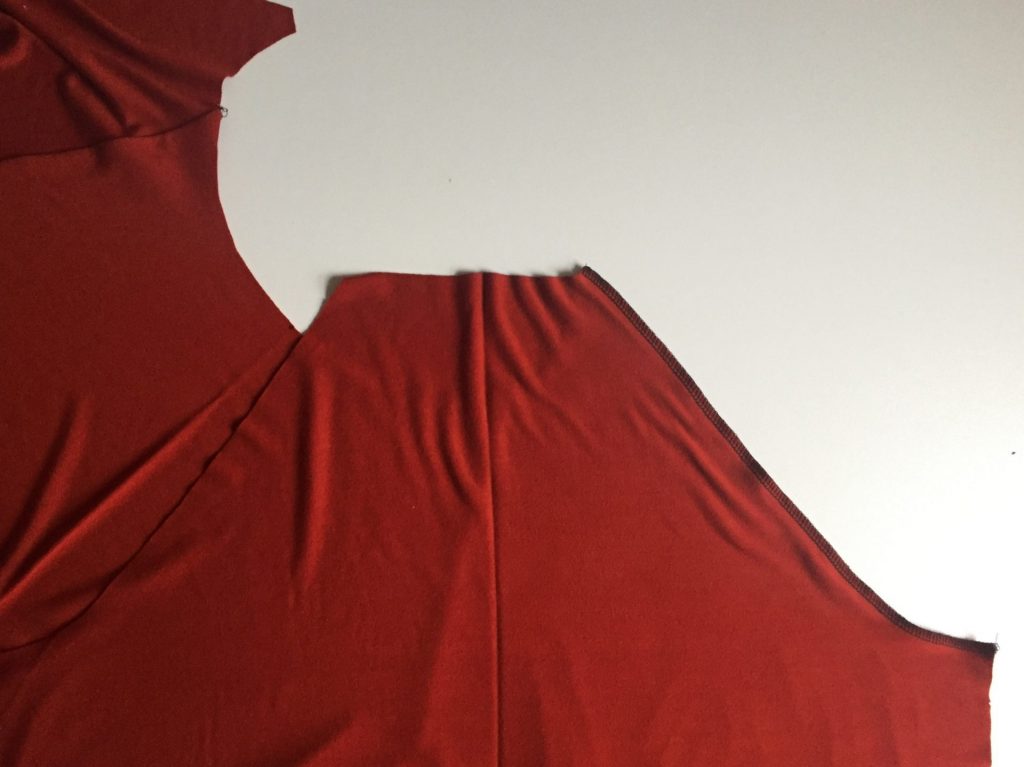
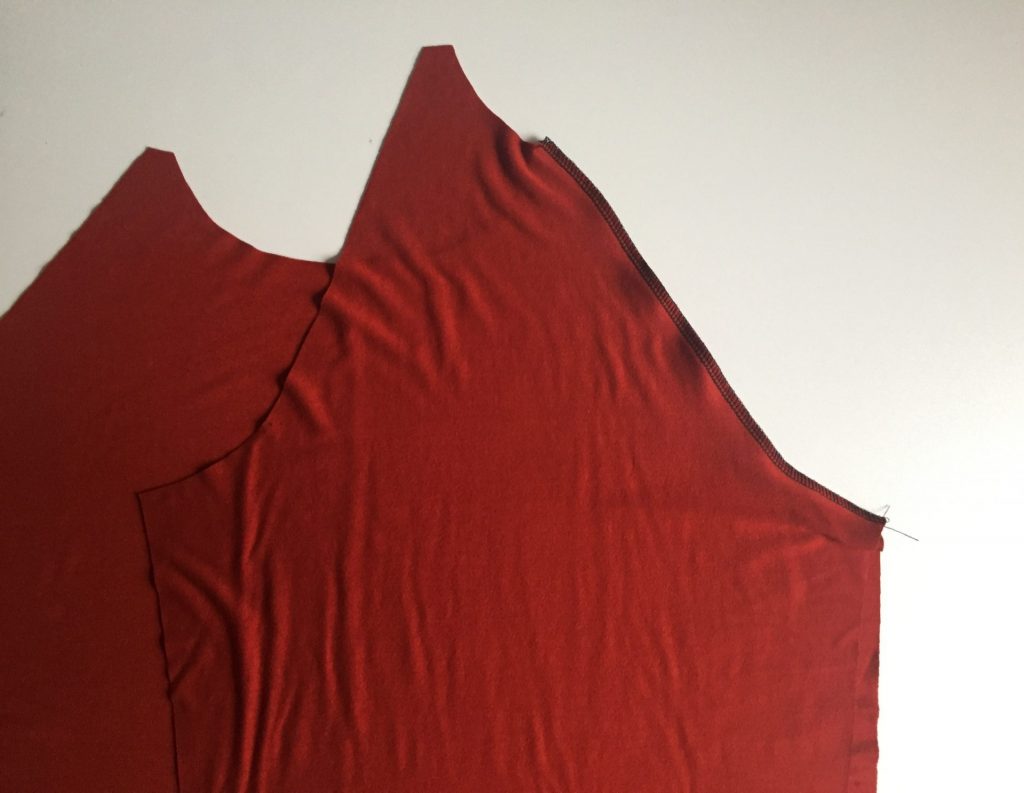
Stitch and press seam allowance toward body of sweater. 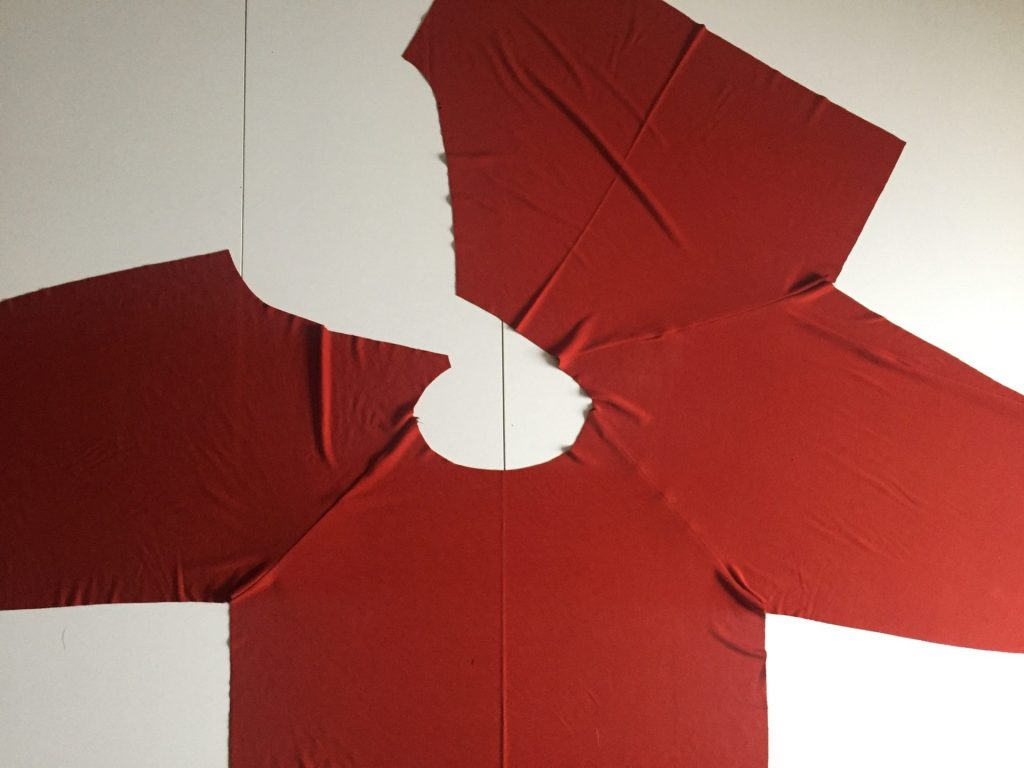
Front and Back attached to sleeves,
one seam to go!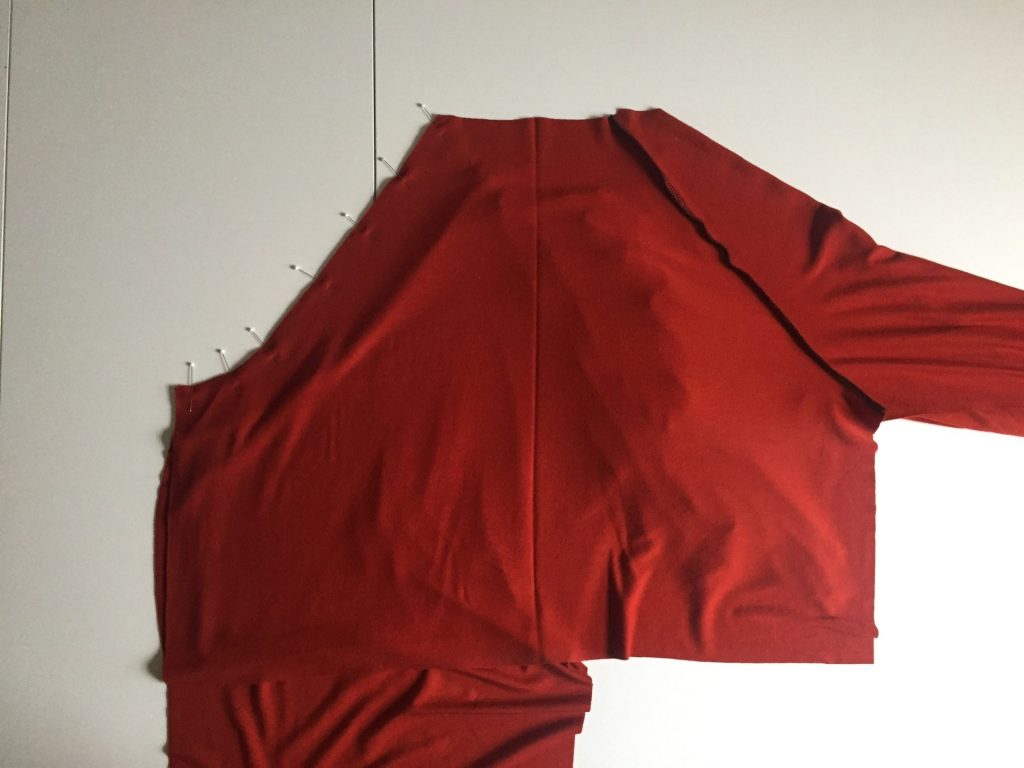
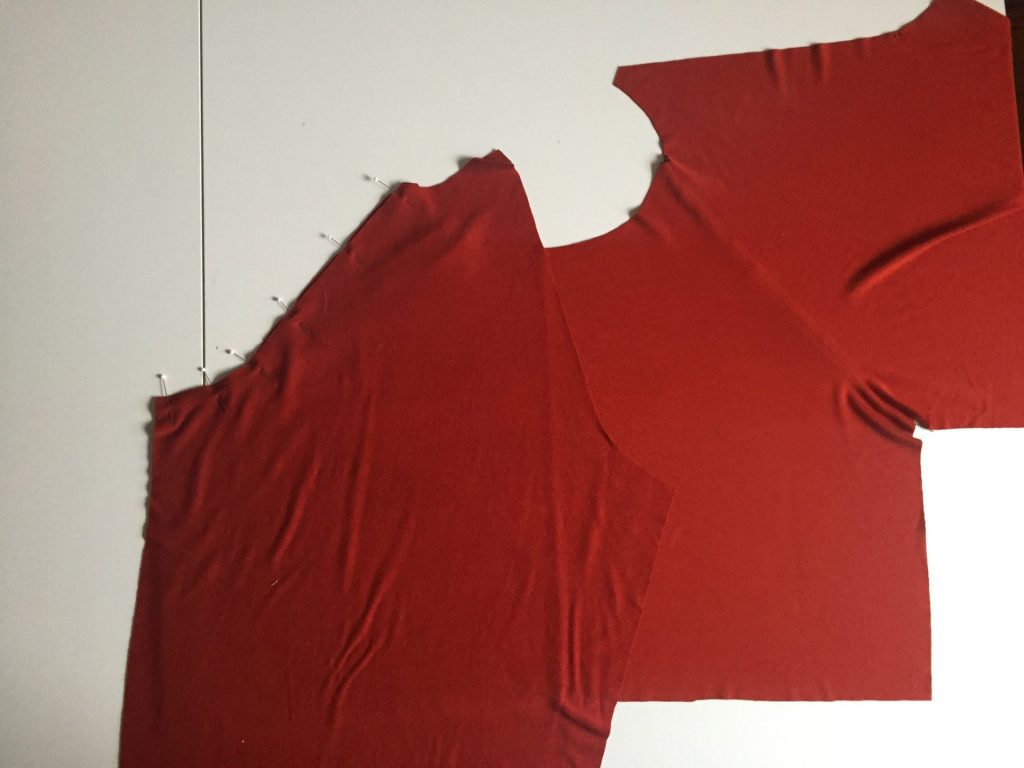
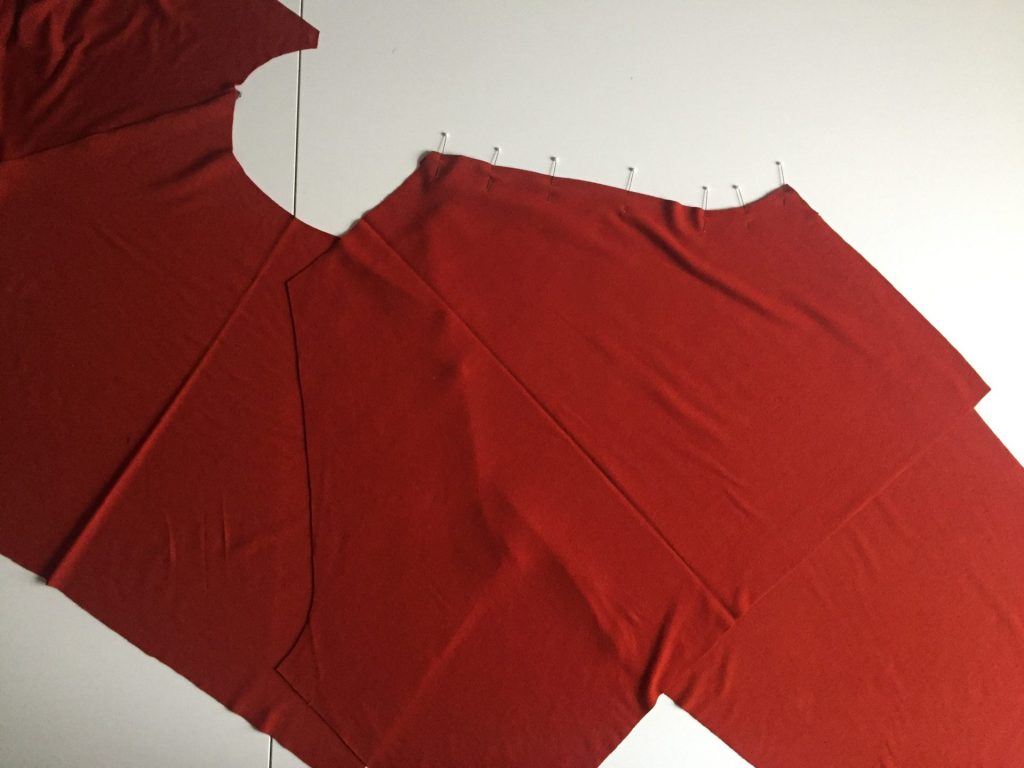
Align the double notched edges, pin and stitch.
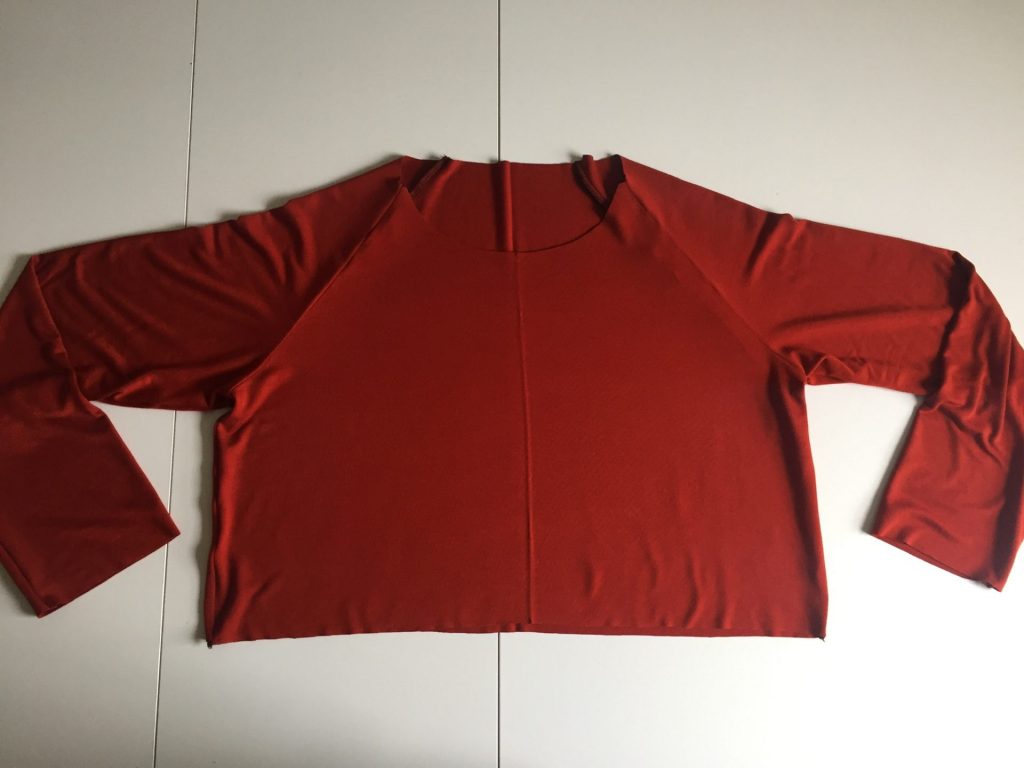
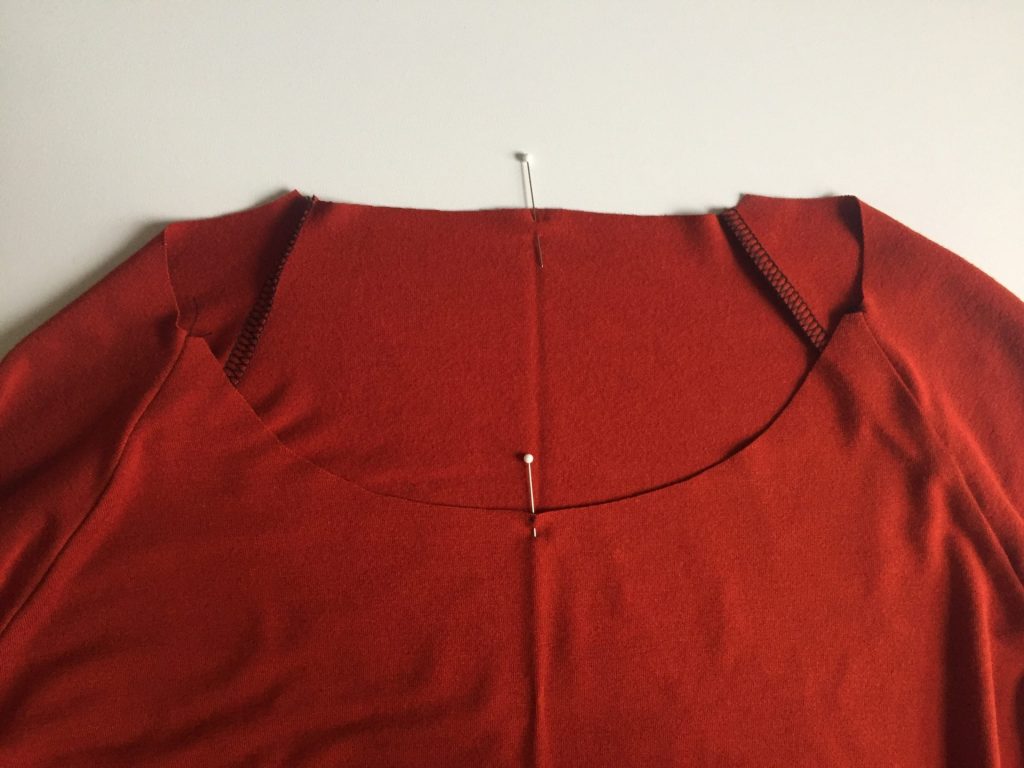
Now we have all four panels (Front, Back, Sleeves) attached, but we have to complete the last edge to complete the “circle”. In the third photo above, you can see the two curved edges that will next be pinned together. The center of that photo is the head hole, for reference. The fourth photo shows those edges pinned together, right sides touching. Stitch and press seam allowances toward the body of the sweater.
Assembling the Sides
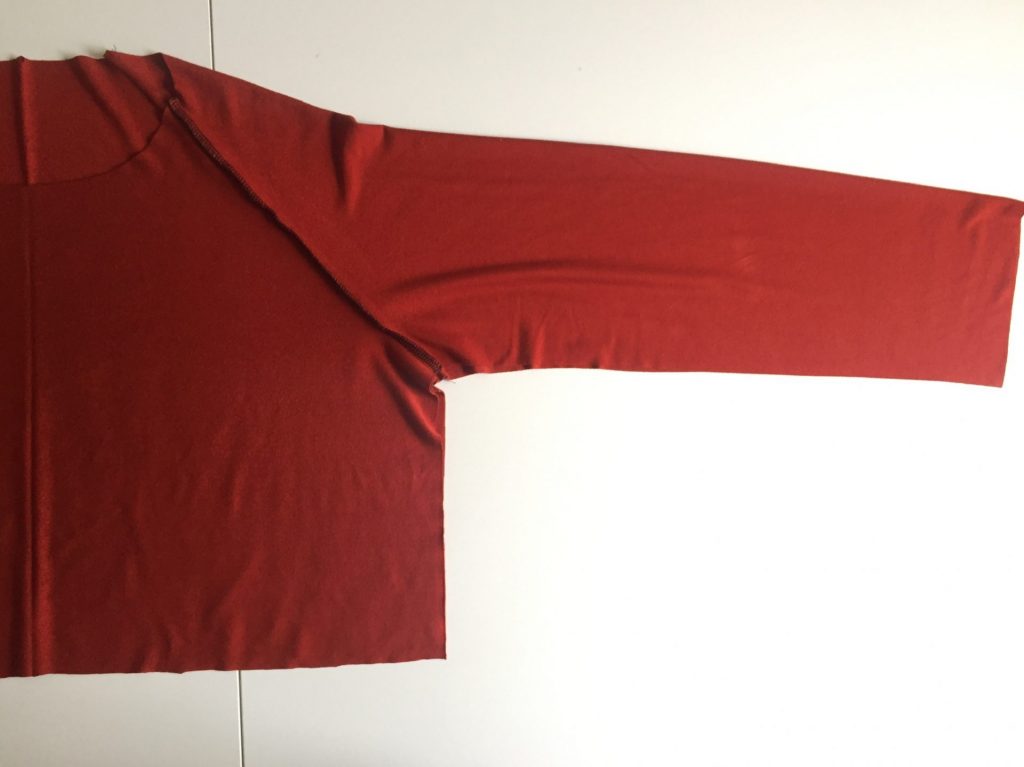
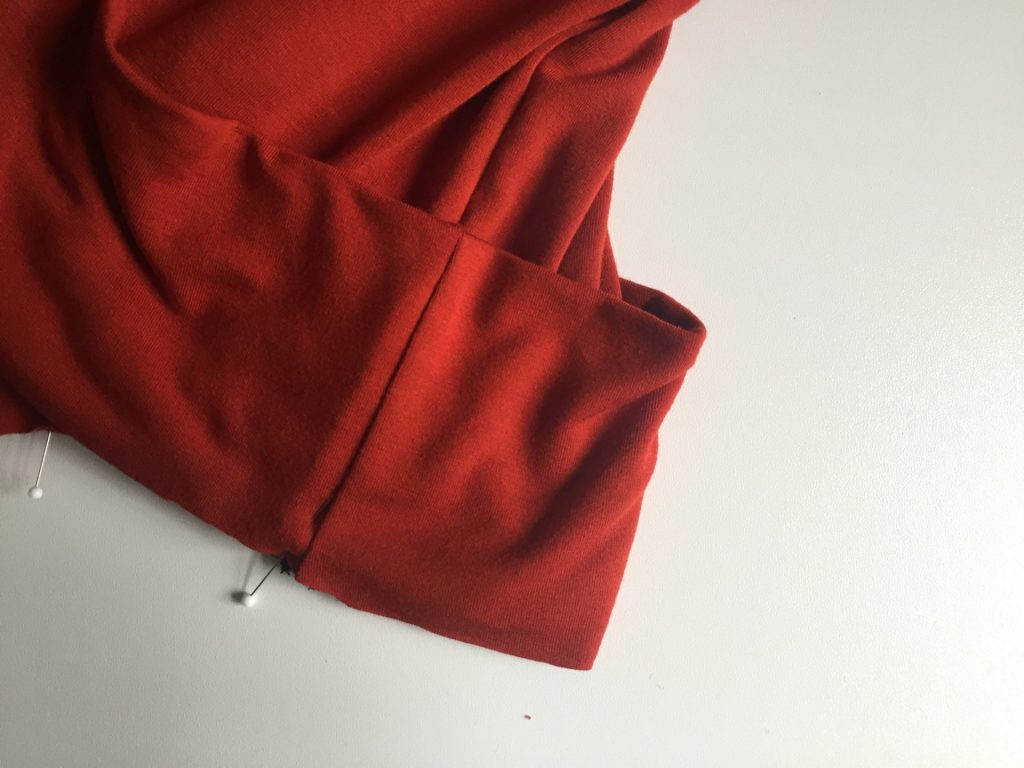
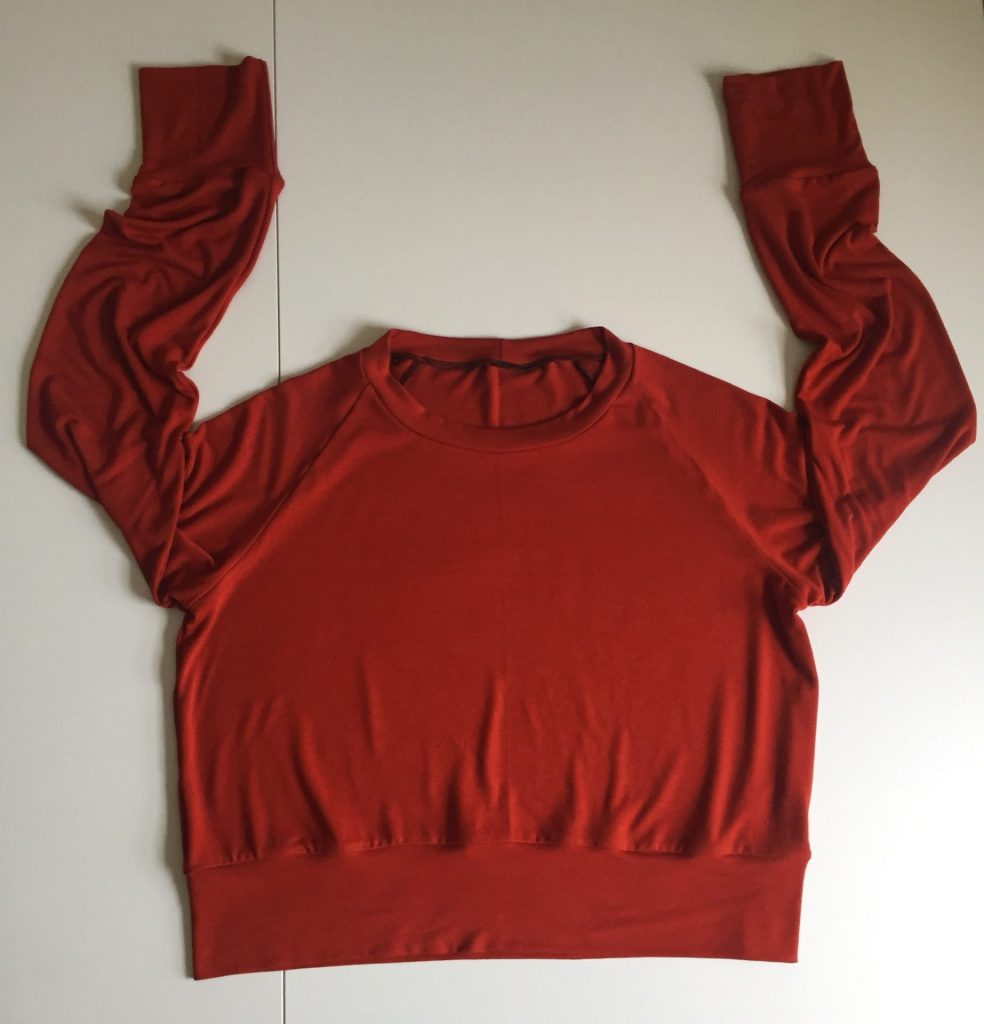
Now you can start to see the shape of your Cedar Sweater Raglan! Step 14 is to sew each side seam in one continuous seam. Match the side seams and sleeve edges together with right sides touching.
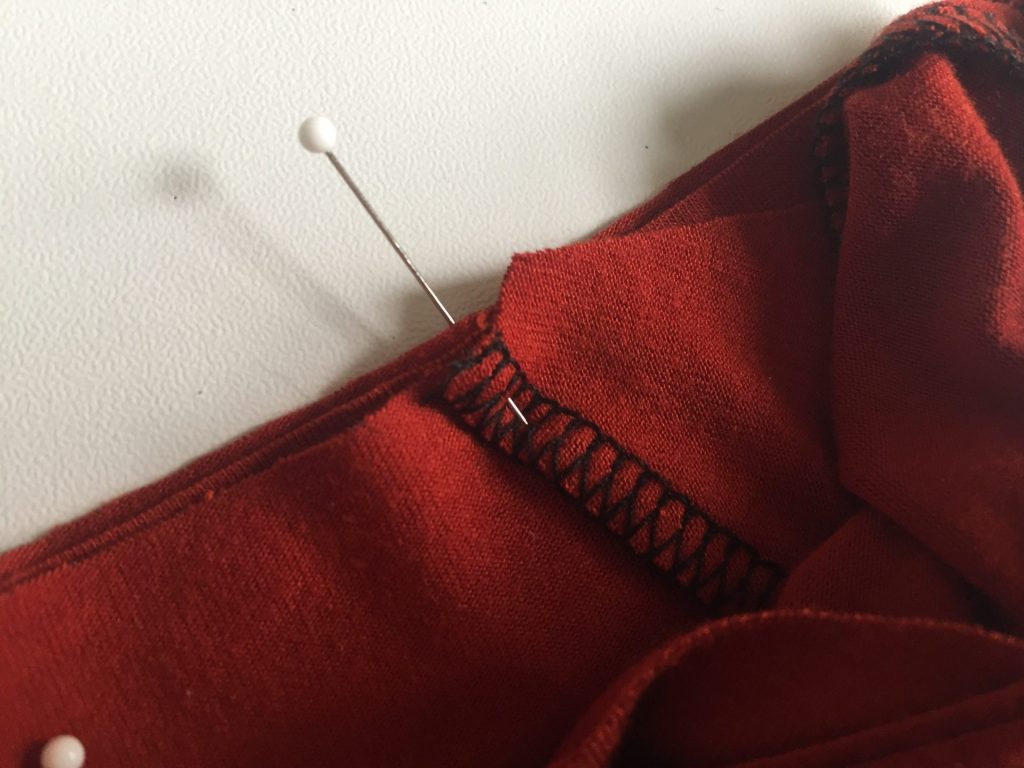
Match the seams at the underarm and pin into place.
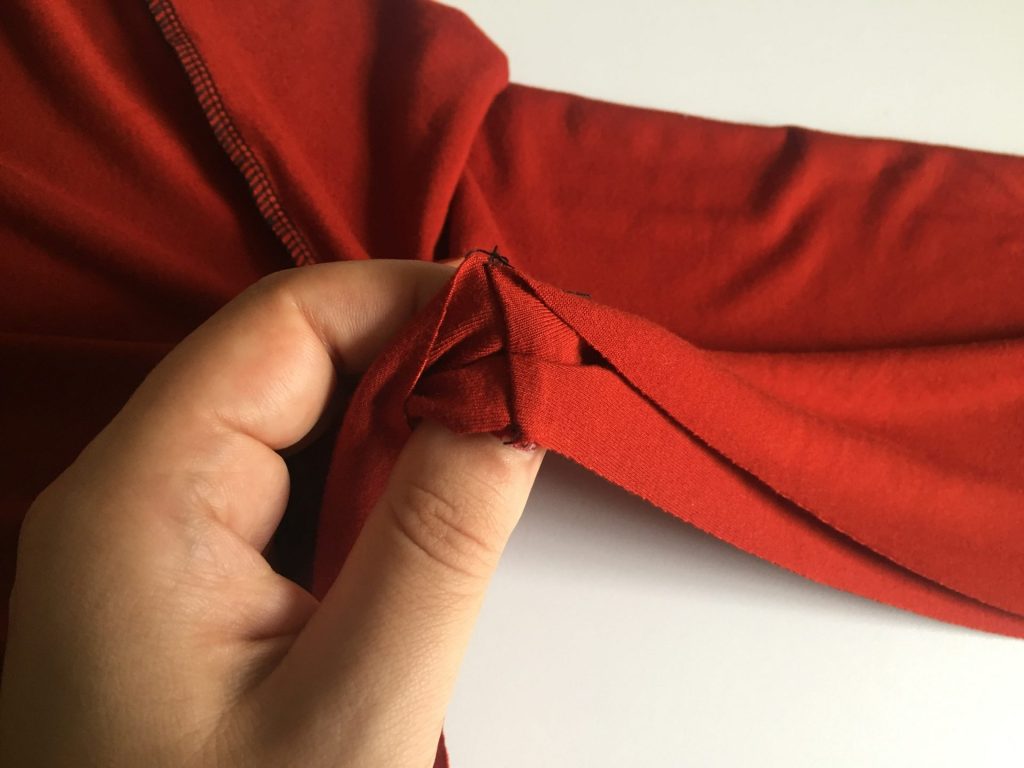
I like to baste this little spot at the underarm first to check that the seams meet at a nice four corners. If they are off a tiny bit, it’s not a big deal because who is really going to be looking at your armpit, right?
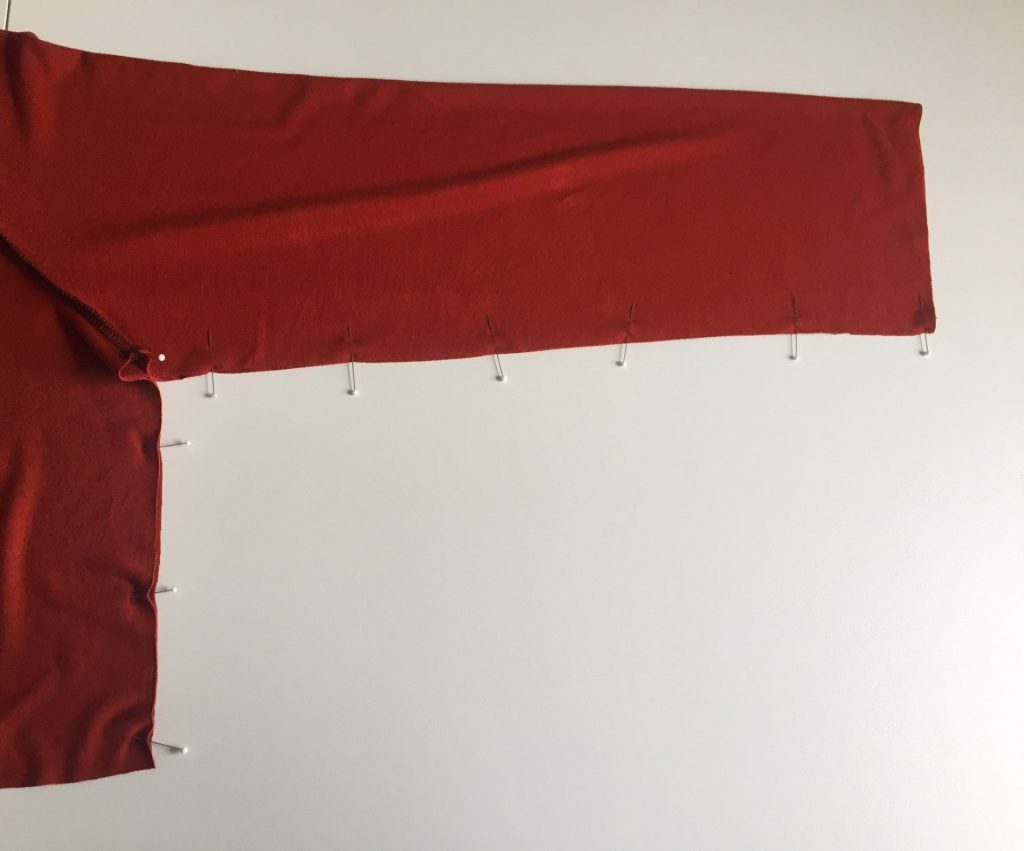
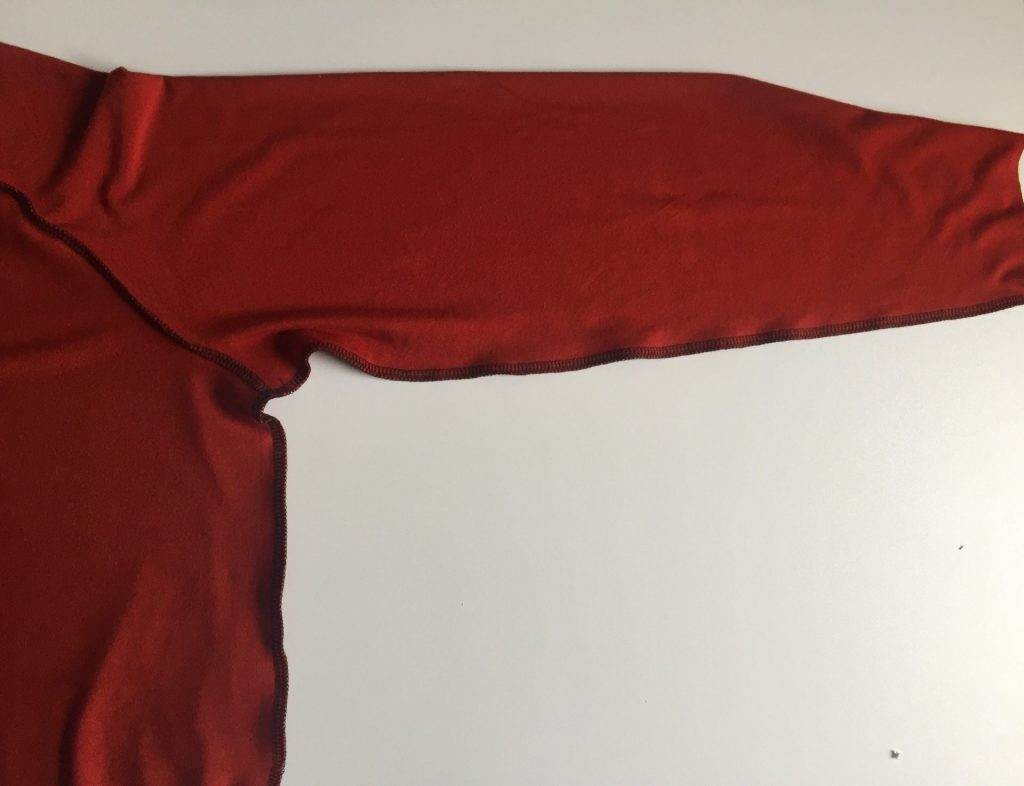
Then, stitch from the hem of the body up through the underarm all the way to the end of the sleeve in one go. Press the seams towards the back of the sweater.
Awesome! Now you can see the finish line: onto the bands and cuffs!
Finishing the Bands and Cuffs
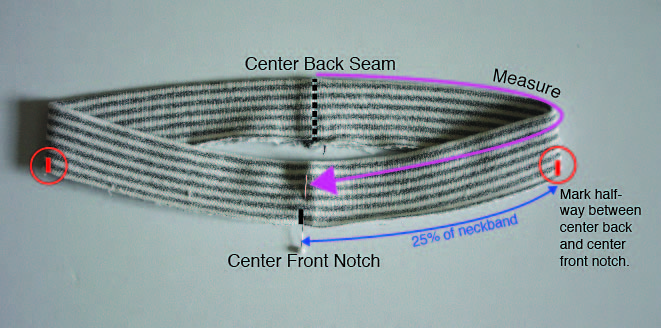
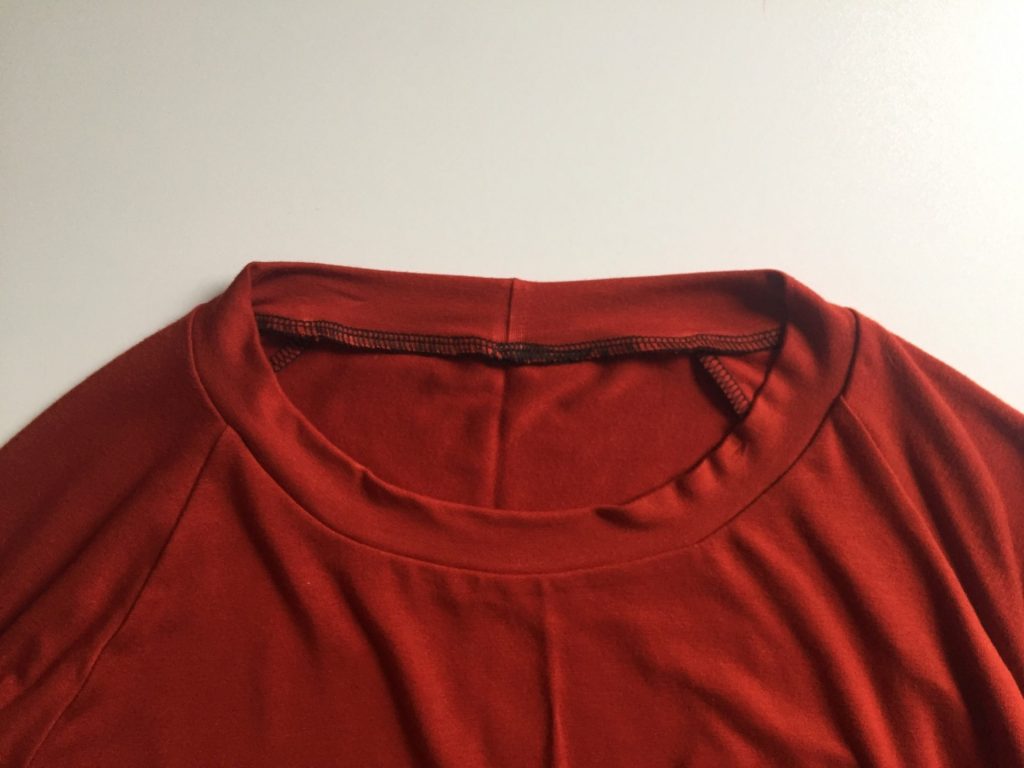
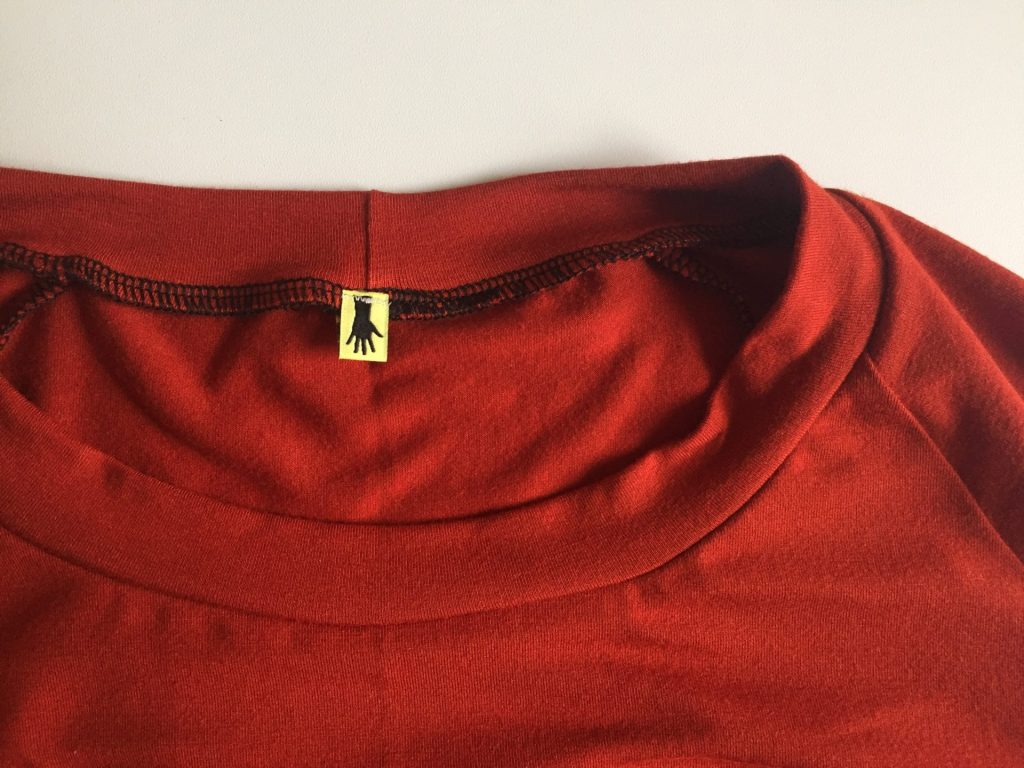
Now it’s time to attach the neckband to the neckline of the sweater in Step 15. If you divided your neckband into quarters, we need to do the same to the neckline. Matching these points between the neckband and neckline helps us to pin these together evenly all the way around.
Divide the neckline of the sweater into quarters. Start with using the center front and center back notches as a starting point.
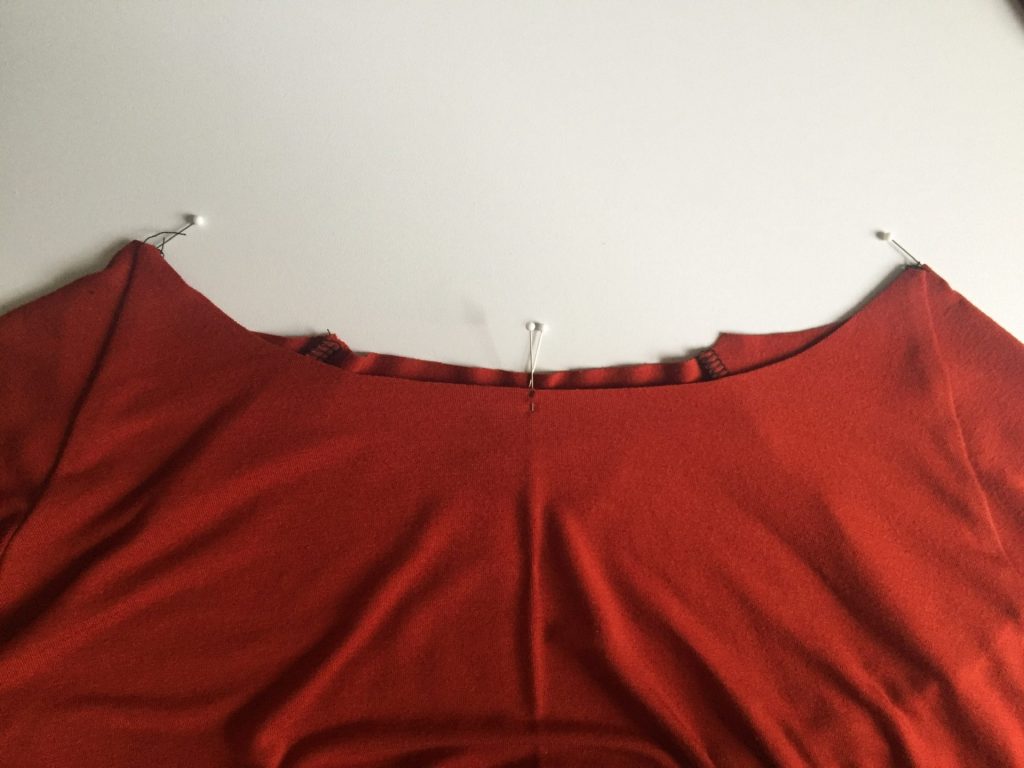
Measure and mark halfway between center front and center back notches. 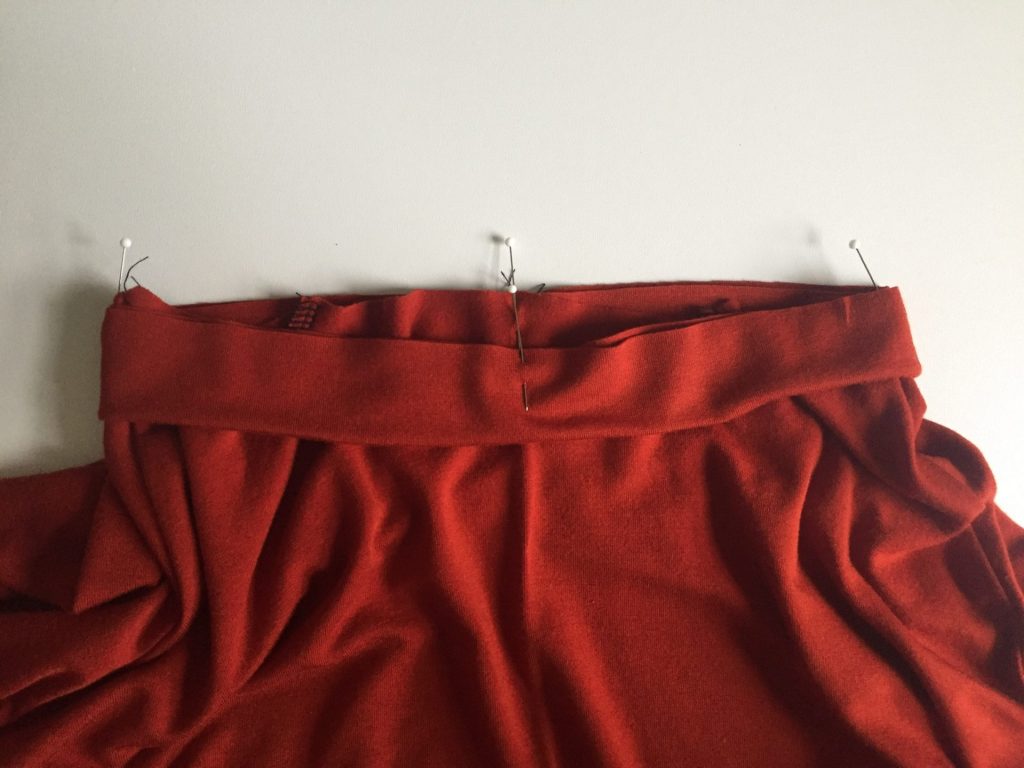
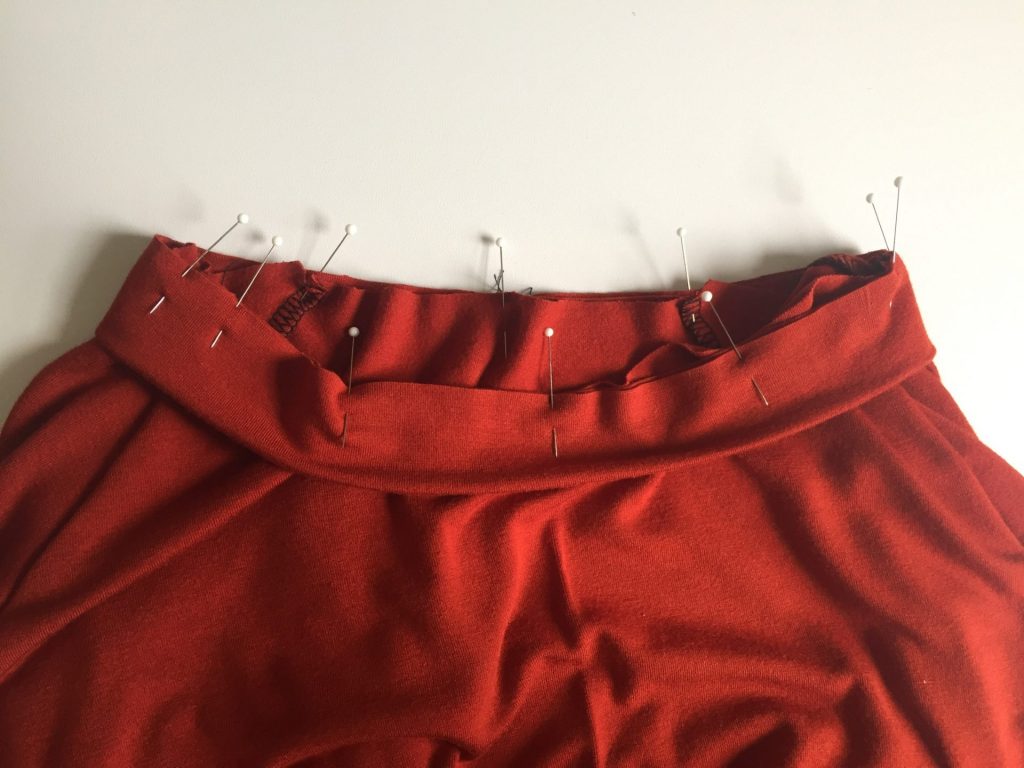
Align the neckband along the neckline, matching marks and pin.
You can use a measuring tape to measure the curve between front and back notches, and then mark the halfway point. A quick and dirty way is to fold the sweater in half, matching edges and front and back notches and then marking where the fabric folds near the shoulder on each side.
Match the seam of the neckband to the center back notch on the Raglan Back. Pin together, and then match the notch on the neckband to the center front notch on the Raglan Front. The right sides of the fabric are touching, and the raw edges line up together. When you pin, you’ll be pinning through three layers of fabric (folded neckband and sweater).
Now the neckband opening is slightly smaller than the head hole of the sweater, so we will need to stretch the band piece slightly as we sew. In the photos below, you can see the difference in leaving the neckband un-stretched (left photo) and stretching the neckband slightly (right photo). Don’t stretch so much that the neckline of the sweater body is also stretched as you sew. This will result in a stretched out neckband while you’re wearing your sweater.
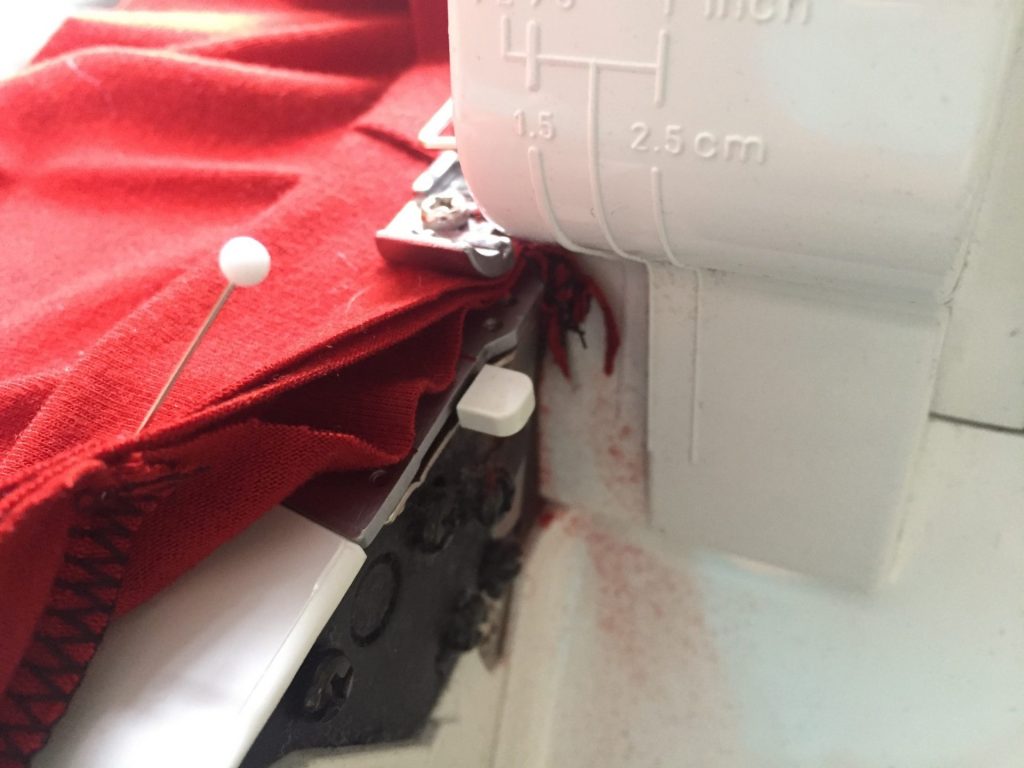
Neckband on top, needs to be stretched. 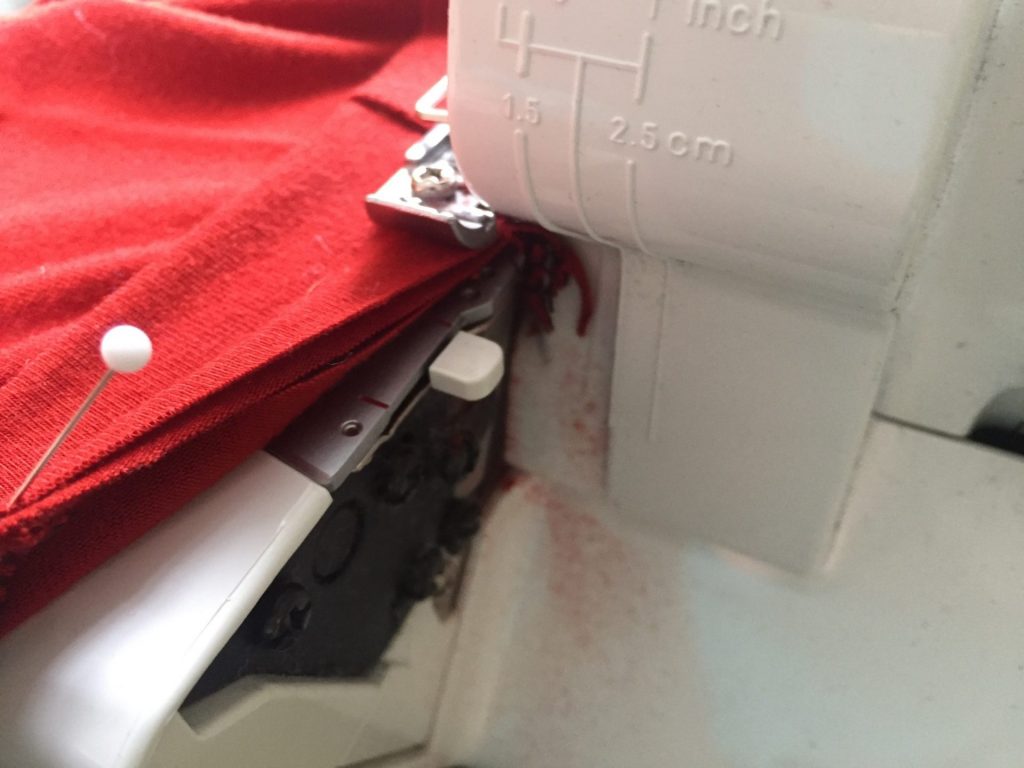
Stretched neckband to match the neckline edge of the sweater body.
Let’s do the same thing with the Hem Band in Step 16, and again with the Cuffs in Step 17.
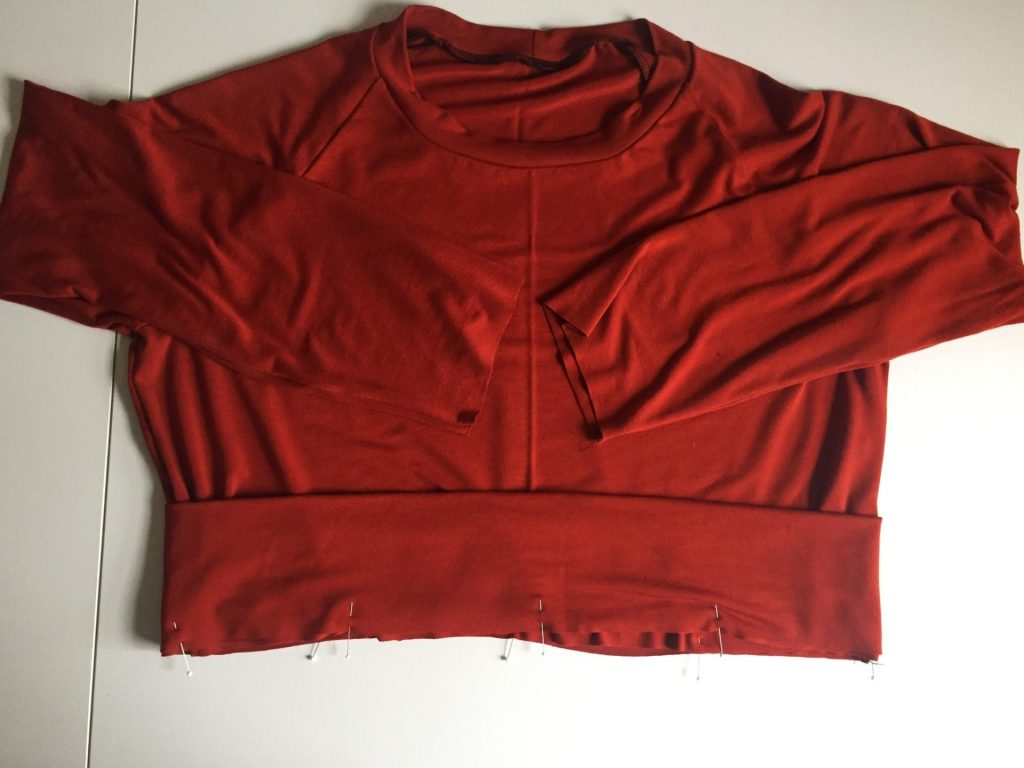
Hem Band seam aligned with left body side seam (as you wear it). 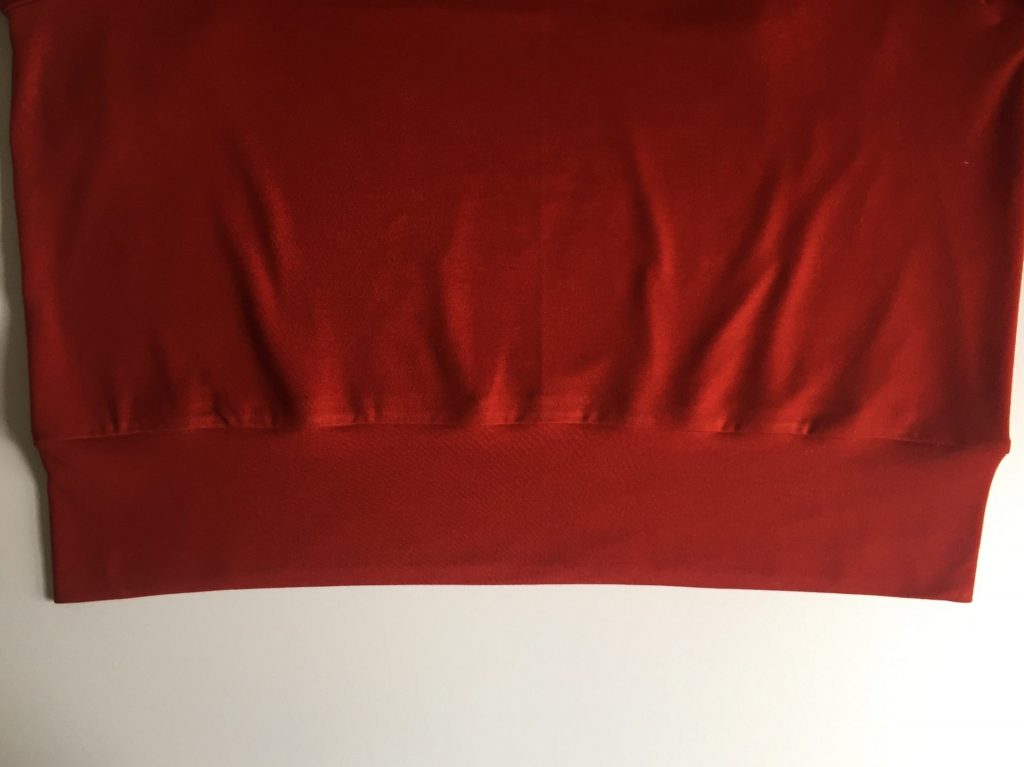
Stitch Hem Band and press seam allowance toward the body of the sweater. 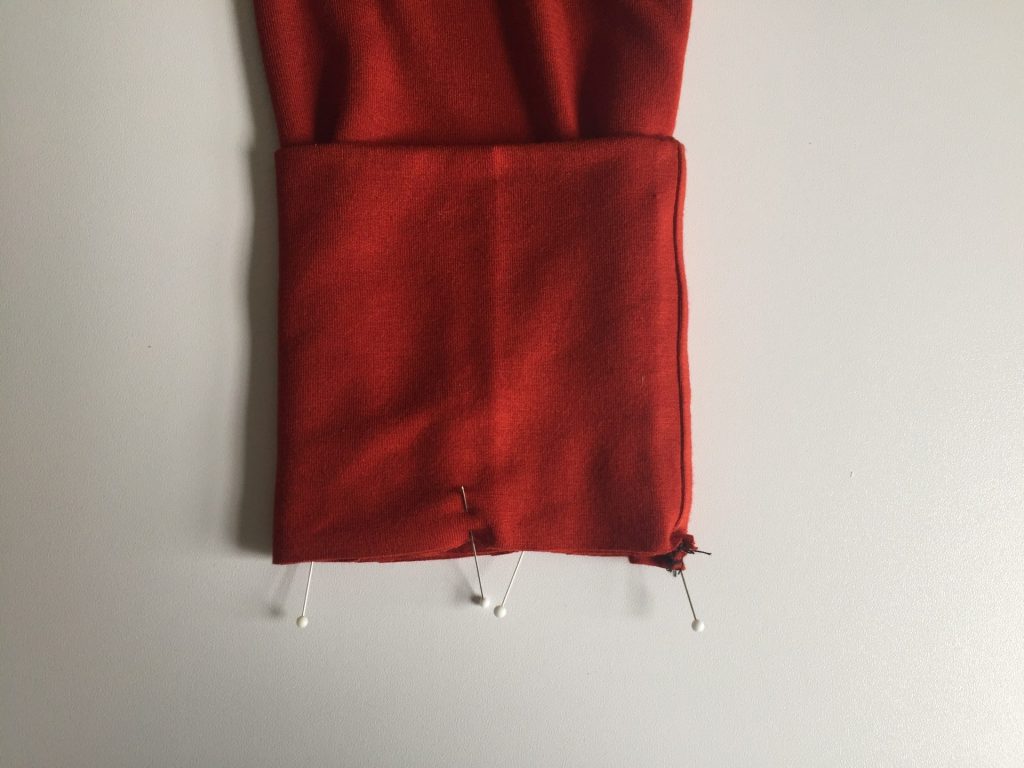
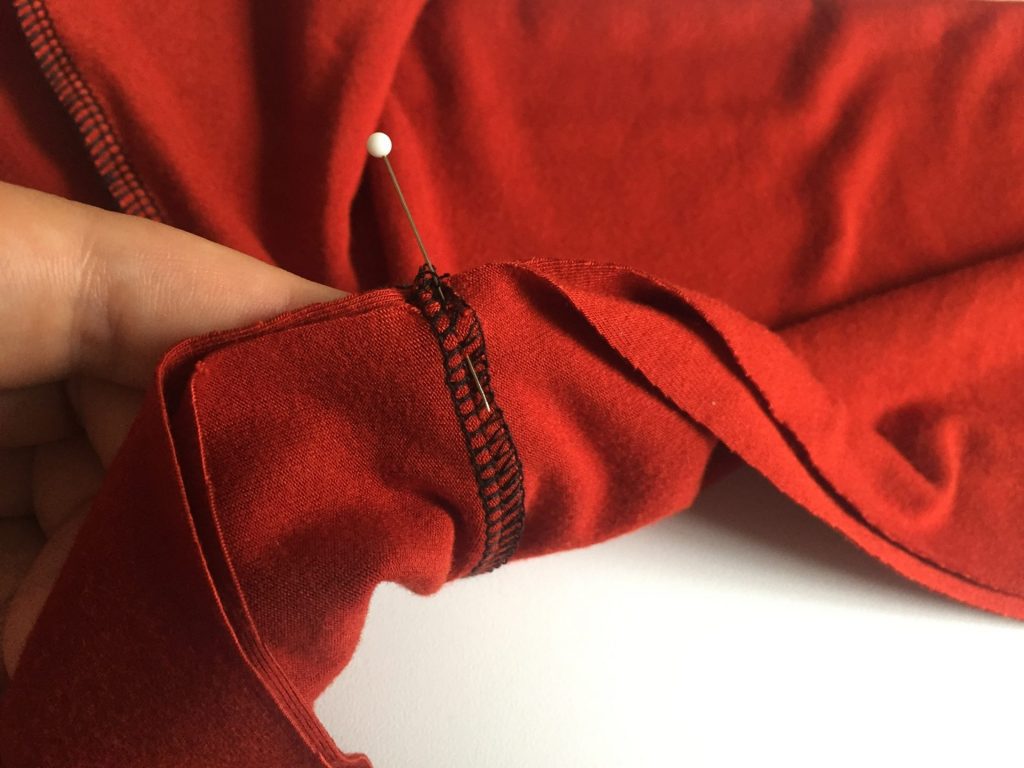
Pin Cuff raw edges to Sleeves. Match Cuff and Sleeve seams. 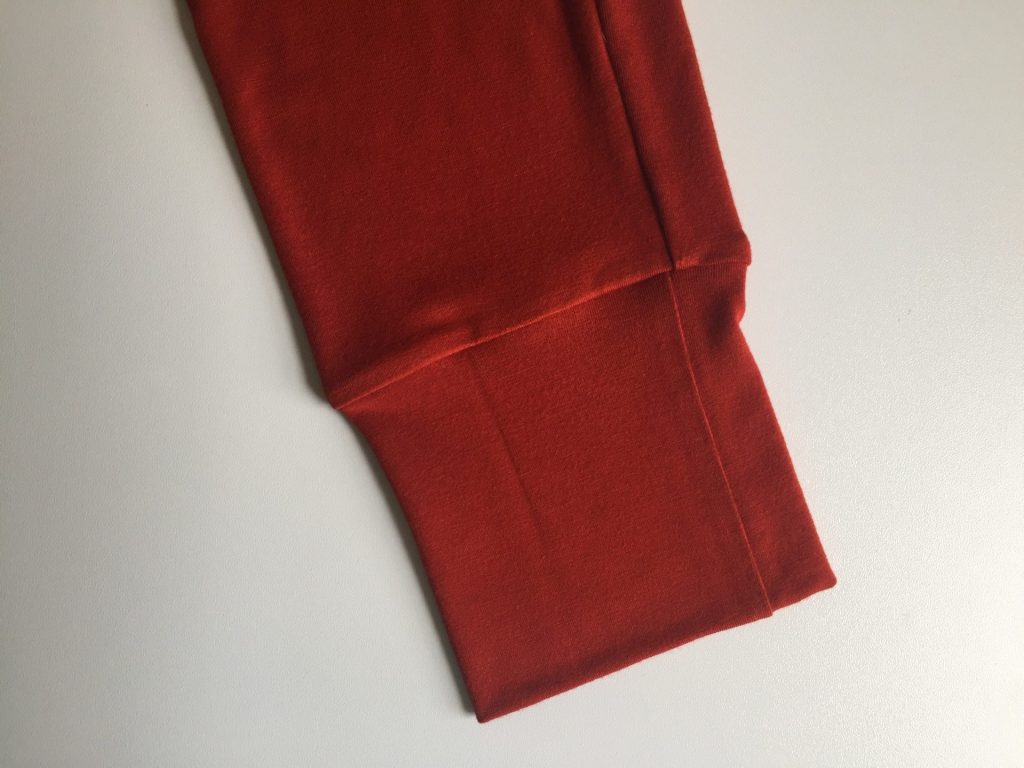
Stitch and press seam allowance toward the sleeve.
You Finished Your Cedar Sweater Raglan!
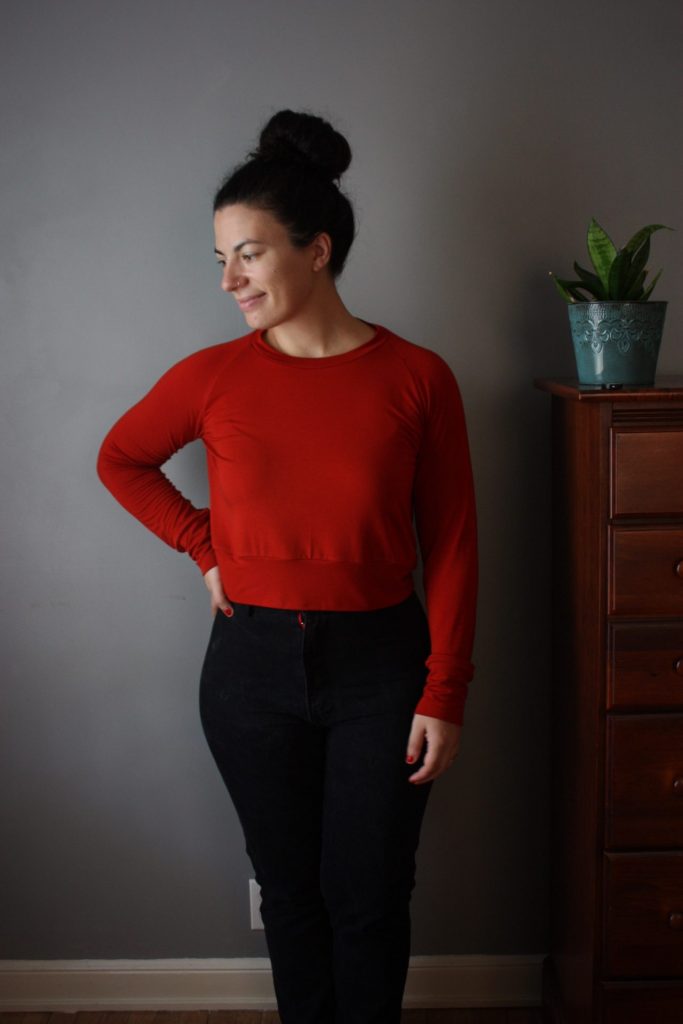
You’ve done it! Please share your finished Cedar Sweater Raglan with me over on Instagram using the hashtag #cedarsweater and feel free to tag me (@sewnorth). Enjoy your new make! You deserve it!