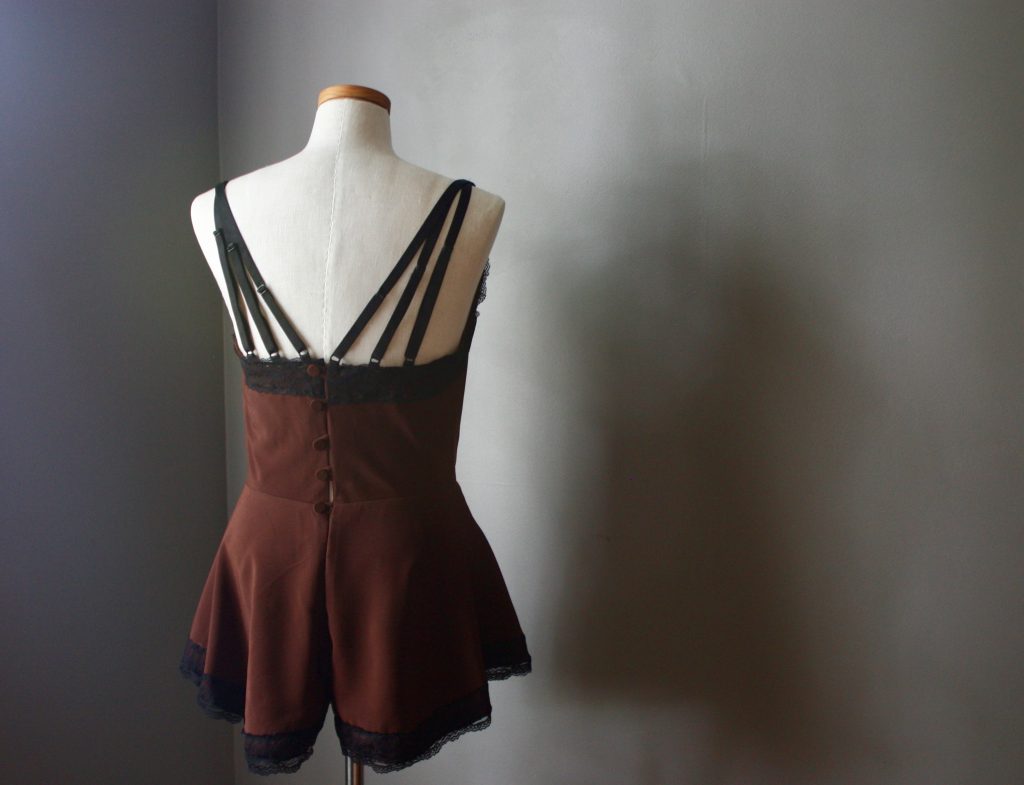
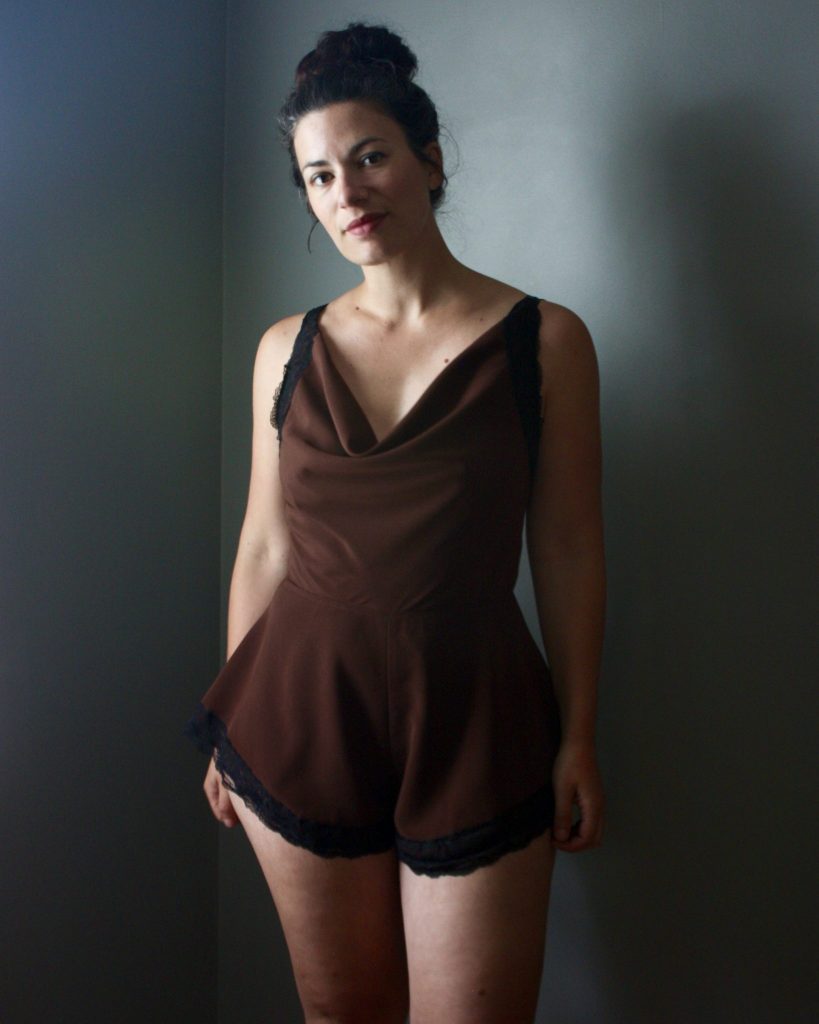
We should all sew special pieces that we wear and enjoy only at home. It is a special kind of self-care. This Bacchante Romper by A Thing of Beauty Lingerie was a treat to sew and is elevating my weekend lounge game. See how this pattern works really well for a waist to hip ratio like mine (so roomy in the bottom!), my modification to the straps, and some special vintage covered button action.
The Details
- Pattern is the Bacchante Romper by A Thing of Beauty Lingerie, gifted
- Available in sizes 0-18, from 32″ to 44 1/2″ bust
- I sewed a straight size 8 (My measurements are: 36/29/45″ bust/waist/hip)
- Fabric is a mystery satin blend remnant from my local outlet
- Additional notions: bra strap elastic (my stash), stretch lace, sliders and loops from Amazon
- Thrifted vintage “Cover-Your-Own” buttons
- Modification: back strap placement to accommodate putting the romper on over my hips
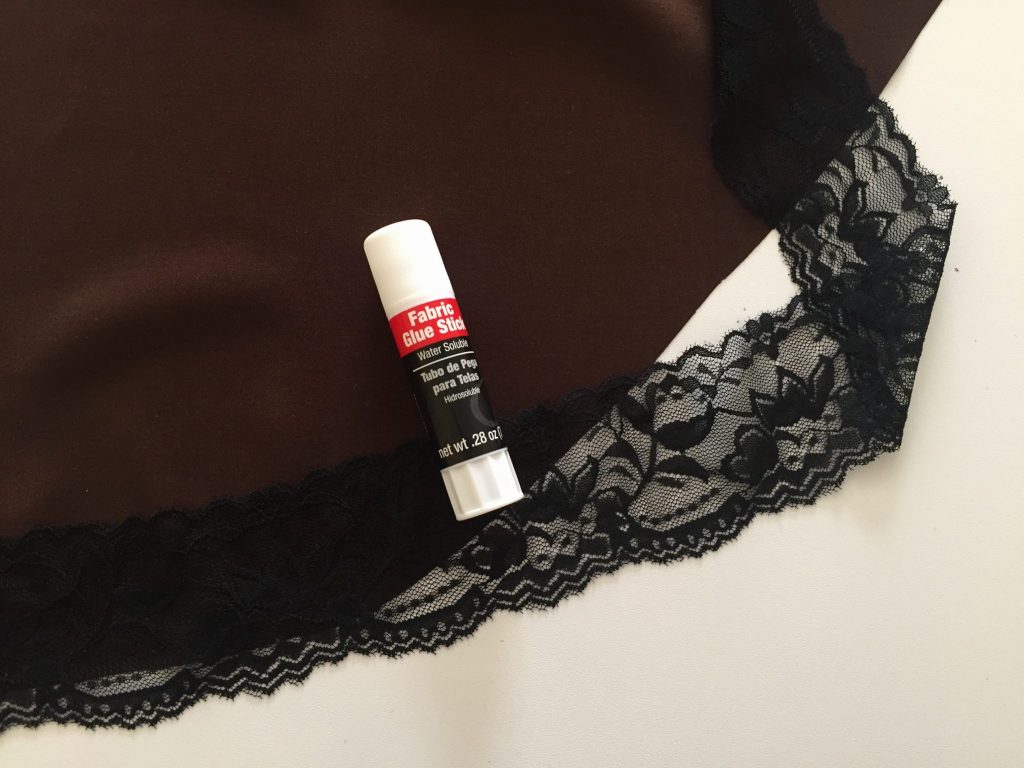
- The ultimate life-saver for this project: trusty Fabric Glue Stick for lace applique
Sizing
My bust and waist measurements (36/29″, respectively) match with a size 8 on the size chart. My hip measurement (45″), however, is a size 18 which is the largest size. I am very used to grading sizes for any bottoms that I sew. This romper is cut on the bias, and there are no side seams on the bottom of the romper. Usually I would grade at the side seams, so I was a little bit stumped as how to make sure this would fit around the hips.
Thankfully, I had a great chat with the designer, Helena, and she answered all my questions. There is plenty of ease in the bottom of this romper, even though it’s quite form-fitting in the bodice. I can’t remember the exact finished measurements she told me, but it was 50+ inches in the hips for a size 8. This was excellent to hear because that meant I didn’t need to grade out at the hips at all! You can keep this in mind too if you grade to larger sizes at the hips; you likely won’t need to with this romper!
Cutting
Most of the pattern pieces are cut on the bias, which gives the romper such a lovely shape and drape. The front bodice piece is also cut on the fold. Rather than messing with folding the fabric on the bias, I marked the front bodice piece in chalk. See the photos below; the front bodice piece is the one with page numbers 17-19. I trace halfway around, then flip the piece over on the fold line and drop pattern weights to keep it in place.
Once I have my rotary blade out, I put my pattern weights directly over the “on the fold” edge of the paper. This reminds me not to cut along that edge. It’s amazing how my brain can turn off and I just keep cutting where I’m not supposed to! I’m going to say that tip again, hopefully helping someone prevent a sad mistake and wasted fabric!
Tip: When you decide to cut an ‘on the fold’ pattern piece in a flat layer, place your pattern weights directly on the ‘fold’ edge of your pattern to remind yourself not to cut that edge!
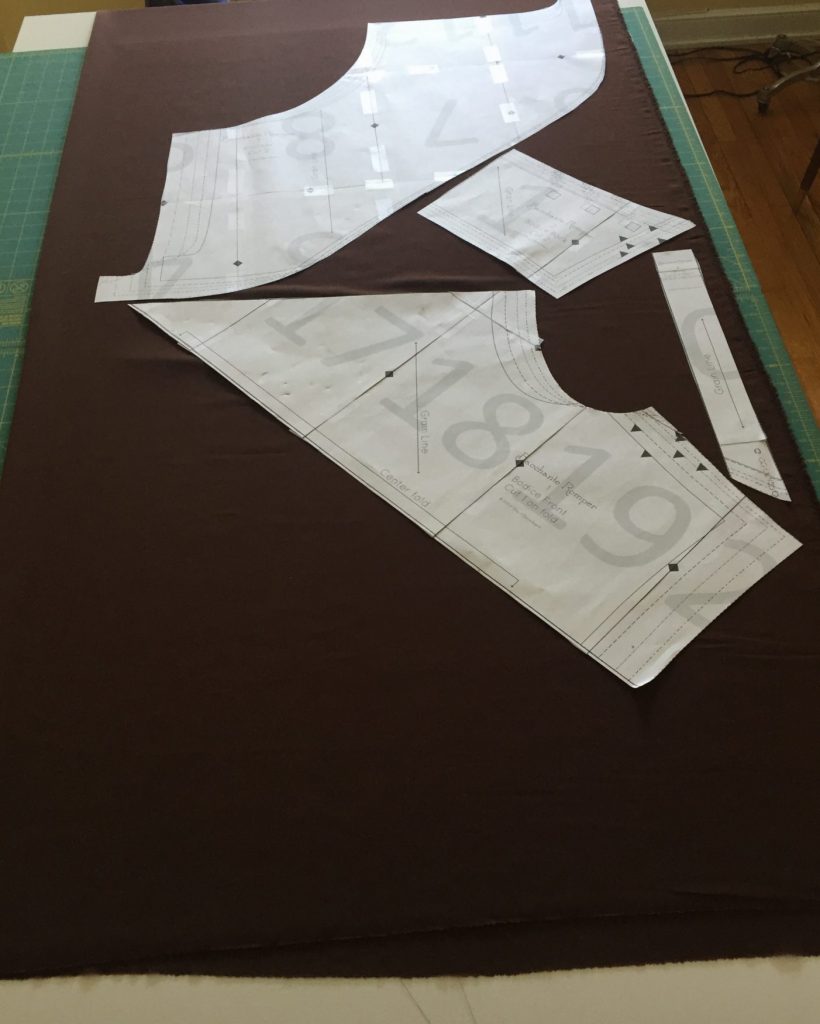
Cutting Layout 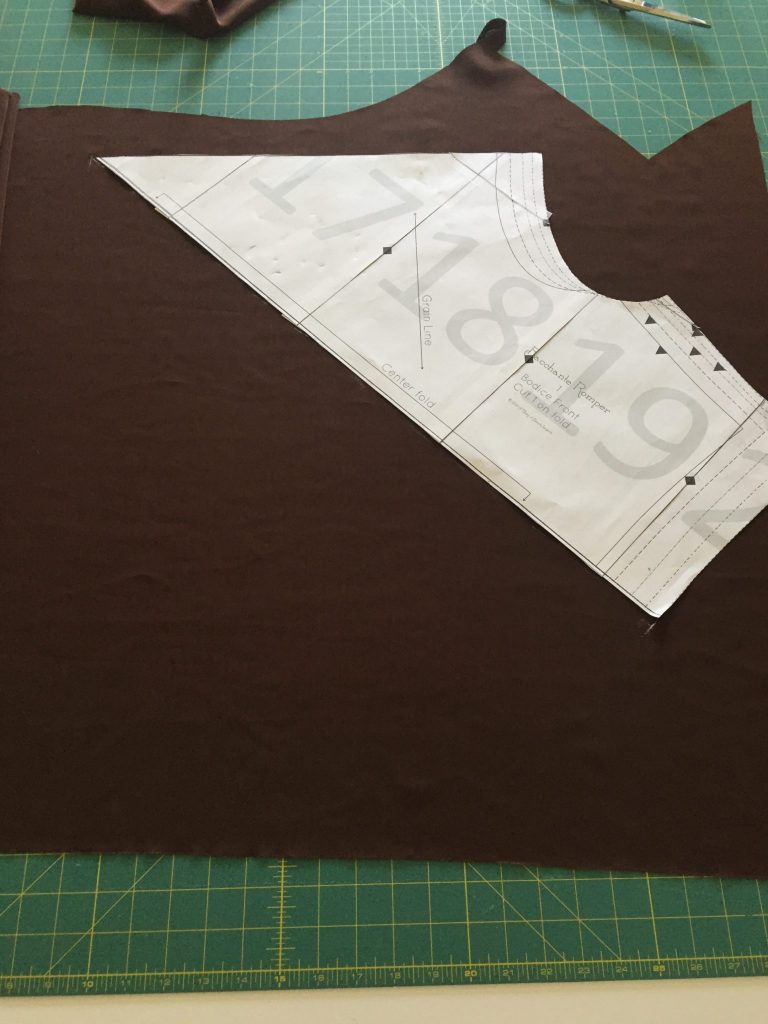
Cut on the bias and on the fold 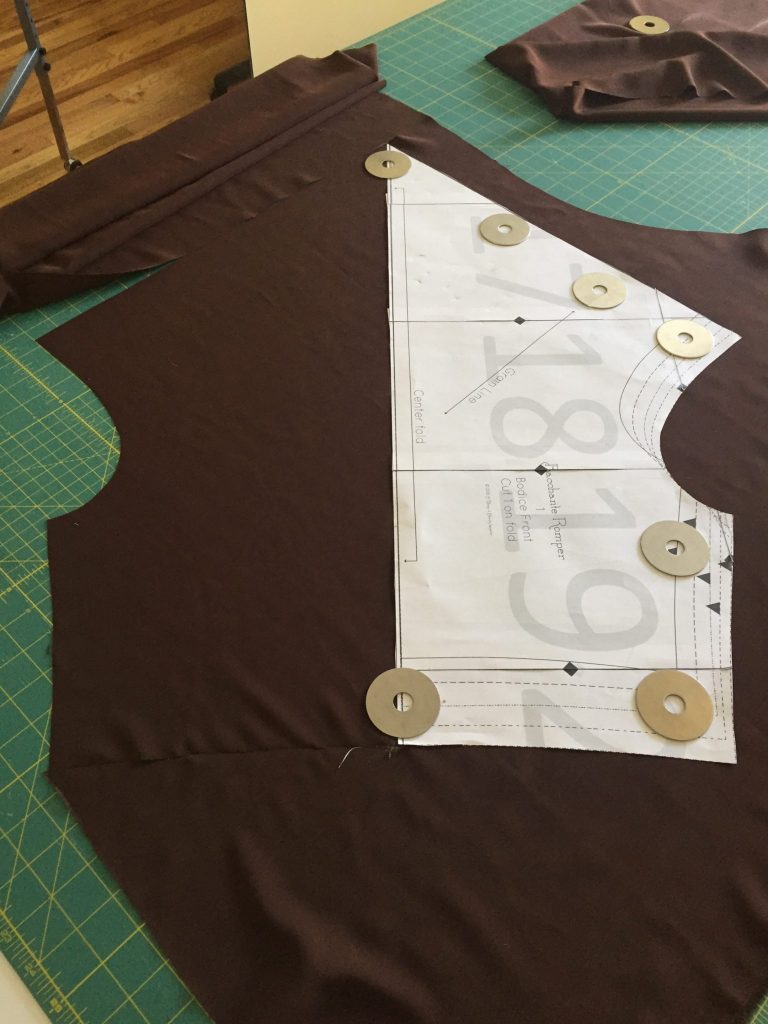
Bodice piece halfway cut
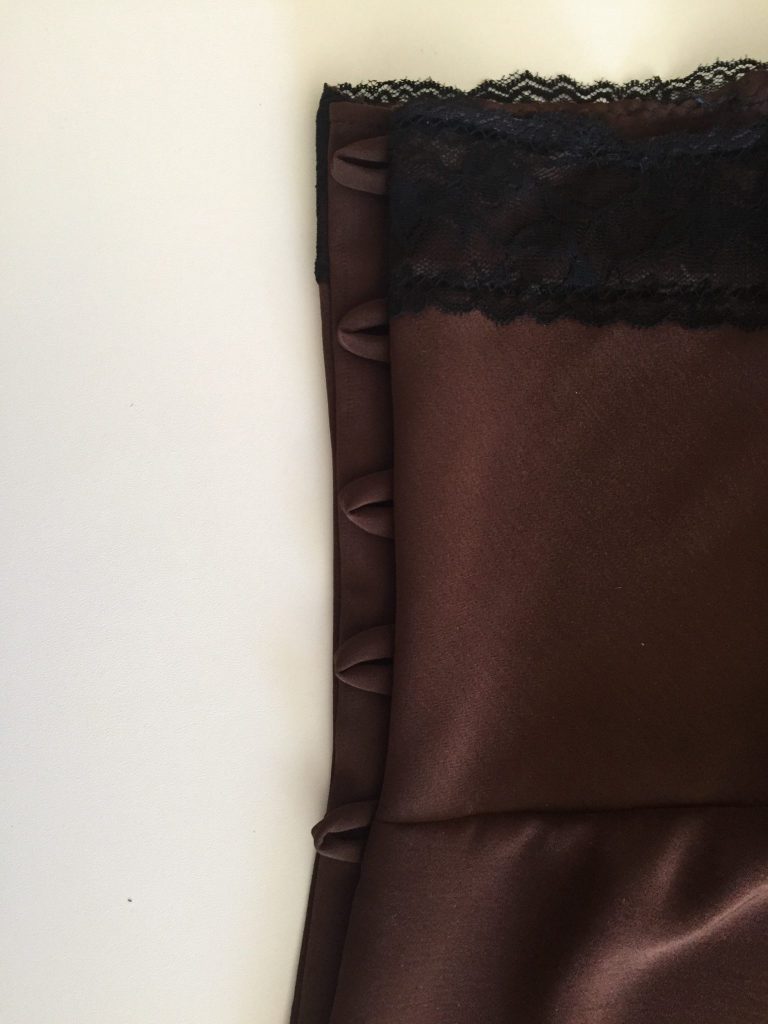
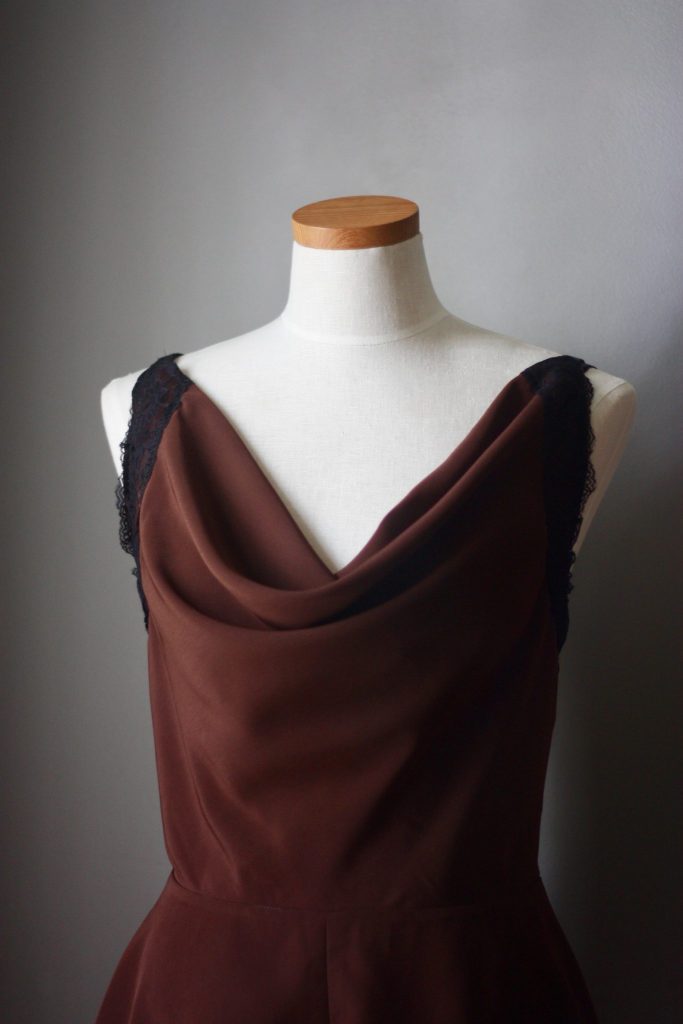
Stretch Lace Trim
I love the lace detail on the Bacchante Romper – it runs along the arm and leg openings and the top of the back bodice. I picked up some black stretch lace on Amazon. The quality of it was better than I expected! I’m so glad I had this fabric glue stick on hand because it was super helpful to baste the lace down before sewing. I’m not gifted nor patient enough for hand basting, and this was a welcome shortcut. I found a medium stretch needle was the best option for the zig zag stitch on this lace.
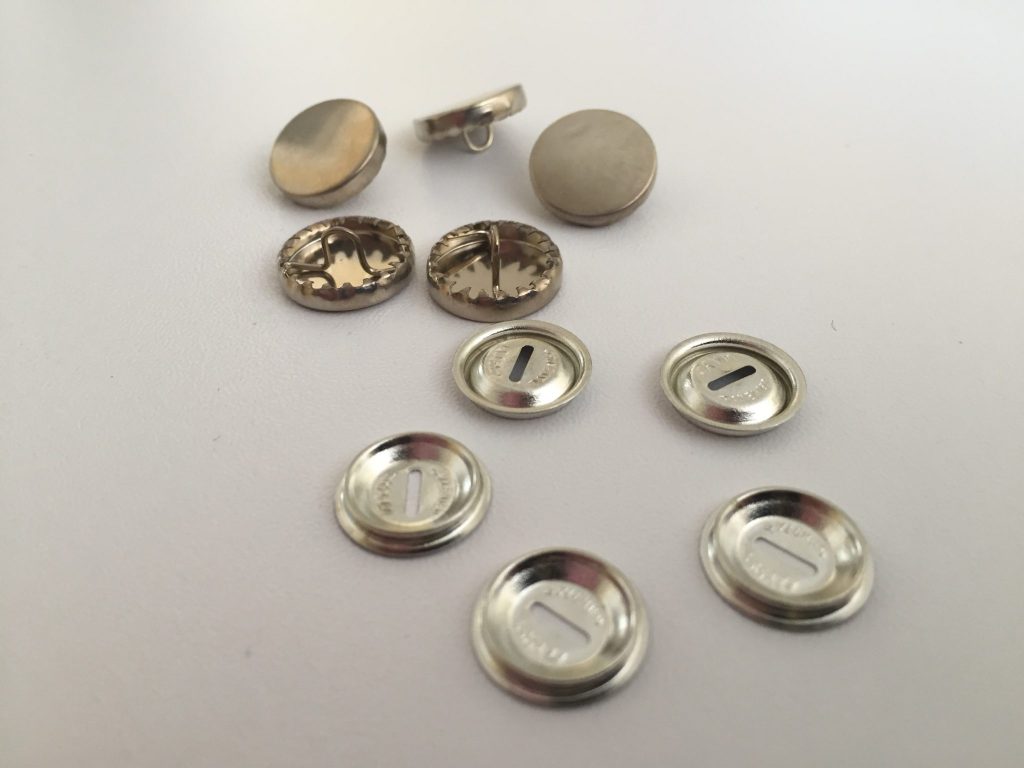
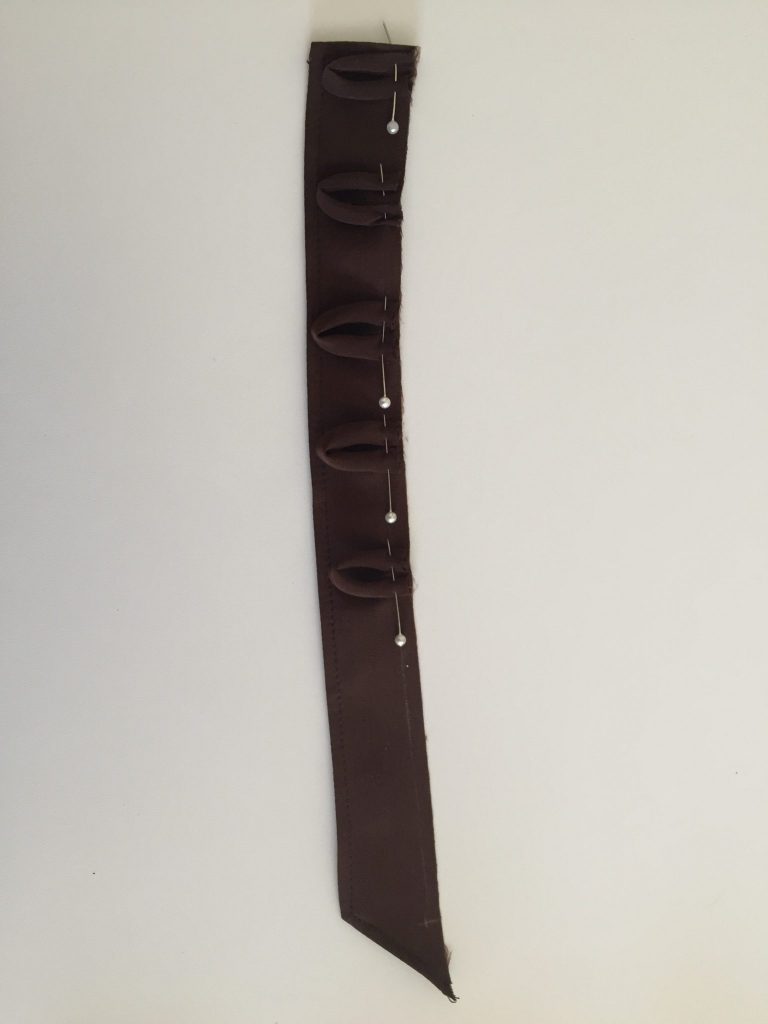
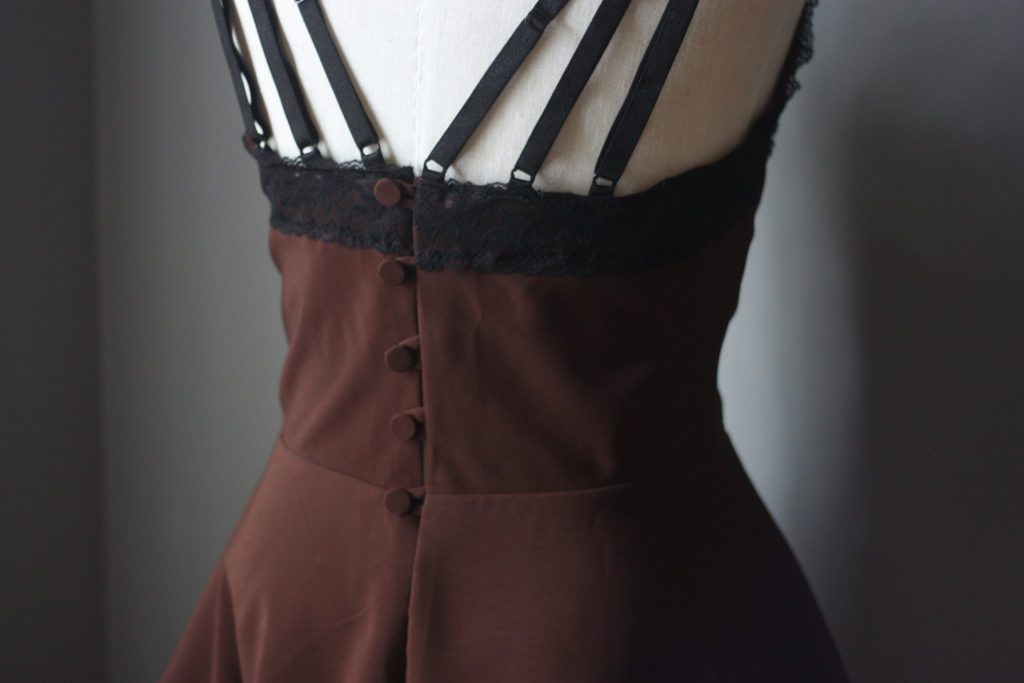
Covered Buttons and Button Loops
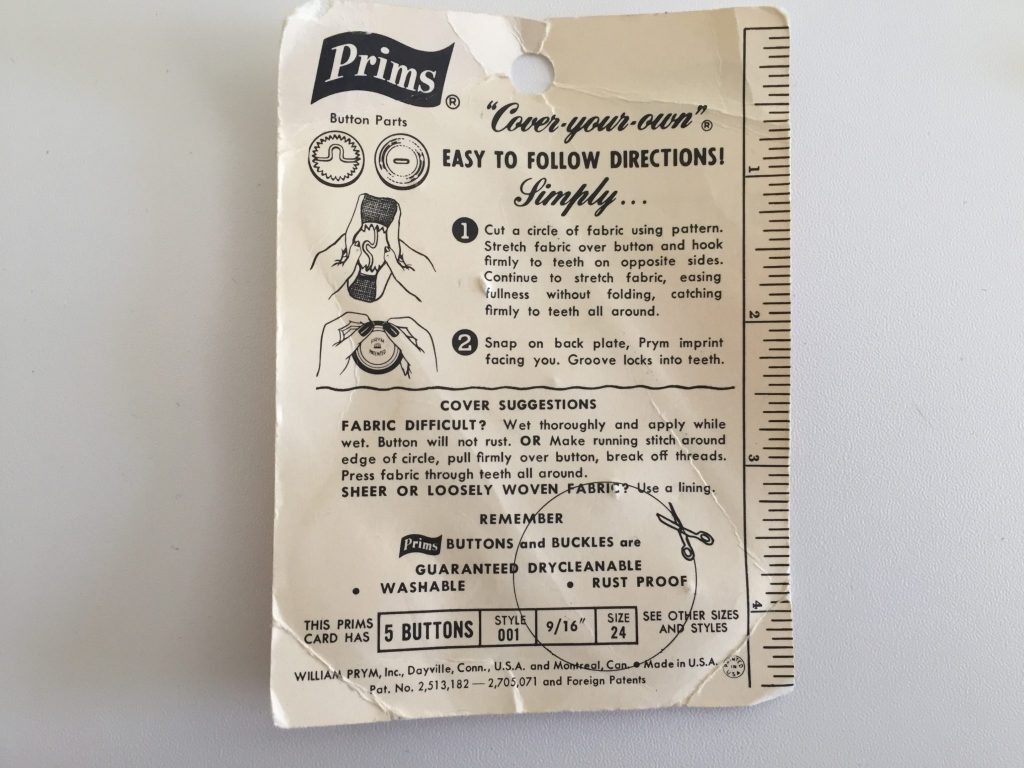
Quite awhile back I picked up these Prisms “Cover-Your-Own” vintage buttons from a thrift store. They were 29 cents back in the day, and that was the same price at the thrift shop! It was a perfect set of 5, which is what this pattern calls for. You can find similar ones online, like these. You don’t need covered buttons of course, but this was a fun addition to the project.
The packaging, instructions, and pieces are in the photos below. You cut out the circle shape from the cardboard packaging, and trace it onto your fabric. I used a Sharpie permanent marker because it was fast and easy, and the marked part of the fabric would be tucked into the buttons anyway. I fiddled to get the fabric pulled taught around the button, but it all holds into place with a satisfying snap of the button back.


The button loops are equally fun. I’ve never done this type of button hole before. It looks so romantic next to the lace! The instructions were straightforward and clear. Much easier than I expected!

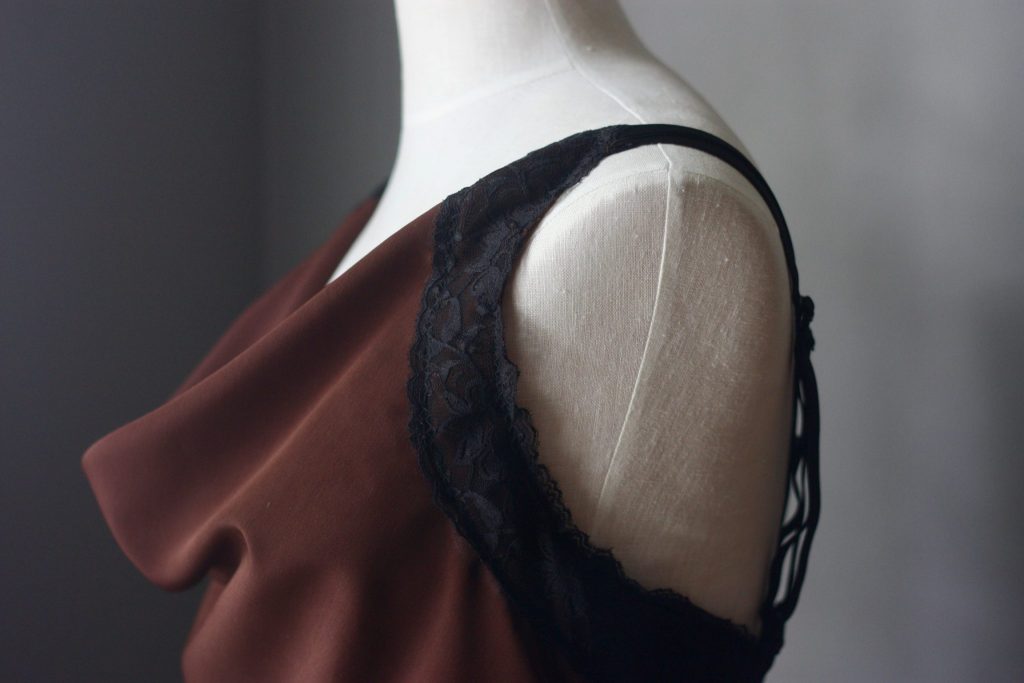
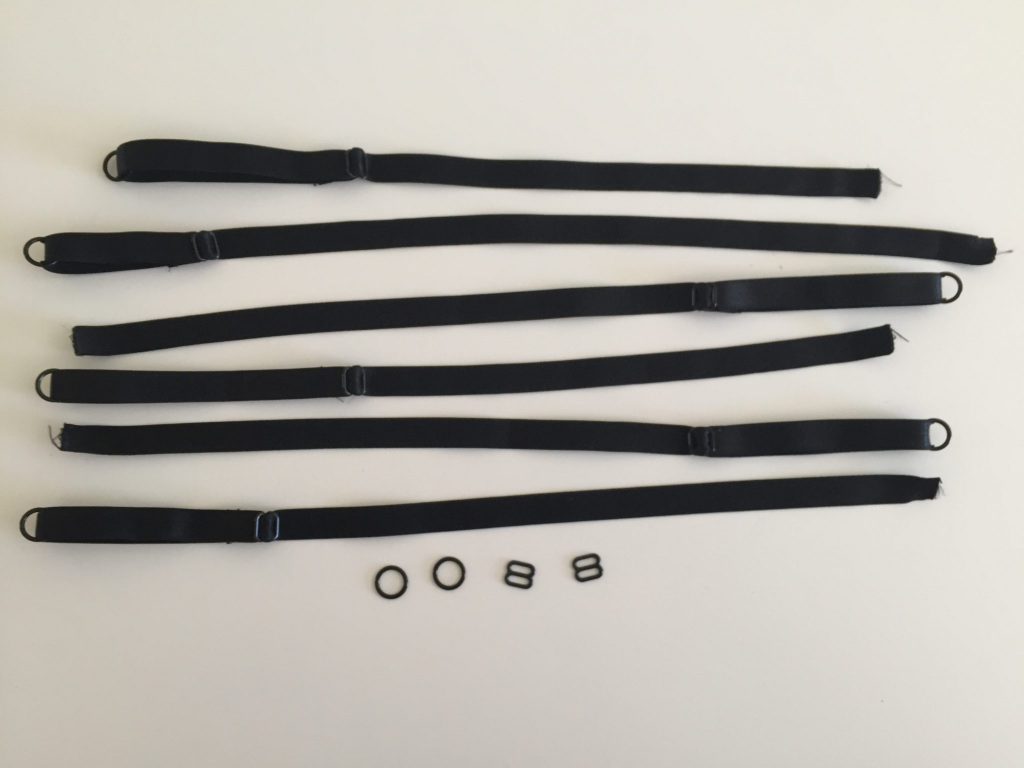
Modification of the Straps
The pattern suggests to make a set of straps out of bias strips in your main fabric. I opted for bra straps since I had them on hand. I also used remnant fabric for this project and I didn’t have a ton left over after cutting the romper pieces. The metal sliders and hoops are from Amazon, but I have to admit, the straps were a smidge too wide for the sliders so this was kind of a pain. If you go this route, be sure your sliders are wide enough.
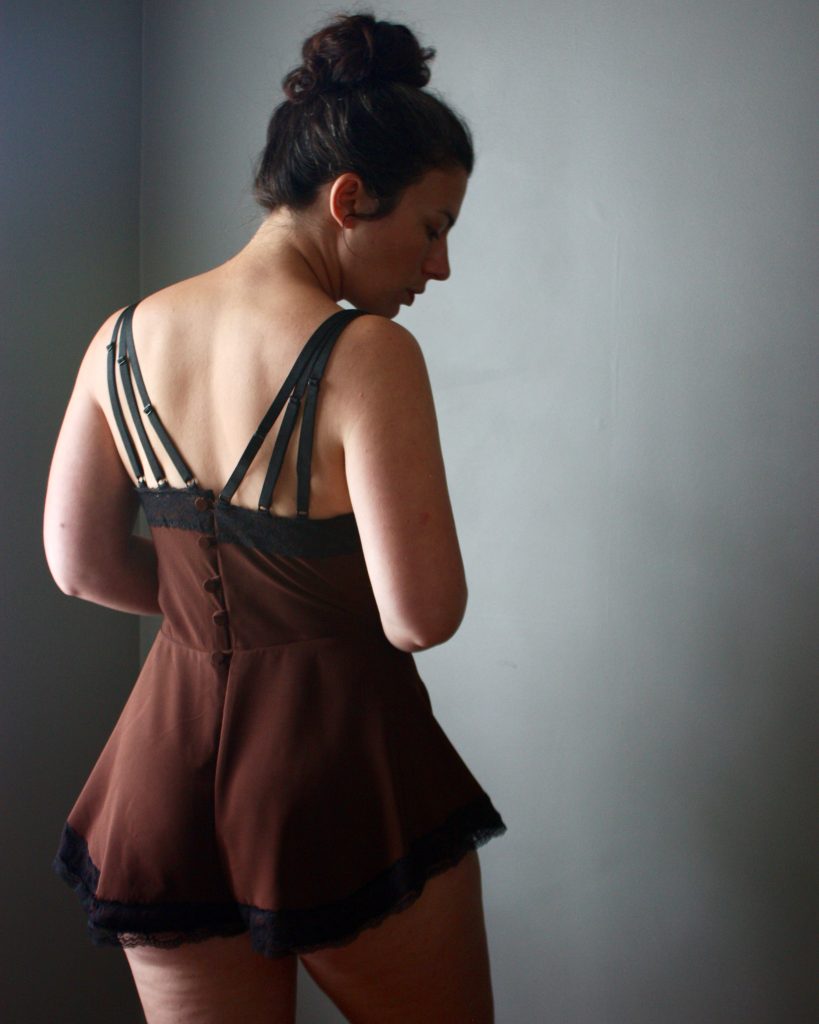
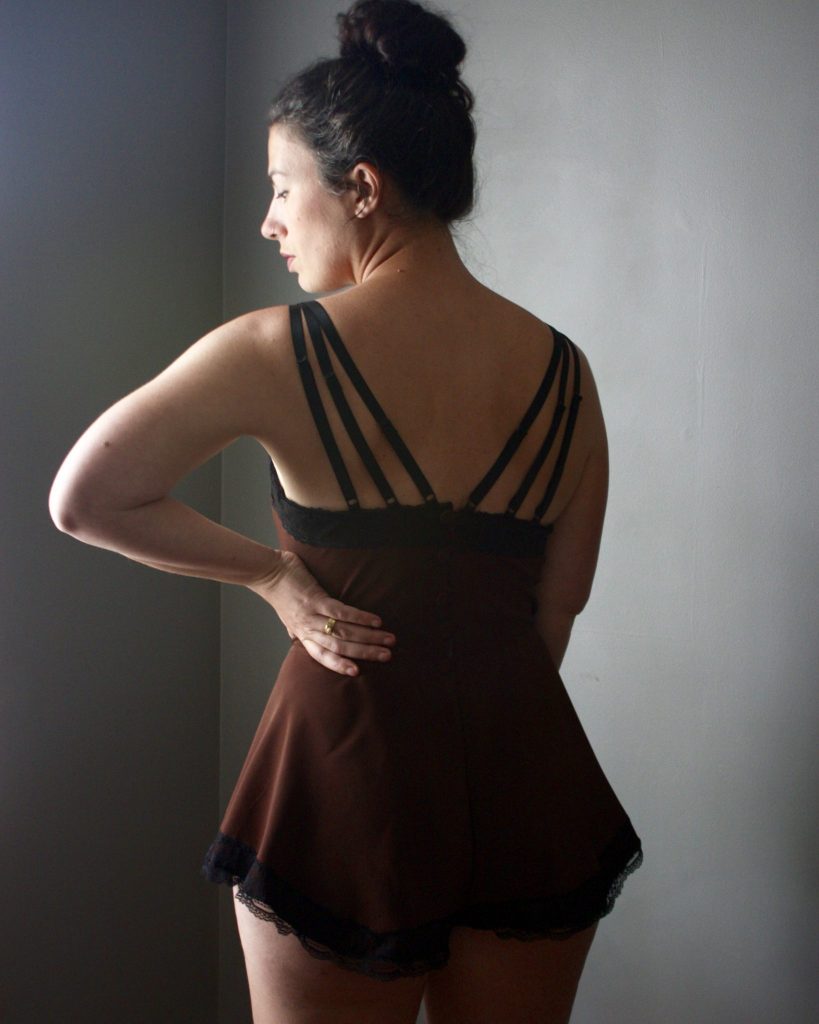
The other modification I made with the straps is to skip the crisscross pattern on the back. It looks lovely this way, as you can see in the pattern illustration below.
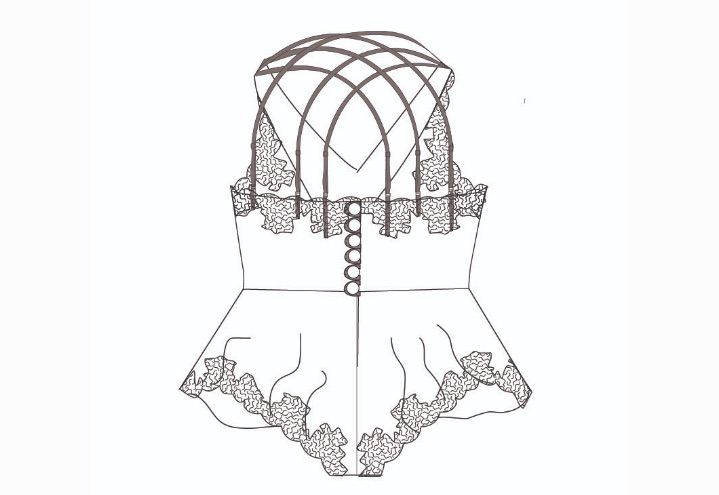
When I started pinning straps on the dress form, I realized that if I connected straps from the right shoulder to the left side of the bodice and vice versa, that really limits the opening in which I’d step into the romper and pull it over my hips. In trying on the romper before the straps were attached, I am just able to put in on over my hips as long as I shimmy it up gently. I didn’t have any more room to limit that opening. So I went for a V-back instead. It works for me, and I think it still looks lovely.
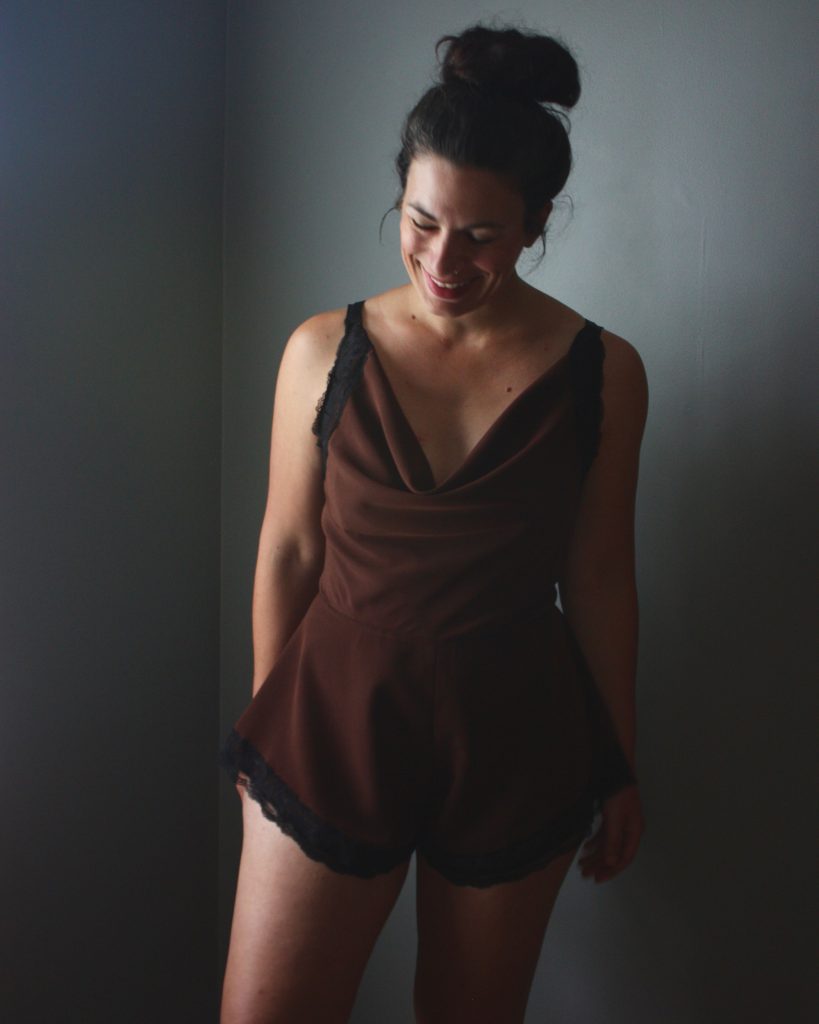
Sewing for Self-Care
I think this Bacchante Romper is such a lovely way to treat myself. I will only wear this at home (or maybe in a swanky hotel on holiday). Having this in my loungewear collection gives me promises of self-care days that will likely include a bottle of wine and nail polish and guilty pleasures on Netflix. The act of sewing this is a form of self-care as well. Working with lace, and sweet little button loops is sexy and satisfying. I really adore the femininity of this, even though I don’t think my everyday style is nearly as romantic as this romper. This definitely flirts on the softer side of what I usually wear out of the house, and that makes this a special secret.
Go make the Bacchante Romper Pattern, and please report back your recipe for self-care! When I wear lingerie, it can be a private experience (I’m surprised I’m sharing these photos of me in it), finding new ways of caring for ourselves is absolutely universal. I hope you find something to do today that makes you happy!
Beautiful
Thanks, Becca! <3
Wow! Gorgeous… great job, as always!
Thanks, Kara – you are so kind. xo
Looks comfy yet sexy, and that does not happen often!
Beautiful
I totally agree, Judy! Thank you!
That is so beautiful! I love the black lace on brown…very chic and classy. Question: how difficult is it to button the buttons on your own? (For when there aren’t other hands around to help 😉).
Gorgeous work as always!
I was going to ask the same question 😉 It is so lovely, though…
Thanks, Heather! I answered the question above, just want to be sure you saw my reply! xo
This is a great question! For me the upper buttons are pretty close to the middle of my back, which isn’t always the easiest to get to. However, the shoulders just slide right off so I can shimmy the thing down a bit and lower the buttons so it’s easier to manage. Definitely keep the button loops loose enough too!
SEW very very pretty!!! Well done!
Thank you so much, Les!
Its beautiful what you created. You have taken the pattern and created a unique piece. That’s what sewing is all about. 😊
You are so right, Julia! Thank you xo
I LOVE that color (what would you even call it? Chocolate? Raisin? RAISINETS?). The drape looks so heavy and luxurious, too. So pretty and indulgent (in the best way)!
Raisinets!!! Love it!