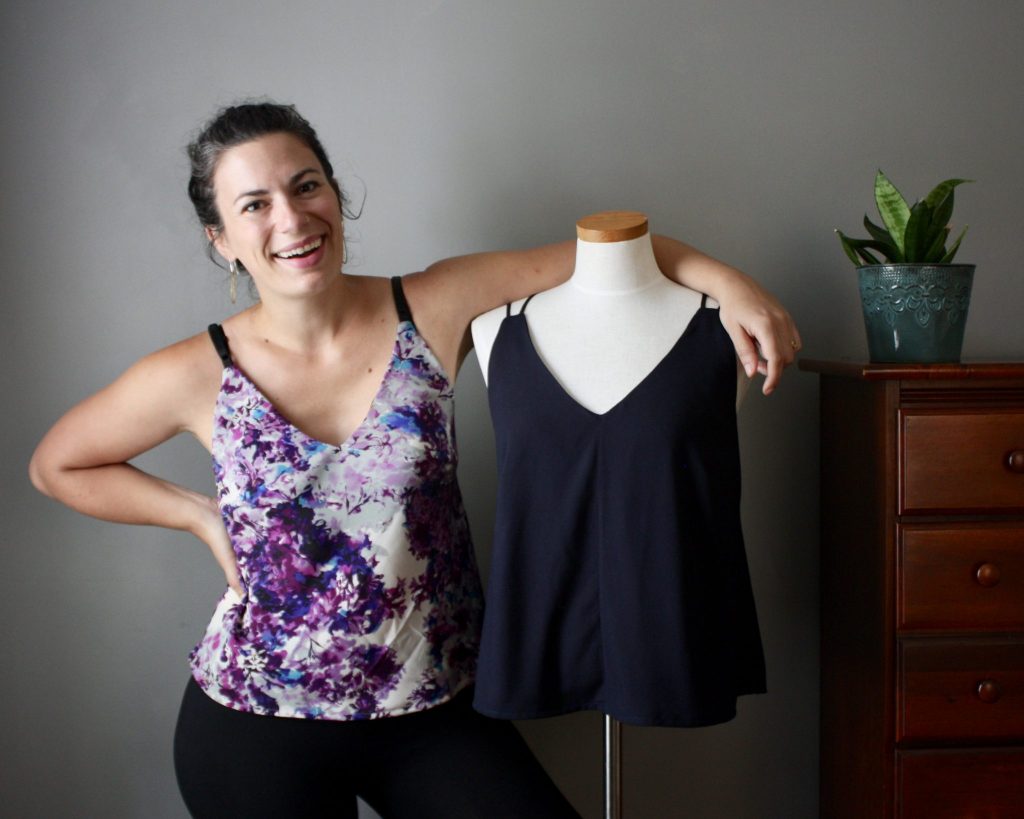
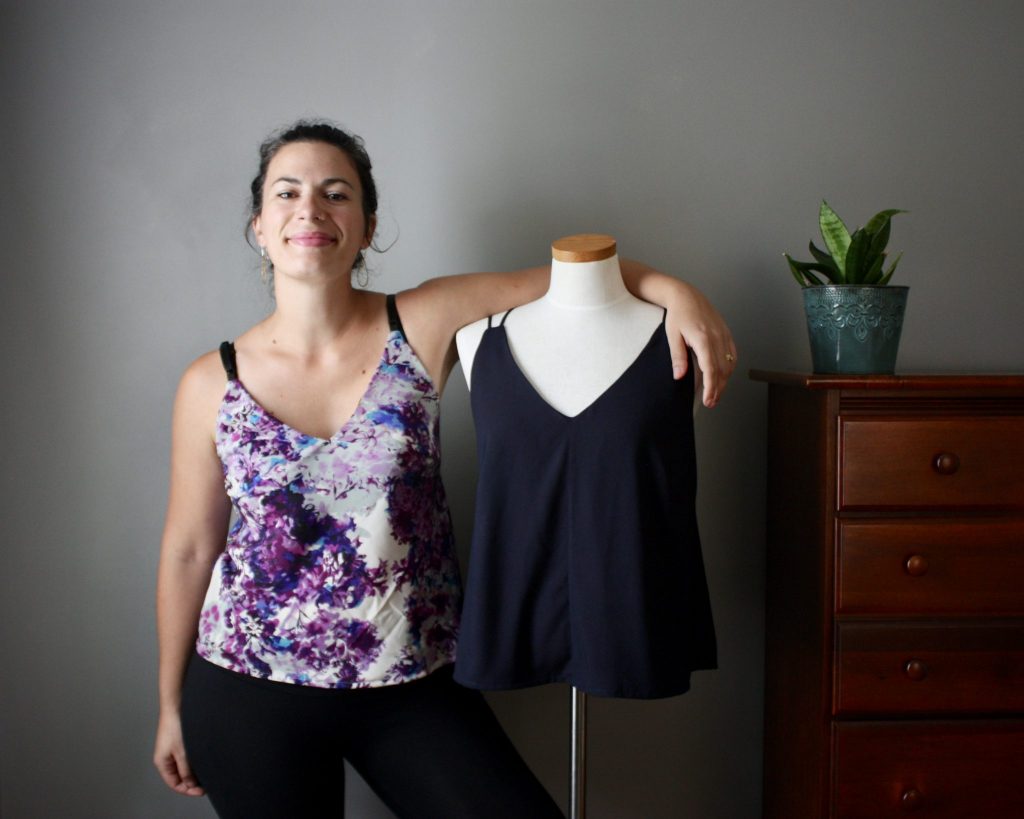
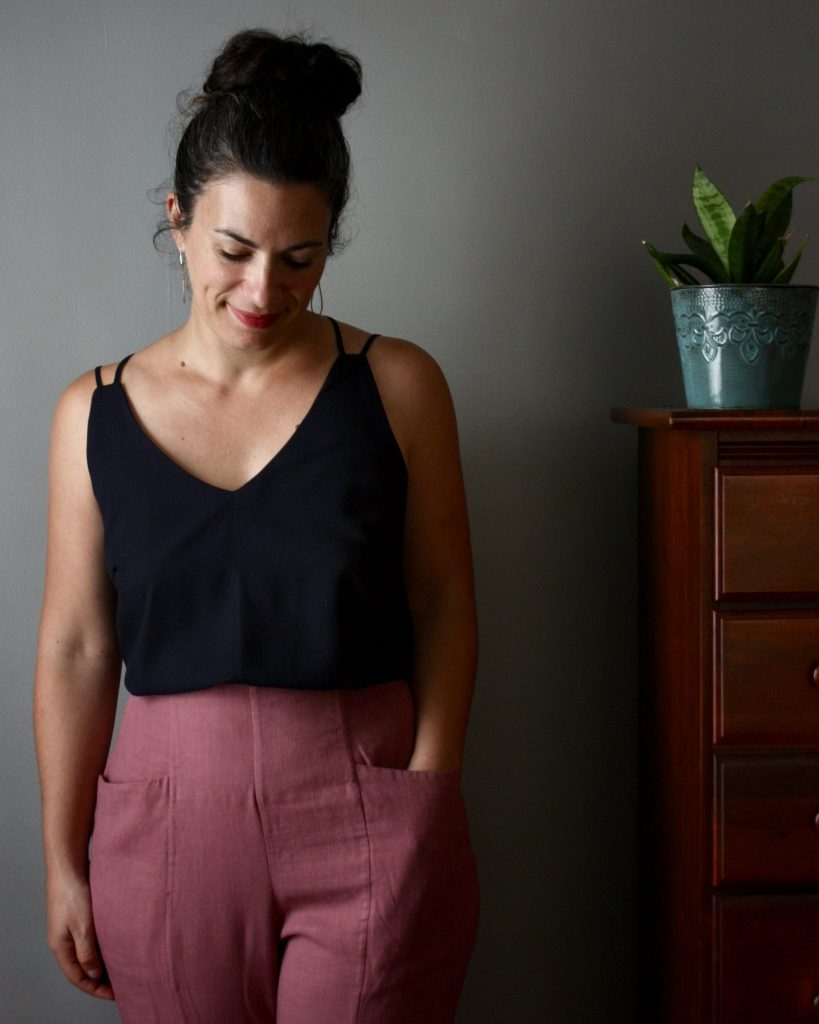
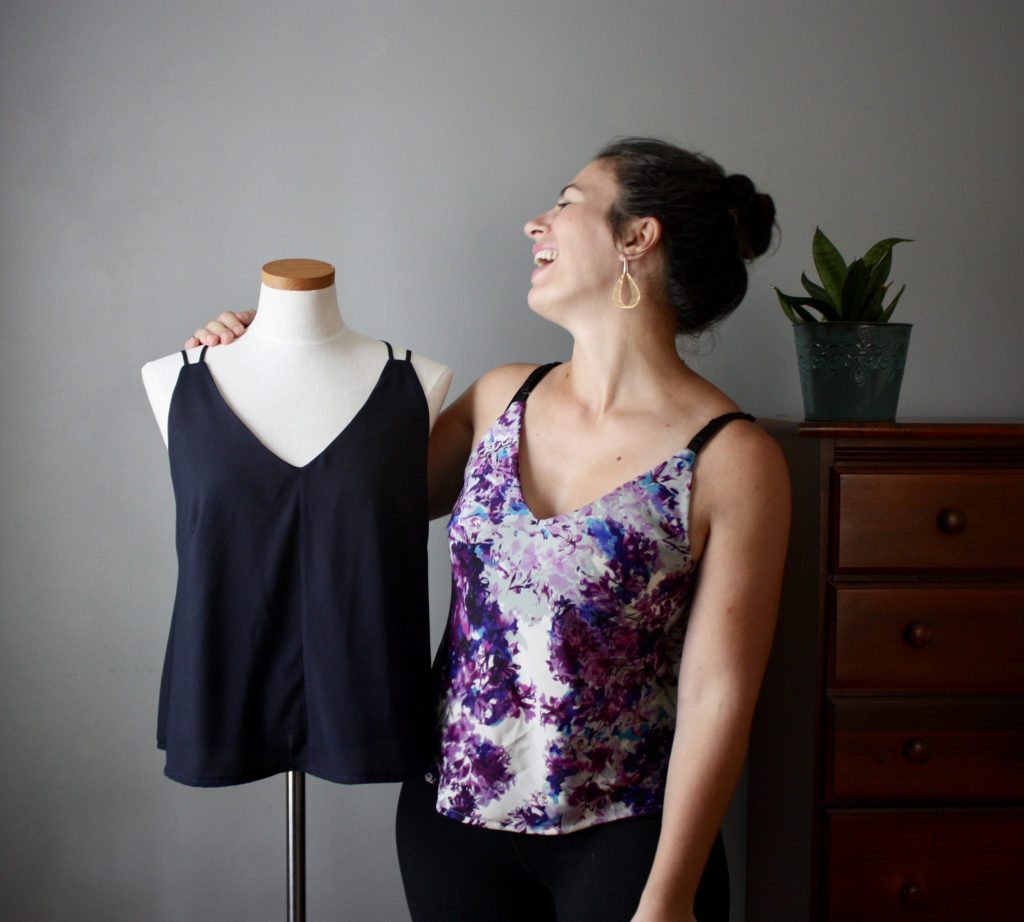
I was going to call this blog post “A Tale of Two Mistys” but it’s too unoriginal and lame and it doesn’t do justice for how pumped I am at how these two Misty Camis turned out so great! The silk floral cami is a gentle hack (cut on the bias with bra straps) of the new Misty pattern by Sew Altered Style. The navy cami is the original Misty pattern, but refashioned from the skirt of a RTW dress. Let me show and tell how I pulled these off!
The Details
- Pattern is the Misty Cami by Sew Altered Style, gifted in exchange for participating in their Misty Hack Tour
- Misty Pattern is on sale at a 20% discount through August 4, 2019.
- Misty includes a cami view and a dress view with strap variations, sizes 0-30 and cup sizes
- I sewed views A and C: size 8 A/B cup, my measurements are 35/36/29″ high-bust/full-bust/waist”
- Floral silk was a gift from my sister last summer from Treadle Yard Goods in St. Paul, MN
- Navy rayon from a RTW dress purchased from Uniqlo 3 years ago
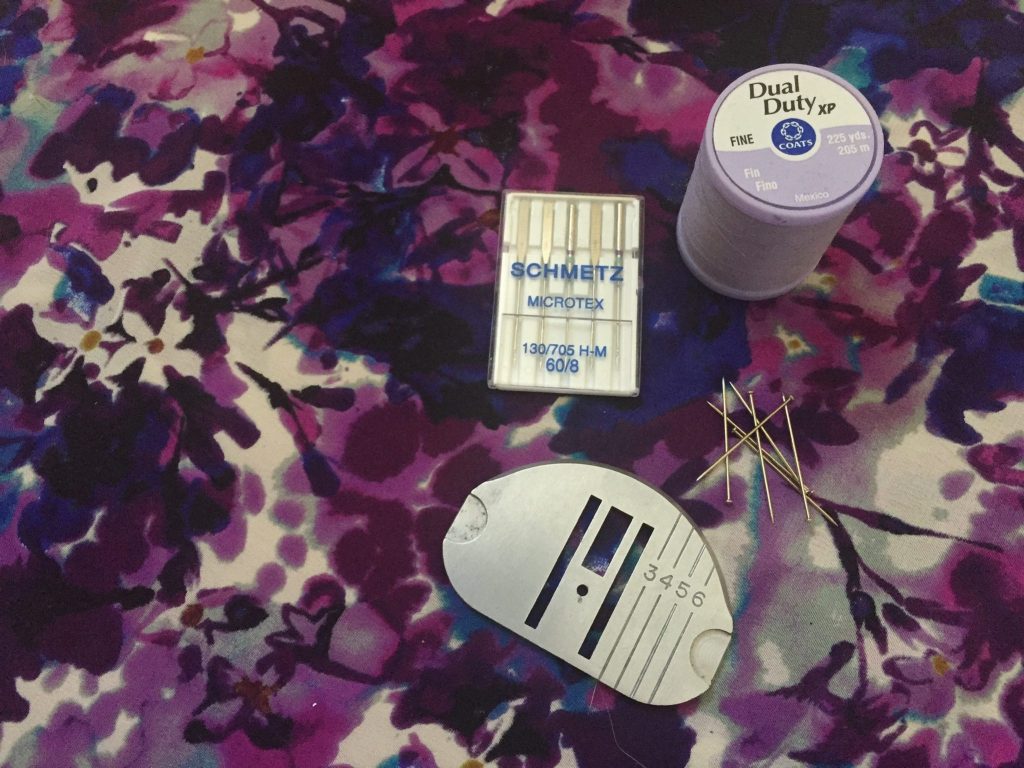
- Useful supplies for silk bias cami: Microtex needles, quilting ruler, fine thread, interfacing strips, silk pins
- Bra strap supplies: hoops, sliders, black bra straps
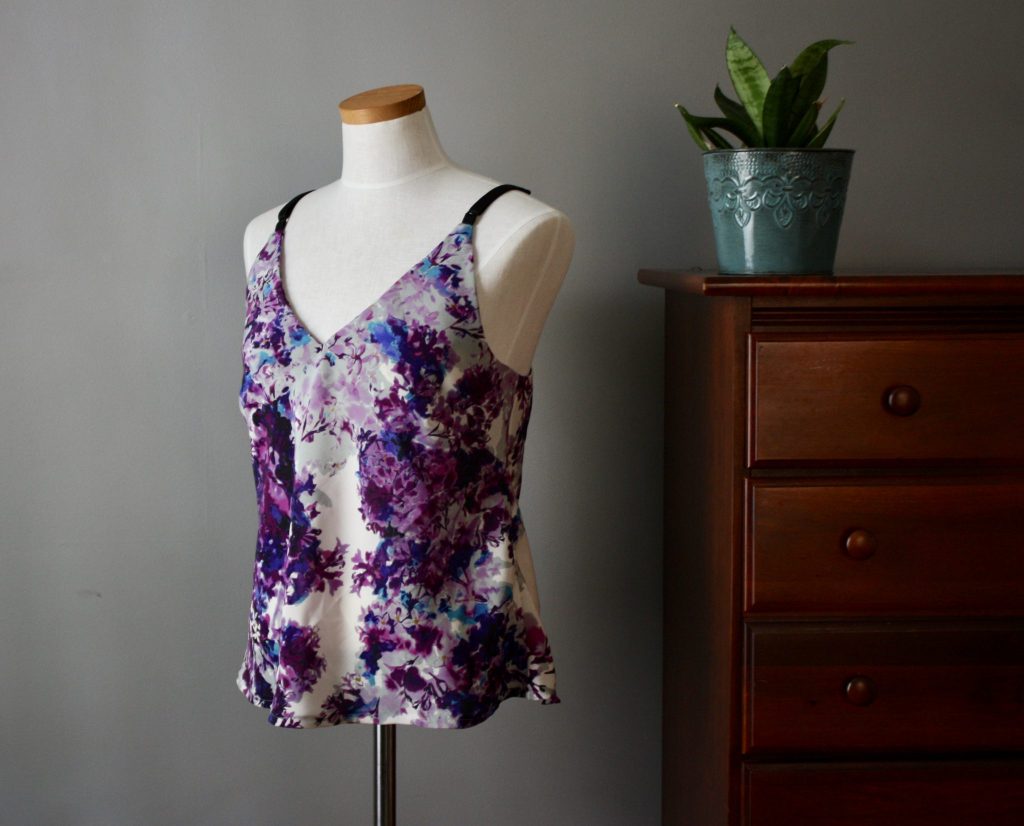
Silk Floral Bias Cami
This fabric was a dream to hold and gave me the nervous butterflies to work with. After all, it wasn’t that bad once I got going, and I have to remind myself of that feeling anytime I work with an unfamiliar fabric. It gets easier once you take the first step. So let’s start from step one: cutting!
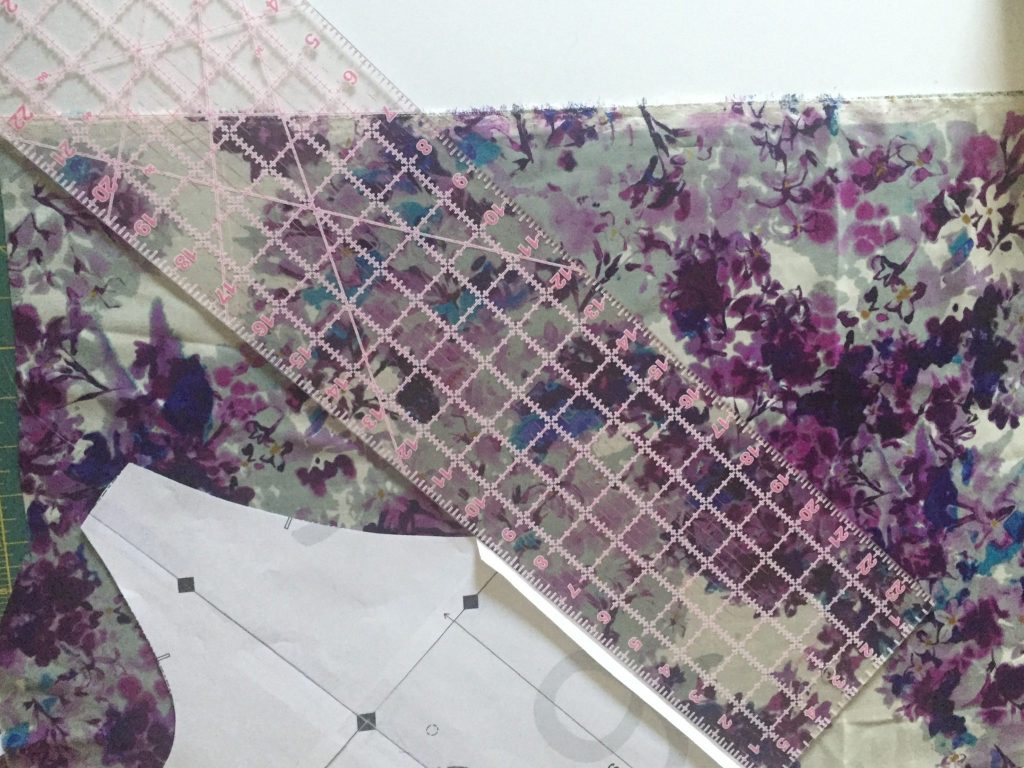
Cutting on the Bias
It was way too fun floating this silk over my cutting table. I tossed it up about a dozen times and let it fall gracefully wherever it wanted to go. I fiddled with it until I felt that it was on grain and not too wonky. My quilting ruler came in very handy because it has a 45 degree mark that I could line up with the selvage and then align the center fold of the pattern piece against the edge of the ruler.
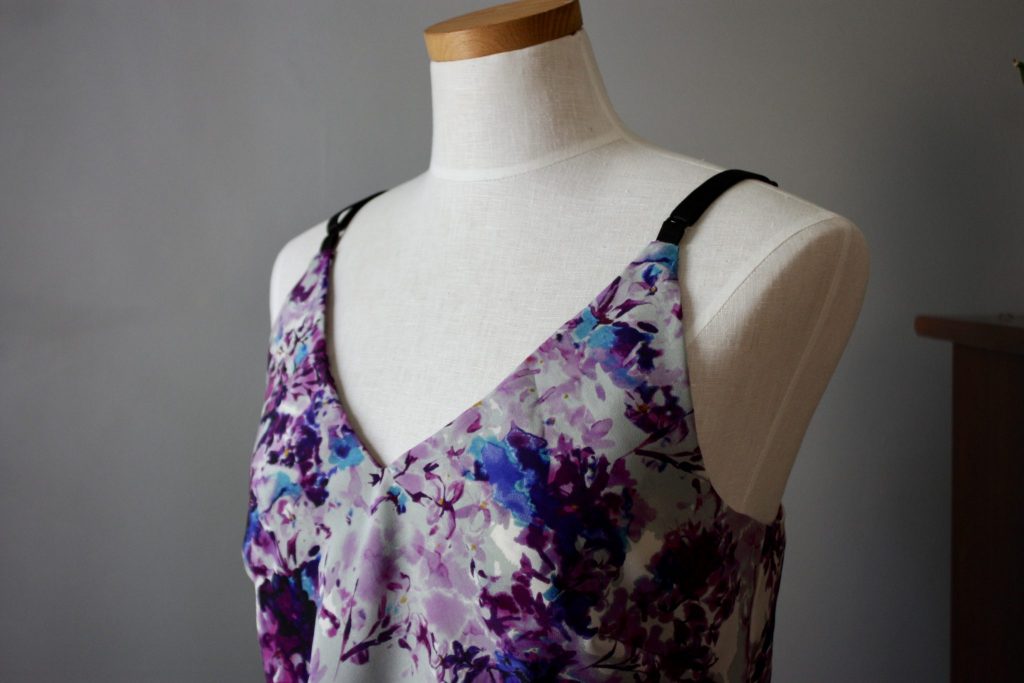
Notice how the center fold seam allowance is folded in: I omitted the center front seam on this cami. I wanted a fluid and clean front with this being on the bias, and I didn’t want to disrupt the floral pattern. I cut around the right side of the bodice, and then mirrored the pattern piece along the center front and cut the left side. Same process for the lining and back pieces.
Useful Tips for Sewing Silk
I switched out my zig zag throat plate and used my straight stitch throat plate instead. This helps to reduce the chance of the silk being pushed down into the underbelly of your machine. A fresh Microtex needle is mandatory! I actually had this lavender Coats fine thread on hand – it was an in-between color for this fabric and the fact that it was suitable for lightweight fabrics was a bonus! Silk pins make a big difference, and I actually like that they are all metal without a big head so I can press over them pretty well.
When pinning silk, I use a lot of pins. About one pin every inch or so. Silk is already shifty, but when you add in the bias factor, just add music and your fabric is having a dance party. I didn’t use starch on this, but I might opt for it next time, especially with pressing. To reduce over-handling the fabric and causing it to warp, I lay the fabric layers on the table, line them up, and press them down with two fingers. I slide the pin in between my fingers, slightly sliding it against the table. I find this easier than shifting it around in my hands.
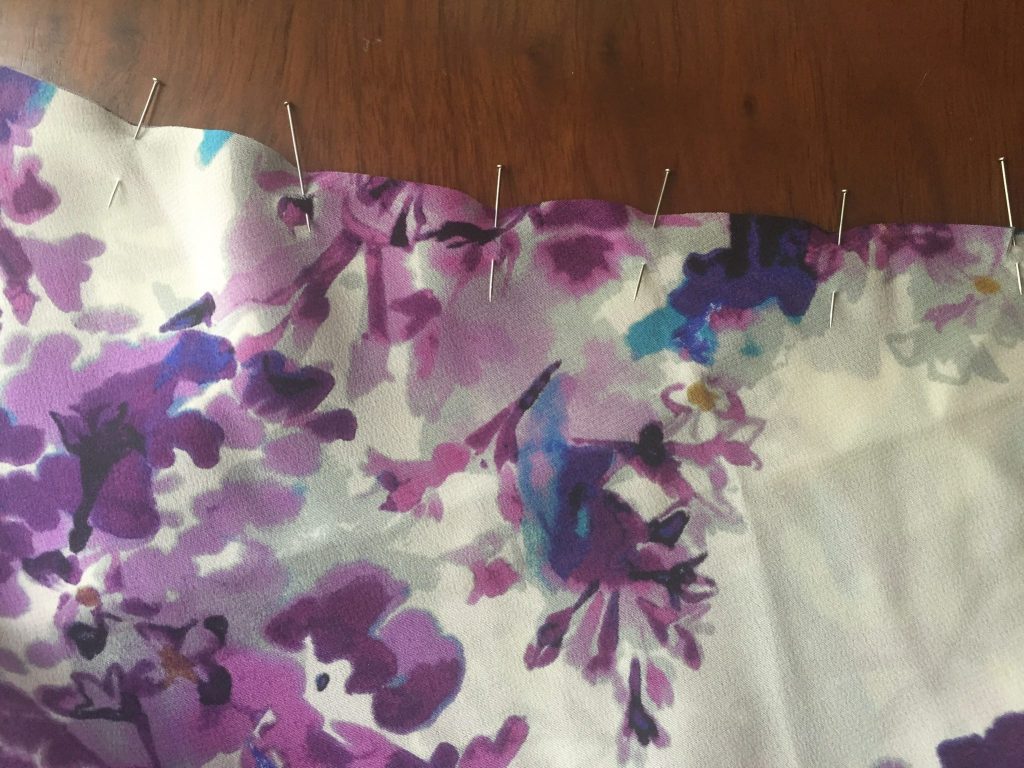
Pin generously 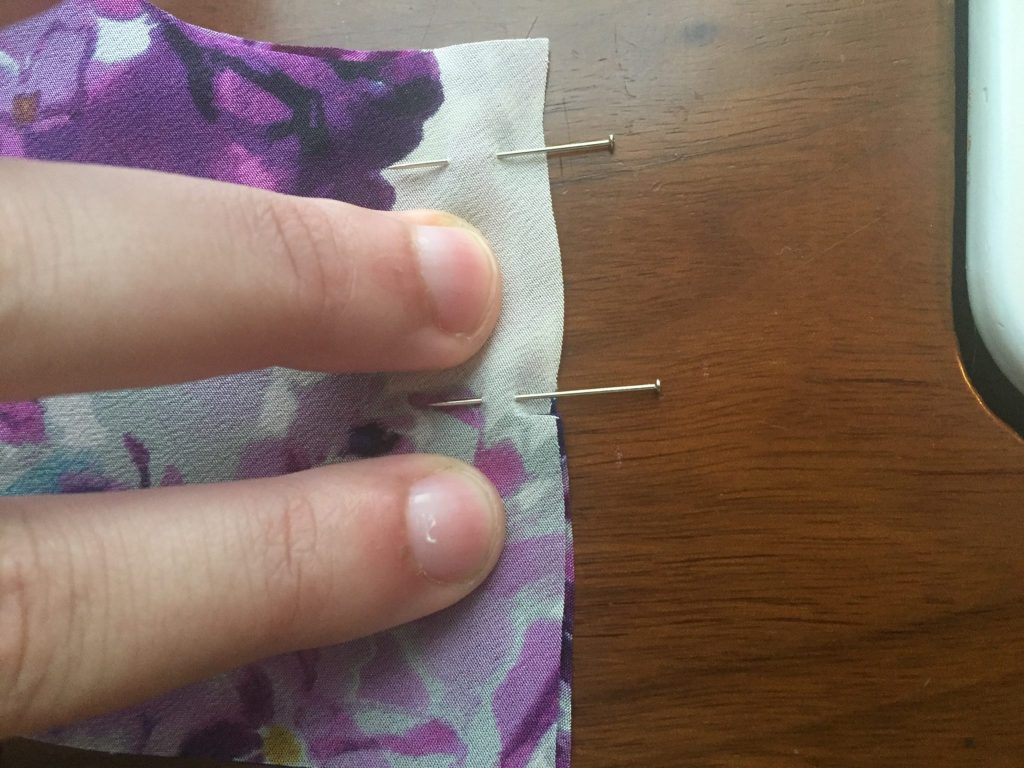
My silk pinning technique
Bra Straps
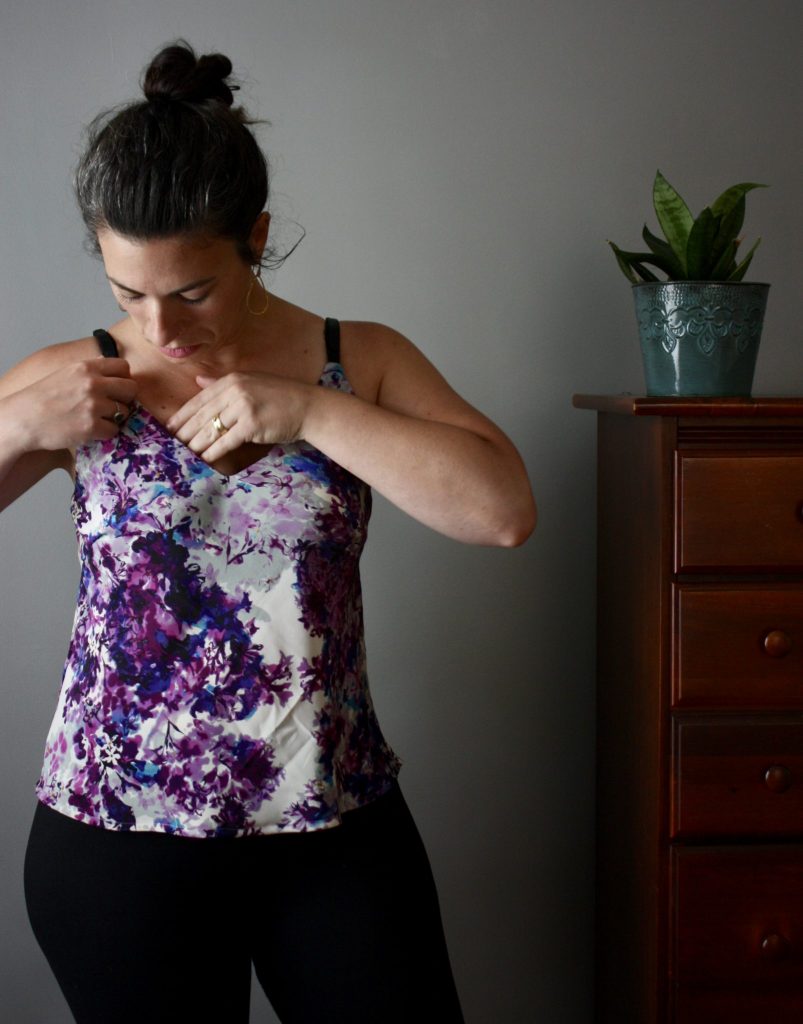
Instead of the original pattern’s thick straps for this view, I opted for bra straps. I thought it not only adds lingerie vibes, but also the chance to adjust the length of the straps as I need to. Sometimes I prefer a different length depending on what bra (if any) I’m wearing.
Since bra straps have some heft to them, I put a small strip of interfacing on the top of the front bodice where the straps attach, and also at the notches on the back piece. Then I pinned a 2″ piece of bra strap, wrong sides together with a loop inserted at the top edge of the front piece on each side. I stitched two rows to secure.
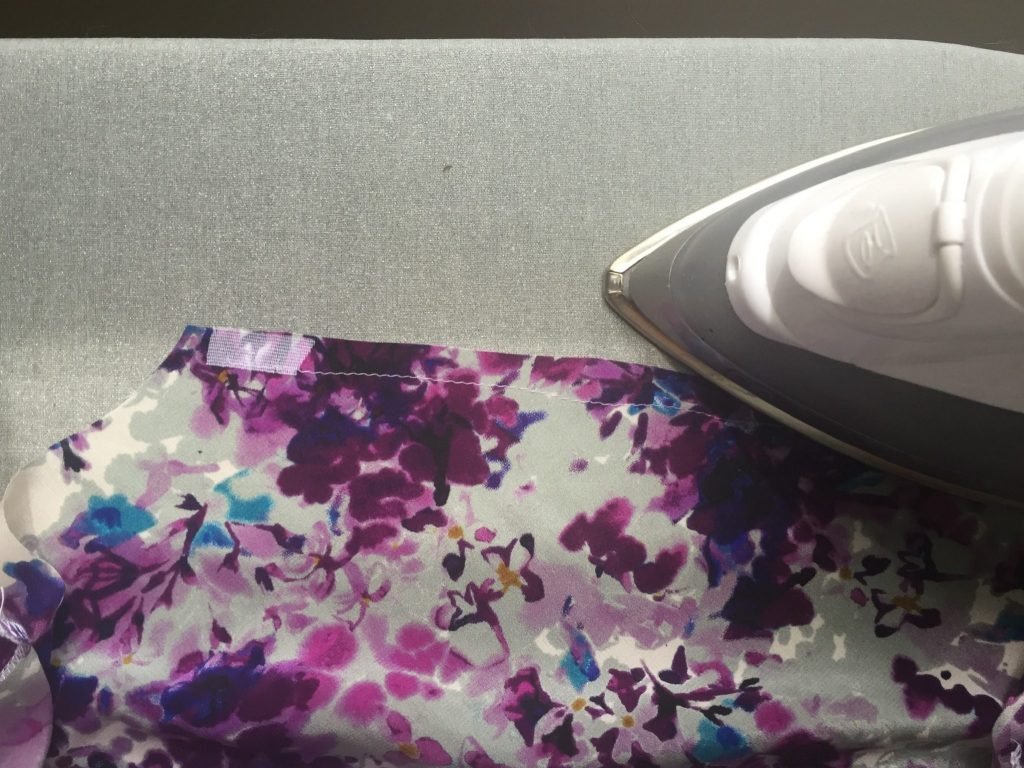
Iron interfacing at strap spots 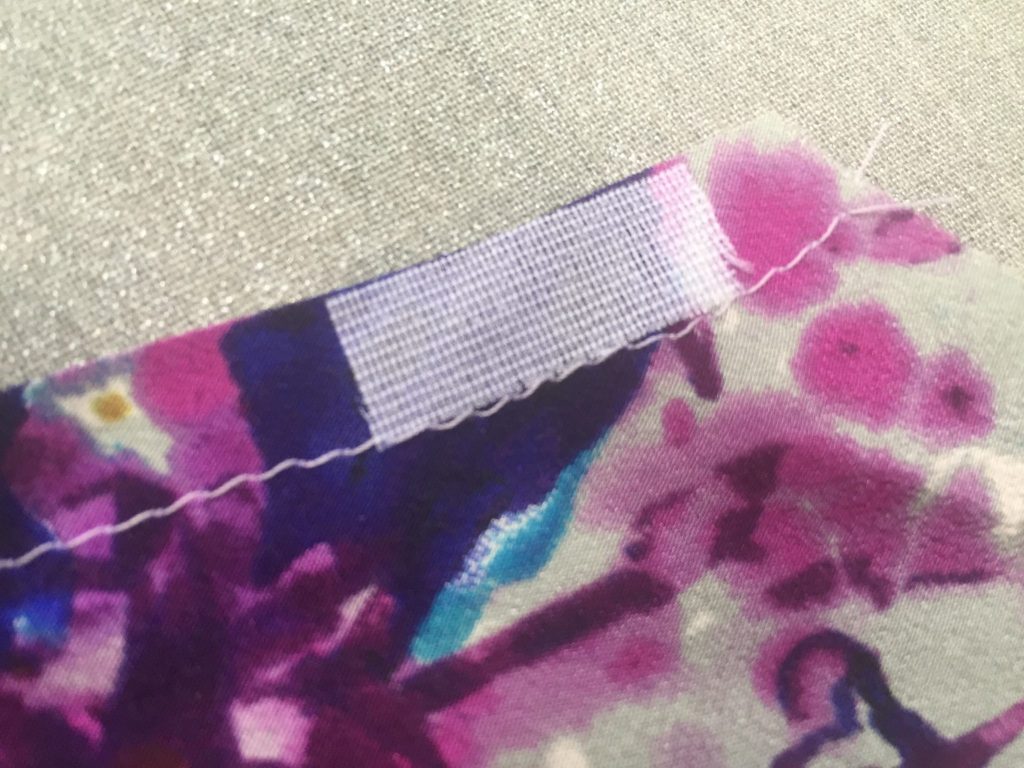
1″x3/8″ interfacing patch 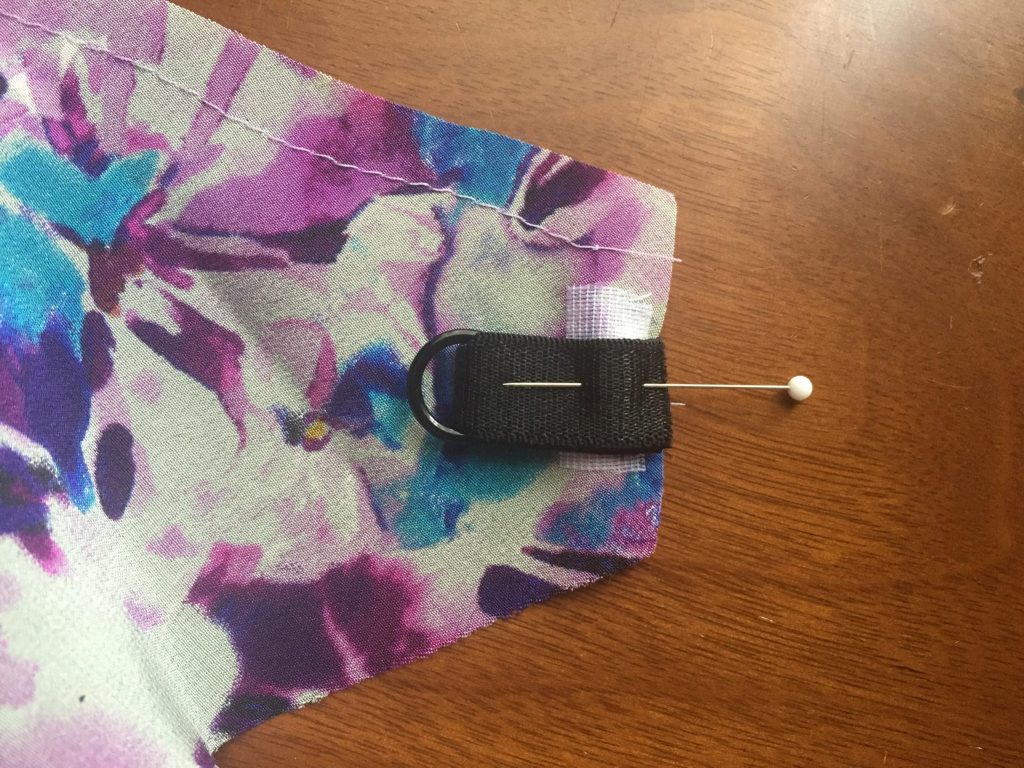
Pinned bra strap and loop 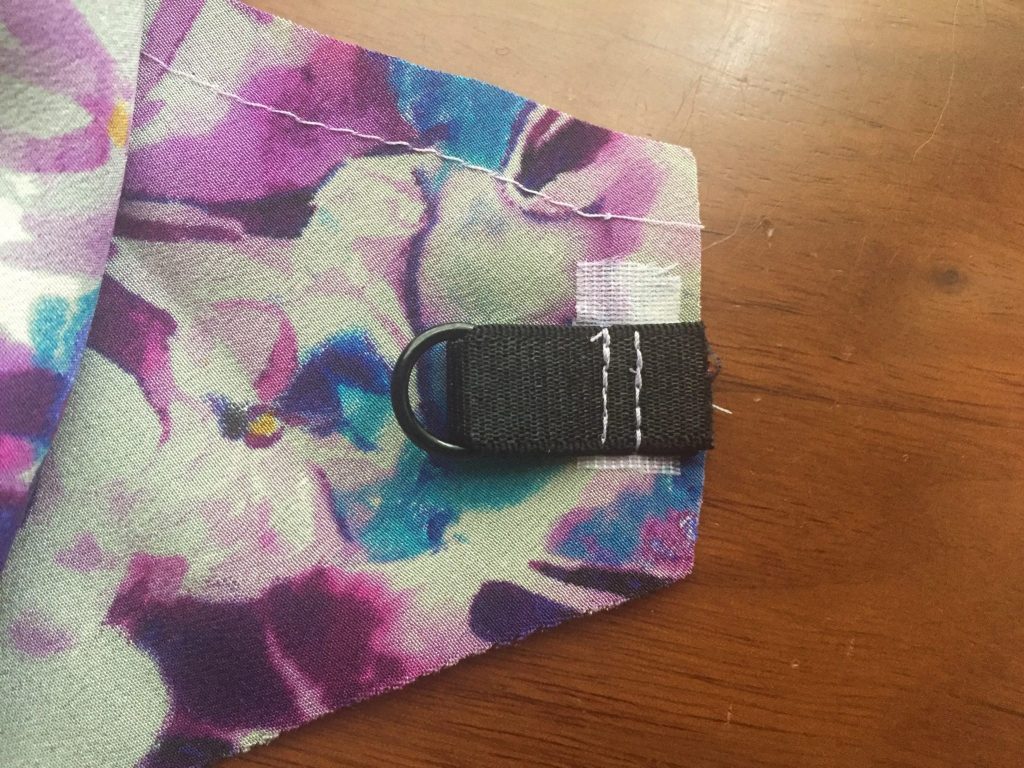
Sew two rows to secure 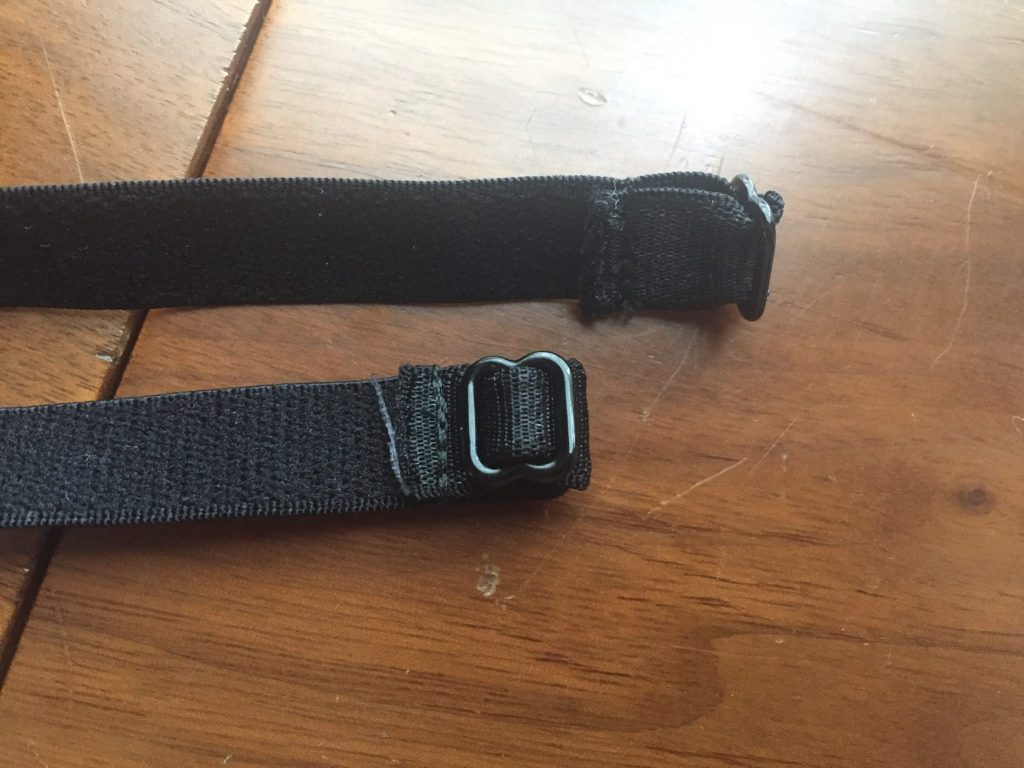
Feed through slider and sew 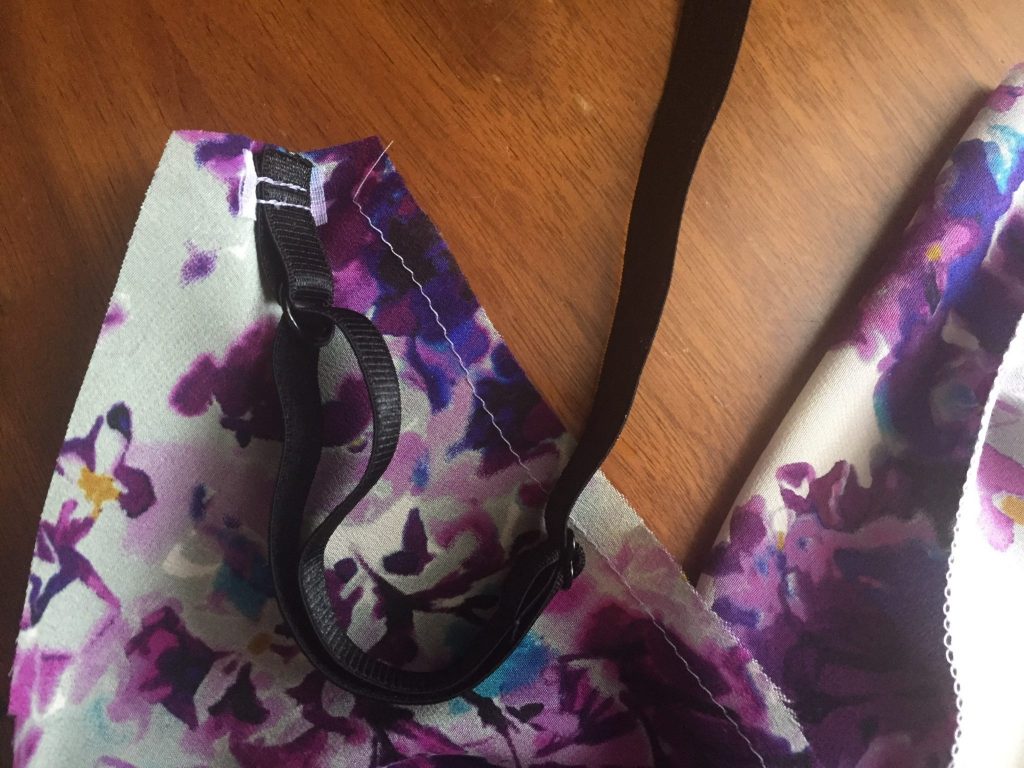
Feed long strap through loop and back into slider
Then I put a longer length bra strap through the slider (note my sliders were maybe 1/8″ too small, but whatever) and then stitched the bra strap to itself, wrong sides together, very close to the slider. I measured an appropriate length for the shoulder strap and trimmed. Then I fed the raw edge of the strap through the loop and fed the raw edge back into the slider so it can be adjusted for length. I left the strap hanging free until after attaching the lining.
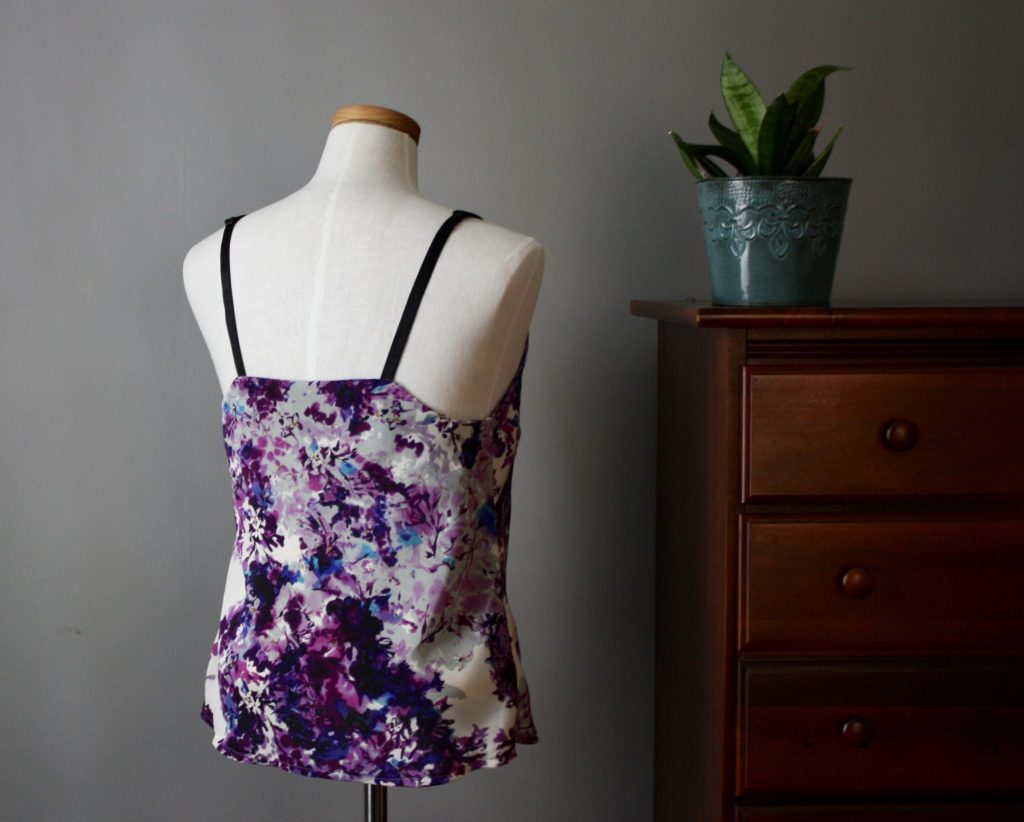
The Misty instructions guide you to leave a gap between the main and the lining on the front bodice for strap insertion, but I left the gap at the back. If I were to do it again, I might like to have the hoop and sliders at the back instead of the front. Otherwise, I would have liked a longer strap length because the sliders end up at the top of my shoulders, and I’m not a fan of that placement. No biggie though.
Final Thoughts on the Floral Misty
I really like how floaty and drapey it is! If you go the bias cut route, don’t skip on checking your grain line and accurately measure the bias. Don’t skip stay stitching! Under-stitching and a good press will do you wonders at the end. I also love how I can wear this with a black bra and the straps blend in with each other. It’s comfy to go braless and let it all float around too.
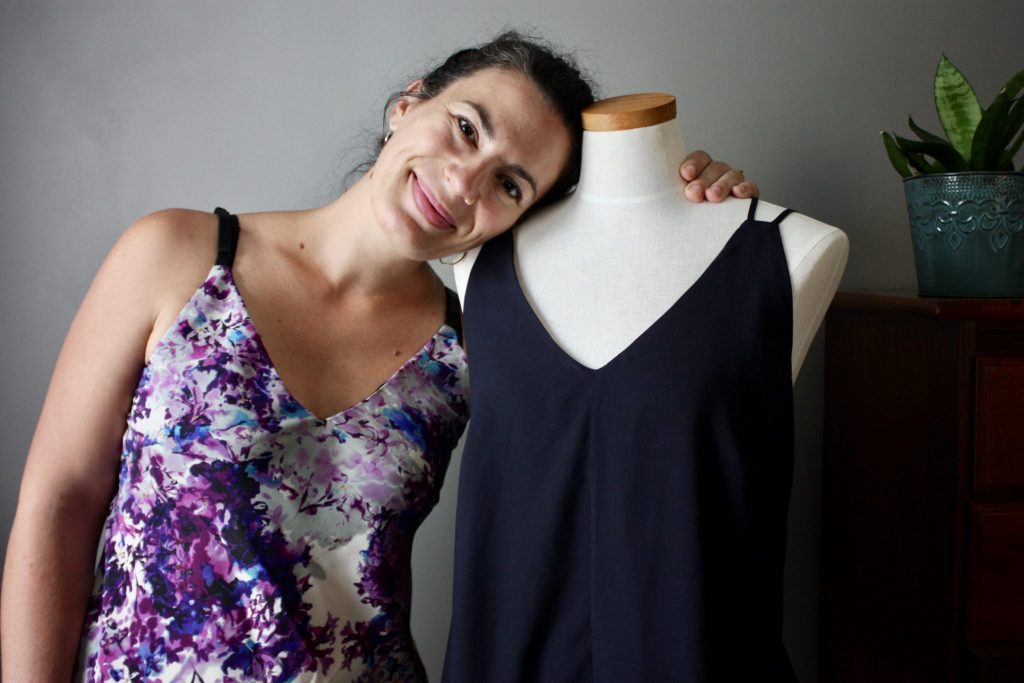
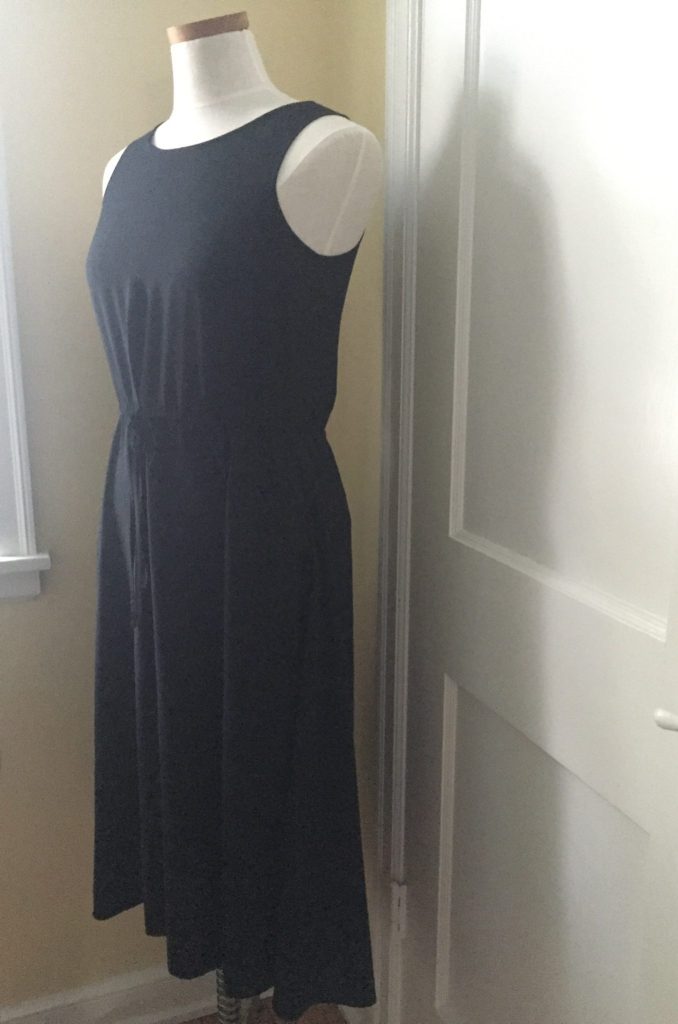
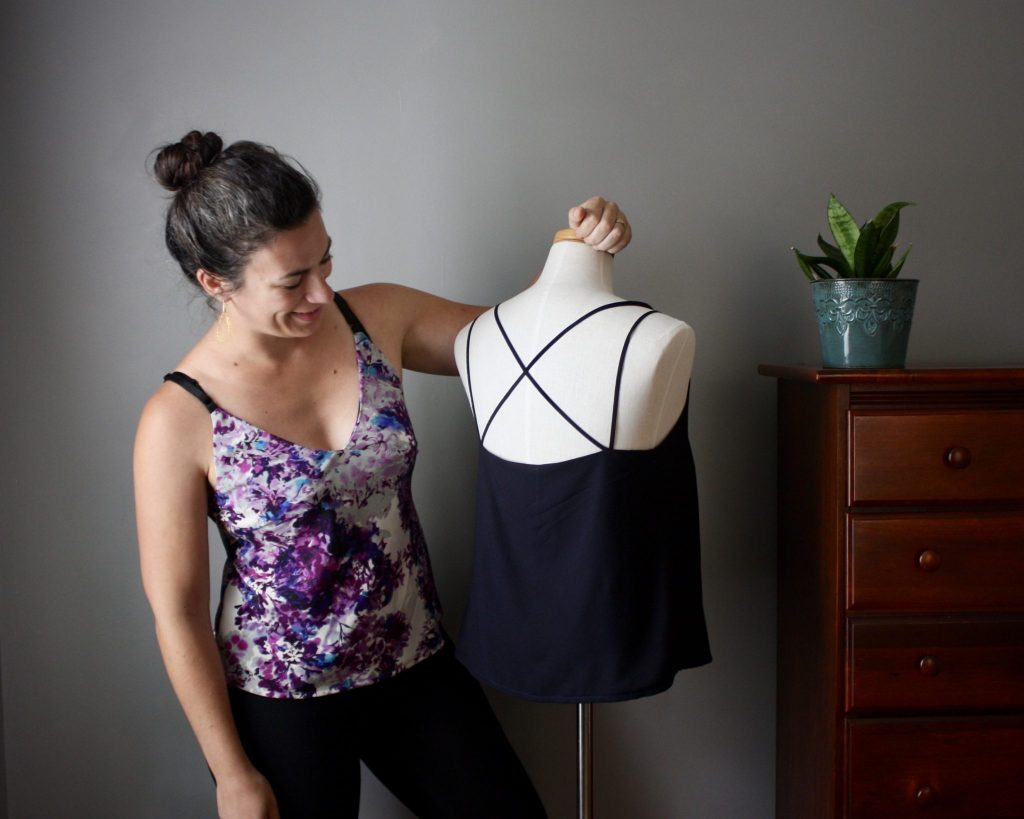
Refashioned Navy Misty Cami
My pal here is wearing the cami that I refashioned from a RTW dress that I just wasn’t wearing! This was all in spirit of #alteritaugust where I am taking unloved and unworn garments and giving them new life. There were a couple of serendipitous moments where I thought, “Yes, this was meant to be a Misty.”
Before, this was a Uniqlo dress that I bought a few years ago. You can see me wearing this same dress in mustard in this post, in which I refashioned that mustard dress into a skirt. I didn’t wear this dress because the arm holes were small, it felt a little formal and blah to me. It features a drawstring waist, high-low hem, and a seam down the center back.
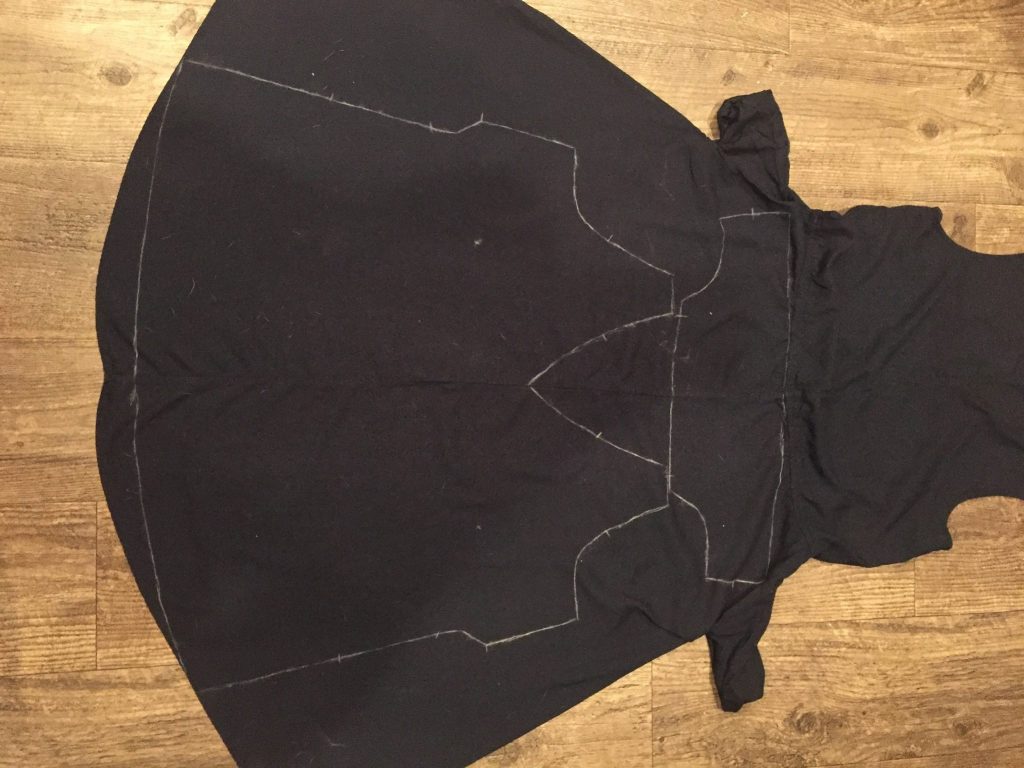
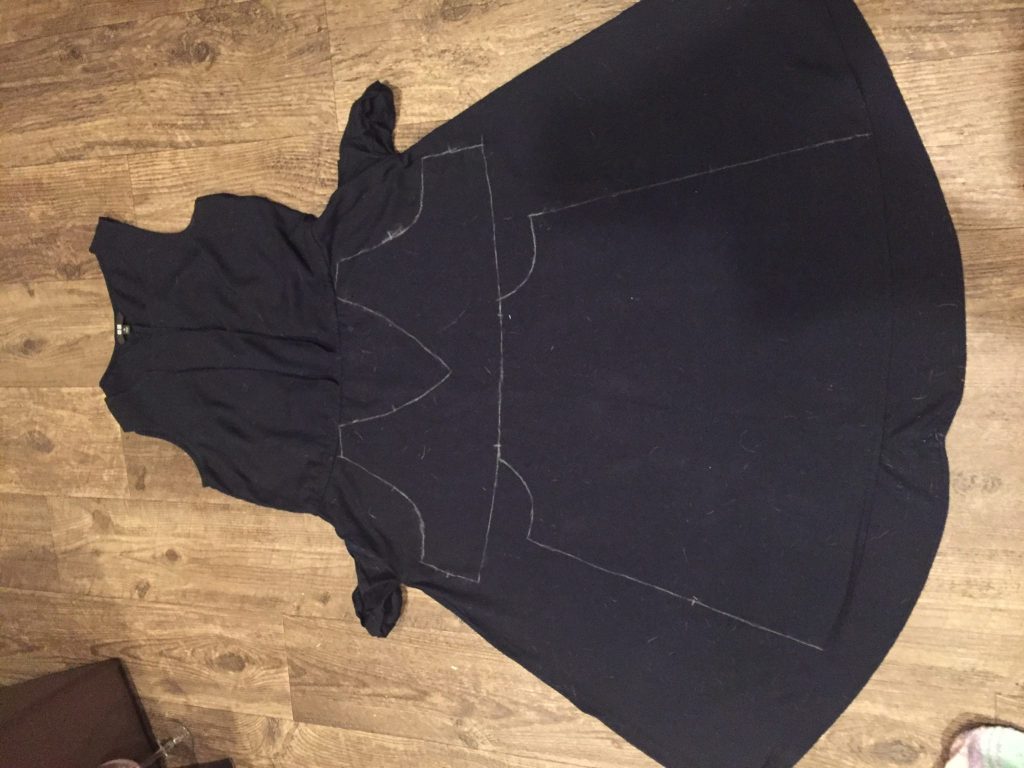
Cut the Dress Up
Maybe you’ve been in this position: you’re about to cut into a garment and you feel a little tingle that says you are about to do something wrong. Like that time you cut your own bangs when you were seven. I definitely had to psych myself up before making the first cut. That’s normal, right?!
I chalked the pattern pieces onto the front and back of the skirt. The back of the skirt has a center French seam, and the Misty has a center front seam – perfect! One less step. Notice I marked the view with the thick straps, but I ended up making the thin strap view once I realized I could repurpose the draw string.
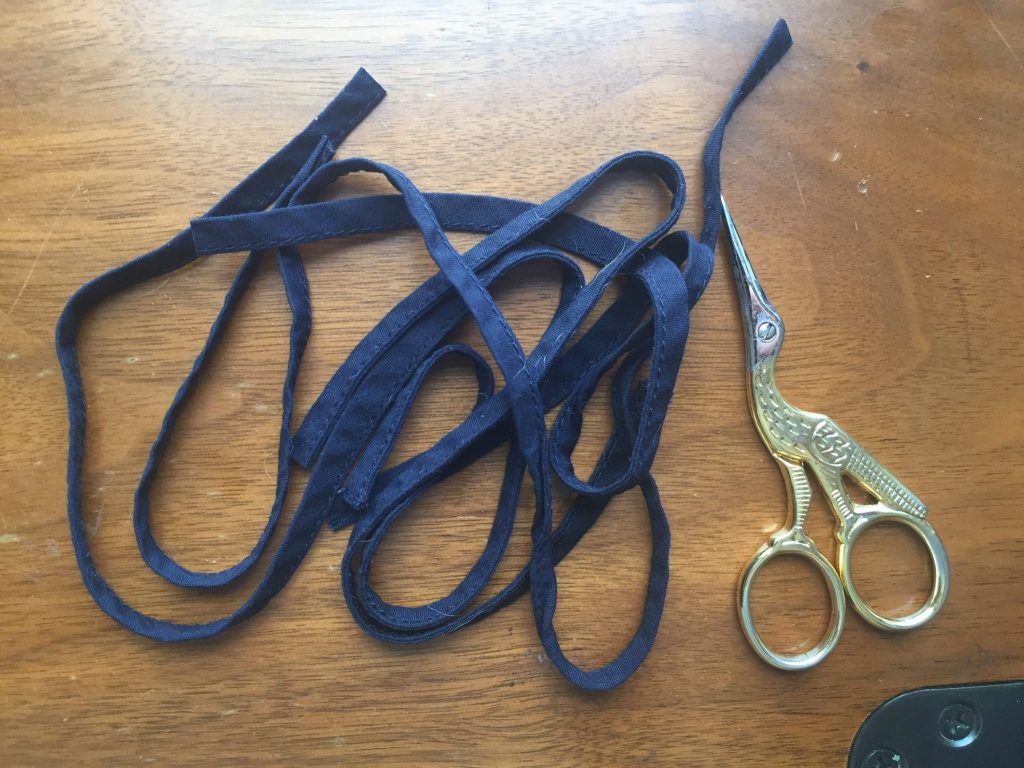
Nobody likes turning a strap that small do they? The drawstring was dainty but strong, and I knew it would be perfect for the criss cross strap situation, as long as I had enough length. Turns out, I had ZERO to spare! Again, meant to be.
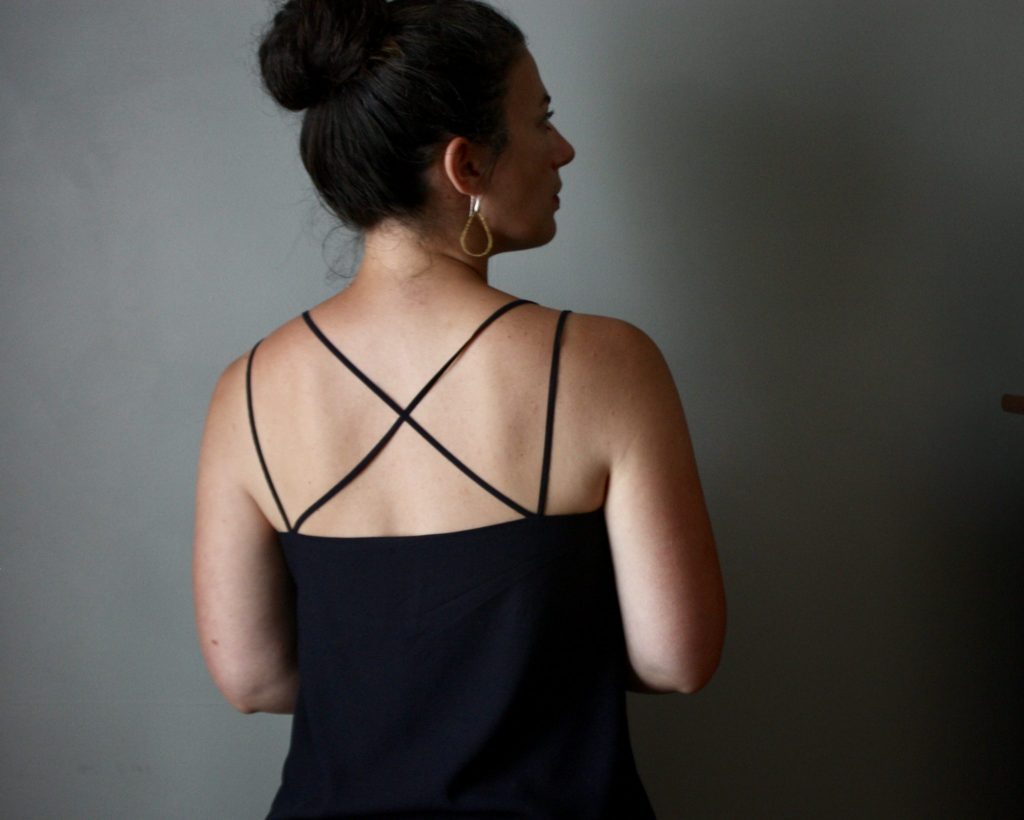
Final Thought on the Navy Misty Cami
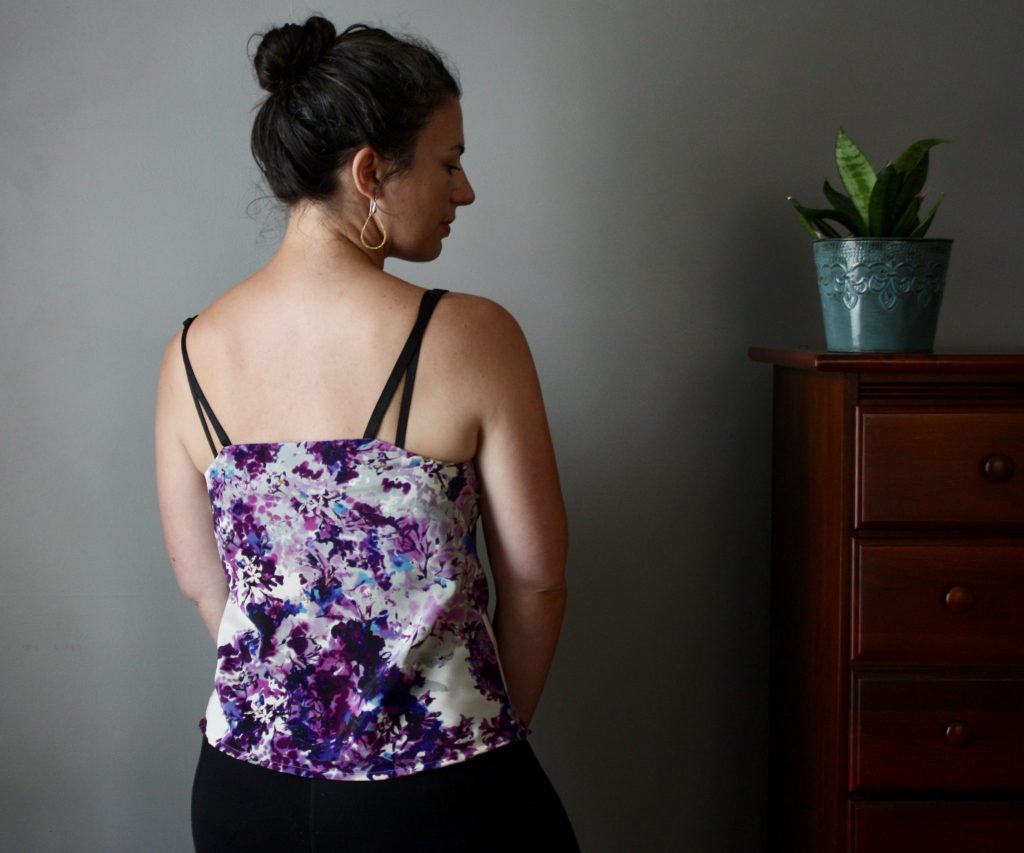
Now I can appreciate this pattern in its original state. It fits really well, the instructions are really well done, and I can say that I’m super impressed with Sew Altered Style’s first pattern release! I love the back straps on this one, and I may have widened them apart a bit but it suits my broad back. Definitely don’t skip the step where you baste and fit the straps. With woven straps it’s easy to get it off. Take your time feeding the cross straps through – I had to do a redo because I twisted a couple of straps. That step is a brain tickler but just take your time. I can see myself grabbing this through late summer and then layering into the fall. I’ll definitely be wearing it more than when it was a dress! See photos below of how I paired this with my Pietra Pants too.
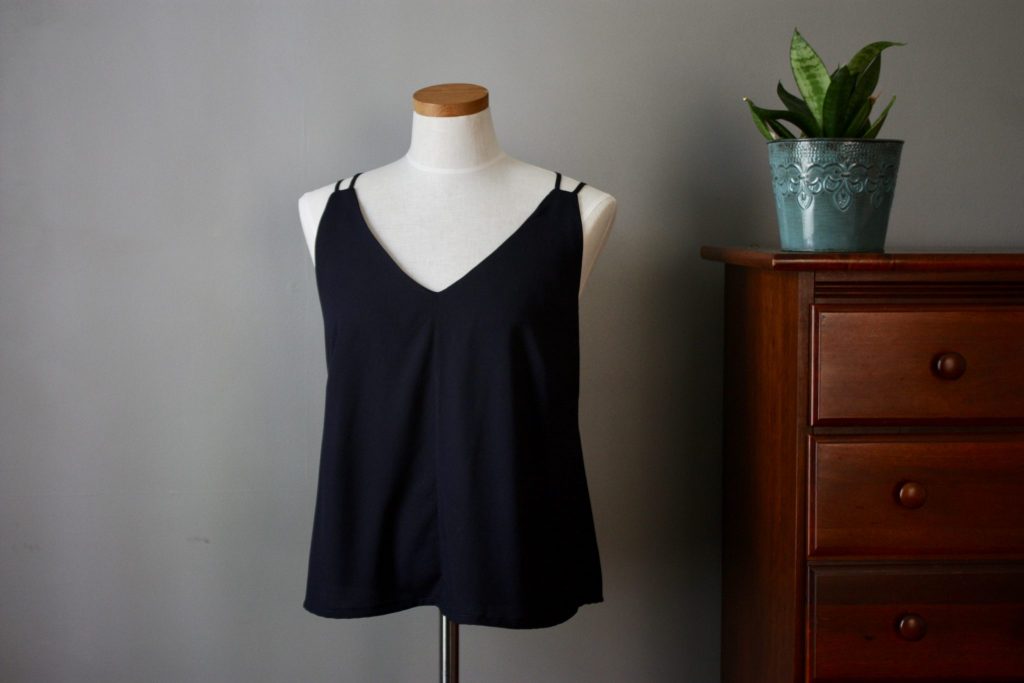
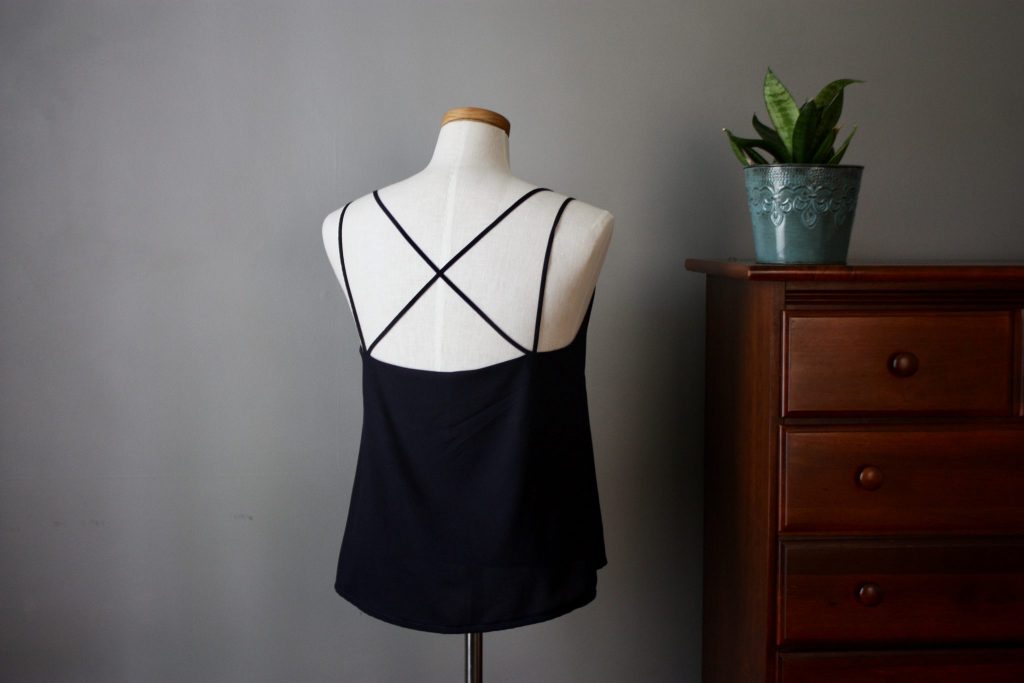
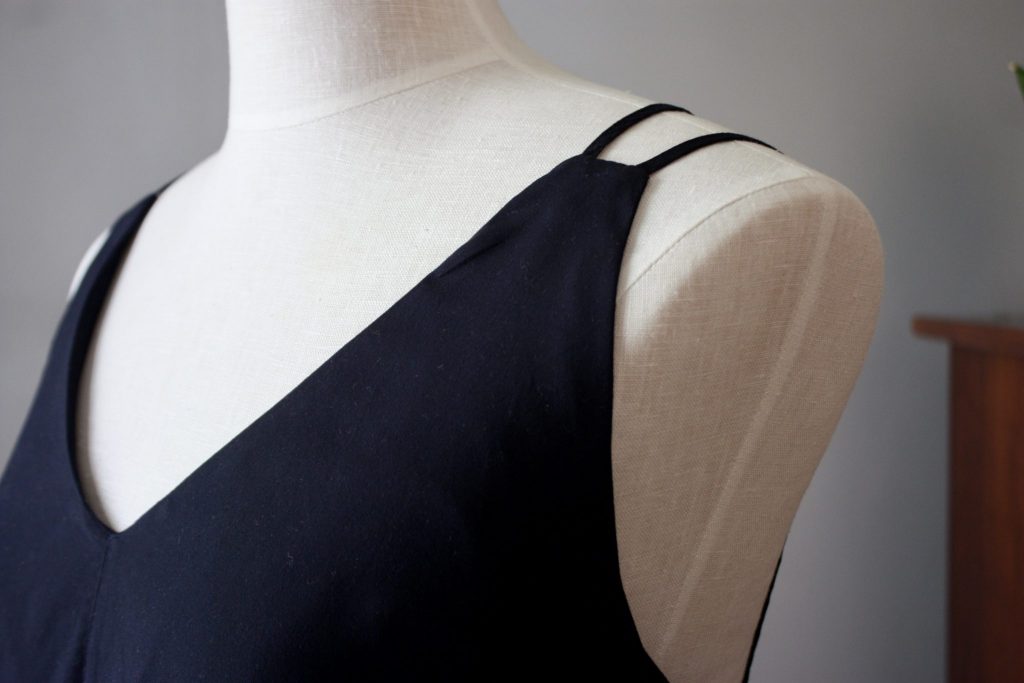
Photo Jam


Both camisoles are cute – I want to try making this. Well done!
These are both so lovely! I feel silly asking, but why did you do the silk on the bias?
Love, love! I will definitely be copying these ideas. Thank you 🙂
I totally bought the pattern on the strength of this post alone. Those makes are briliant! I’ve been jonesing for a pattern like this all summer (the Ogden cami, while intriguing, seemed too blousy for my figure). This one seems to have the right amount of drape, coverage, and details! Love it!
THOSE STRAPS on your navy version. Holy love! I’ve also been reusing some older fabric from old RTW clothes that aren’t getting love. It’s been my favorite way to find fabric these days (free!!!) ha!
I really adore both of these. Nice work!
Colleen
http://www.sincerelycolleen.com