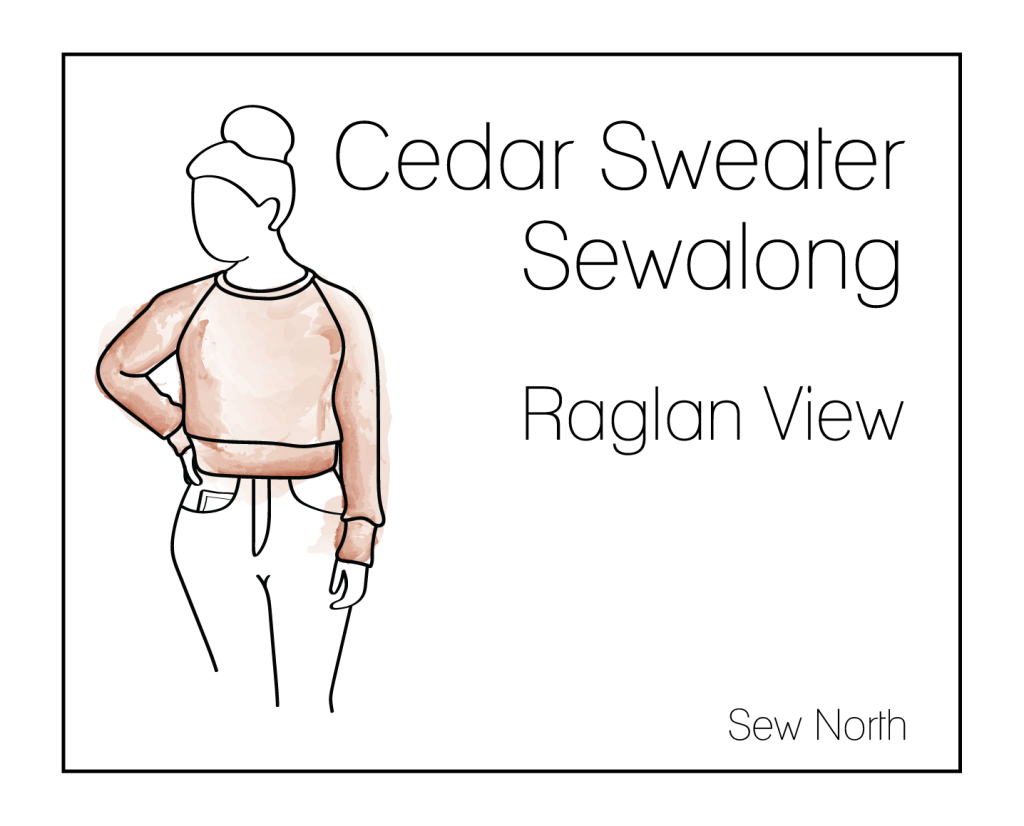
I’m so thrilled you’re here! Whether you’ve got your Cedar Sweater Pattern and you’re ready to roll, or you want to preview the process before jumping in, I’m here for you. If you’re a beginner sewist, this step-by-step guide will help you complete your Cedar Sweater in no time. If you prefer seeing real photos instead of illustrations, you’re in the right place too! This article will cover all the steps you need to take care of before you start sewing. If you happen to already have your pattern and fabric cut and ready to go, skip ahead to the Cedar Crew View Sewalong or the Cedar Raglan View Sewalong.
Gather Supplies
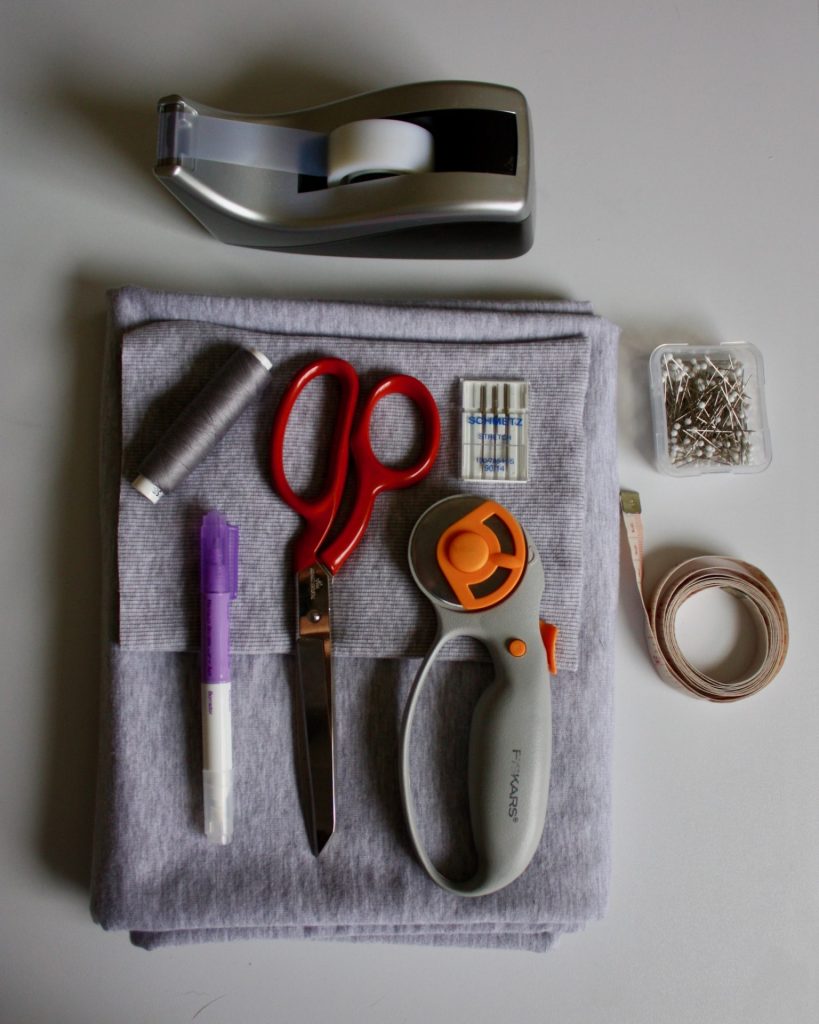
Before we get started, let’s gather what we need:
- Cedar Sweater PDF Pattern
- Sewing machine with a zig zag stitch or a serger/overlocker
- Measuring tape
- Fabric (see Fabric Requirements and Recommended Fabrics below)
- Regular thread, ballpoint needle, and pins
- Cutting tools like fabric scissors or a rotary cutter and mat
- Tape for assembling print-at-home paper pattern
- Marking tool like chalk or fabric pen
-
 Cedar Sweater PDF Pattern$13.00
I always recommend reading through all the instructions before printing the pattern, but especially before sewing. Once you’ve had a good look at the instruction booklet, let’s grab the measuring tape and find the right size.
Finding the Right Size
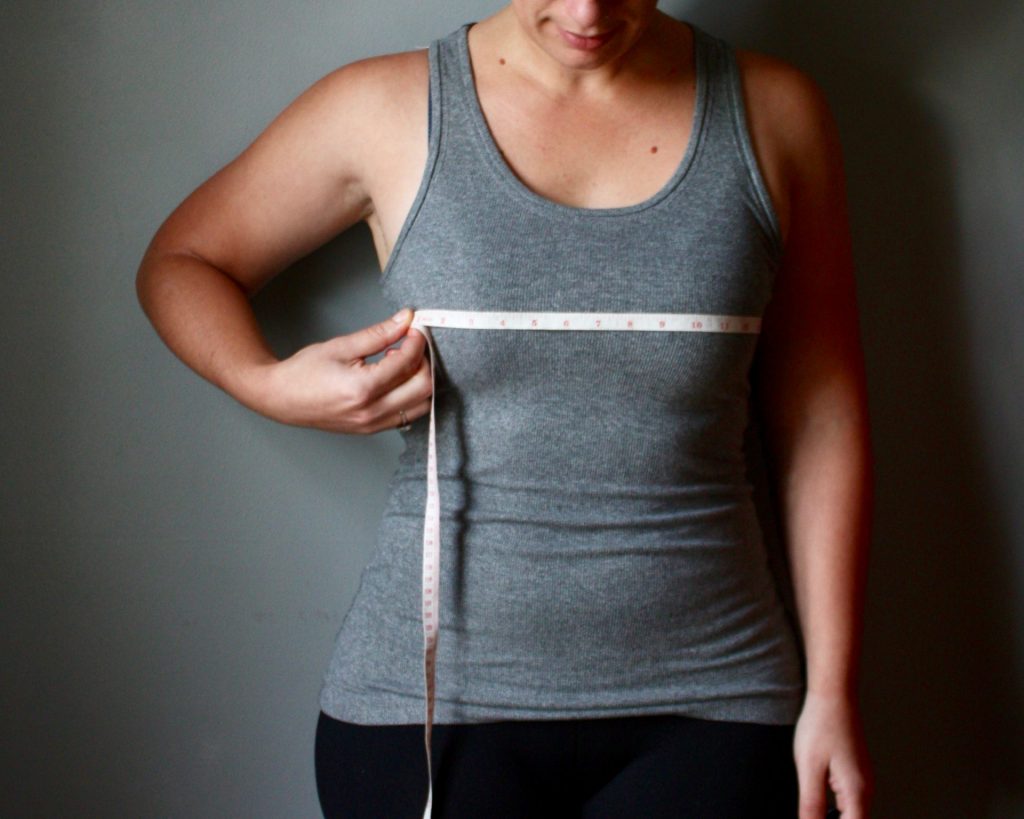
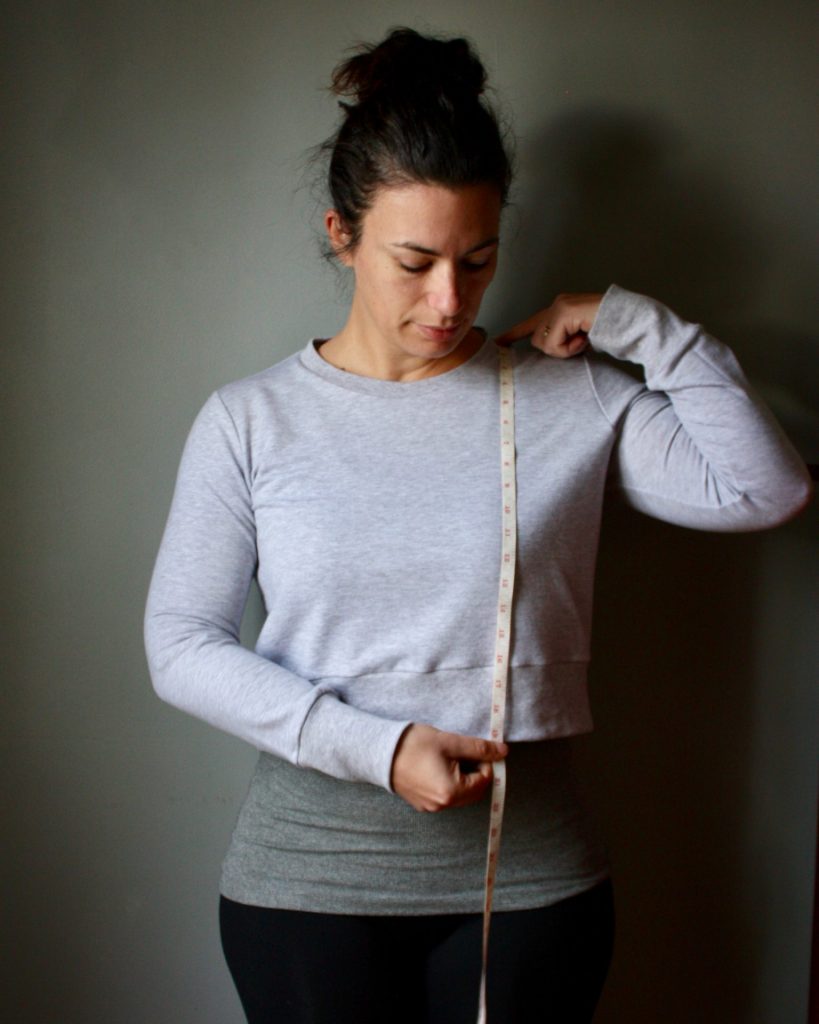
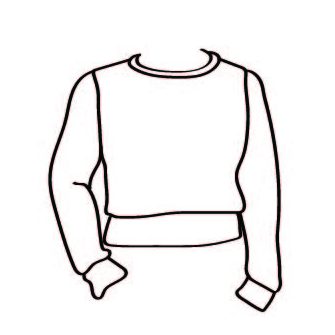
The Cedar Sweater is a cropped classic sweatshirt that is designed to be comfy, a bit boxy, and a perfect pairing for your high waisted pants and skirts. The hem of the sweater is designed to fall at your natural waist, near your navel. It’s designed to fit based on your full bust measurement.
Measure around your chest at the fullest part of your bust, keeping your measuring tape parallel to the floor. Use this measurement to determine your size on the size chart. You can use the finished garment measurements to determine whether you want to lengthen or shorten the body or the sleeves.
Finished Garment Length 
Finished Garment Sleeve
On the Finished Garment Measurements, the Length is measured from the shoulder seam near the neck down to the edge of the hem band. The Sleeve is the measurement from the sleeve seam on Crew View to the edge of the cuff. You can hold the measuring tape on these parts of your body to determine if you want to lengthen/shorten these pattern pieces in your size.
Choose your View
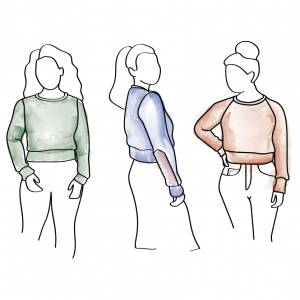
Crew View 
Raglan View
The Crew View has a classic set in sleeve and the Raglan View boasts a sportier look with the “baseball tee” shape. The view you choose will decide how you print your pattern in the next step.
Printing your Pattern
If you are printing your pattern at home, open the A4/Letter document and reference the printing instructions on page 5 of your Cedar Sweater Instructions booklet. If you’re printing at a copy shop, provide the staff with the A0 Copy Shop file, where they can print the two large pages and roll them up for you.
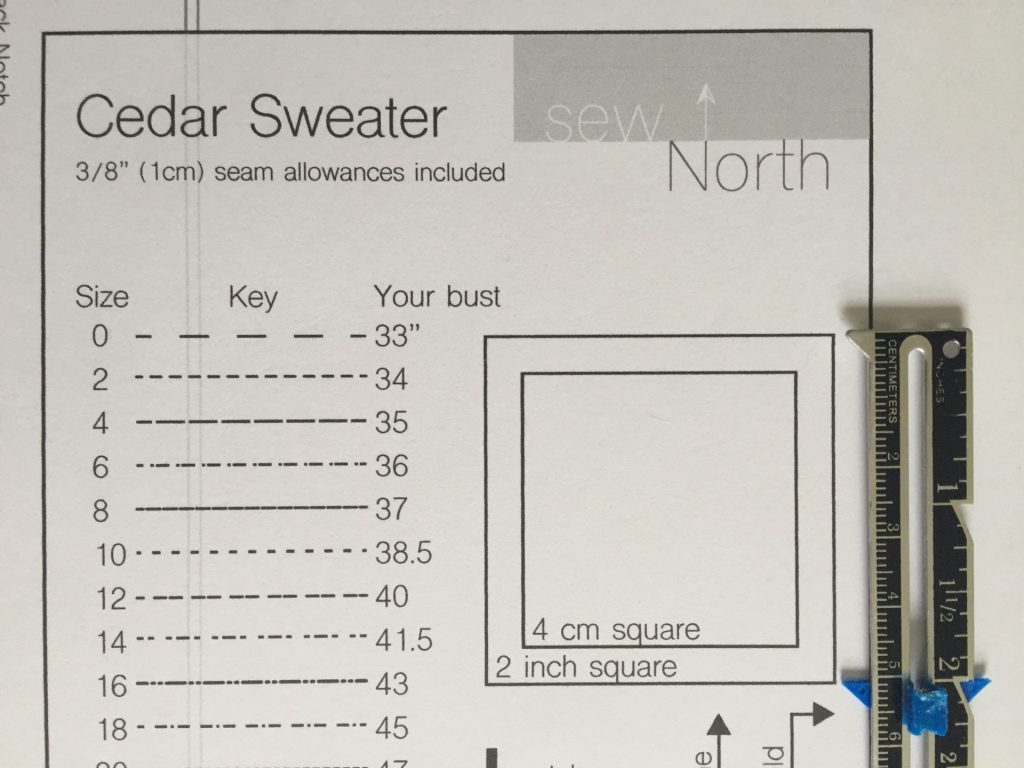
For those printing at home, you’ve found your size already, so be sure to use the layers function in your Adobe Reader to print only the size(s) you need. Save some of that printer ink!! See page 5 of the instructions to find the layers panel and check your printer settings are correct. Print page 1 of the pattern to check the 2×2″ square is correct before you continue. You don’t want your printer to be scaling the pattern – your sweater won’t fit you properly!
Use the handy chart on page 5 to print only the pages you need. Save some of that paper!!
Assembling your Pattern
Maybe you’ll be able to tell that assembling and taping together pdf patterns does not bring me a lot of joy, so it was important for me to streamline this process a bit for you. If you’ve printed A4/Letter at home, trim the bottom and left borders of your pages. Then you can start taping them together. Use the image on page 5 of the instructions to see how the pages fit together. You can save time and tape because the pattern pieces are arranged so you don’t have to tape every page together. Look for the circle marks on the edges or in the corners of the pages. If there’s a circle to match, tape those pages. Otherwise, leave it. It’s also a lot easier to manage smaller groups of paper instead of one huge scroll on the floor. Once you’ve got everything assembled, cut out or trace your pattern pieces.
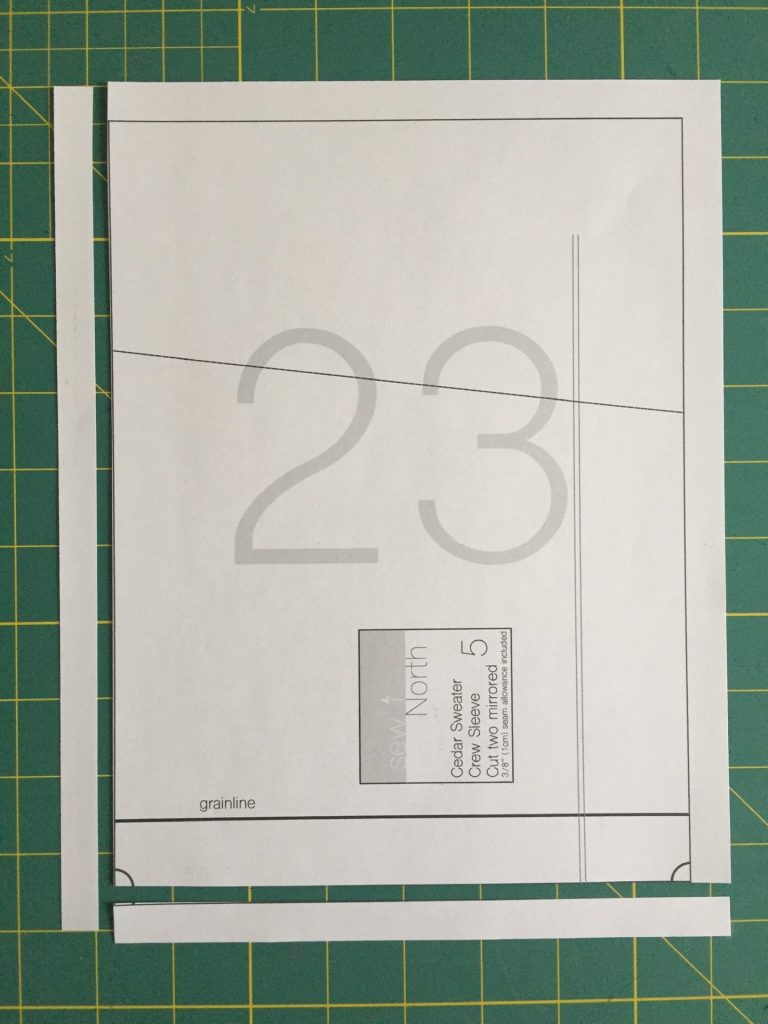
Here’s a quick look at how to assemble Crew Sleeve and Elbow Patch pattern pieces.
Trim the lower and left edges off your pages. 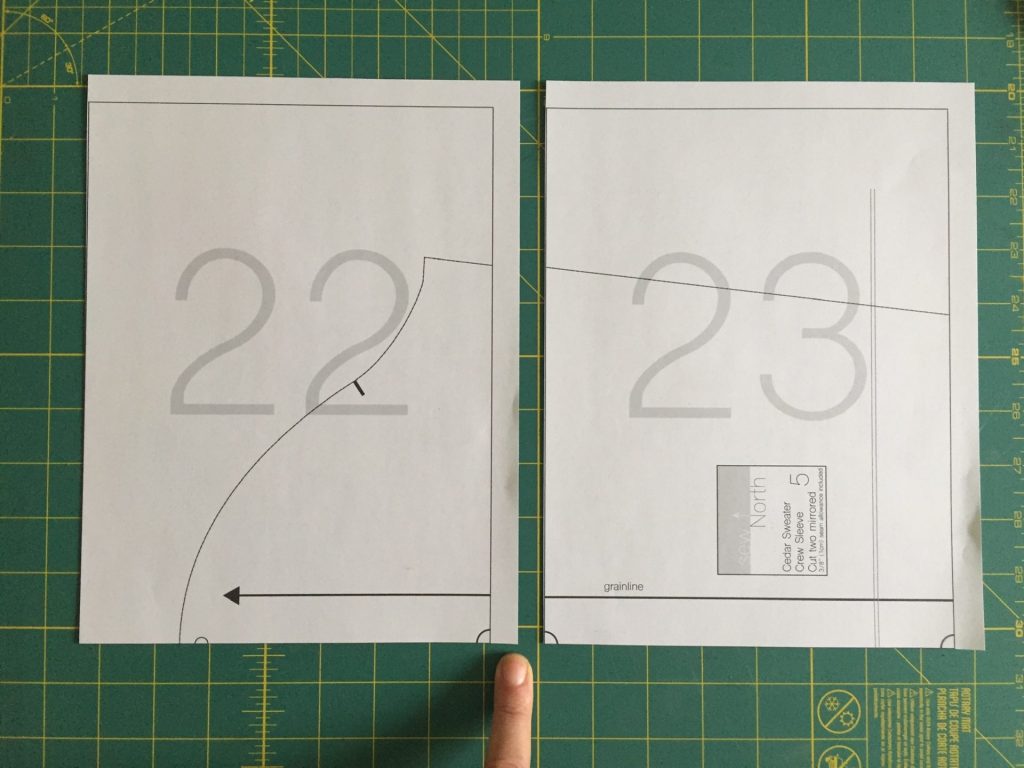
Reference the printing layout guide and connect pages with a circle mark. 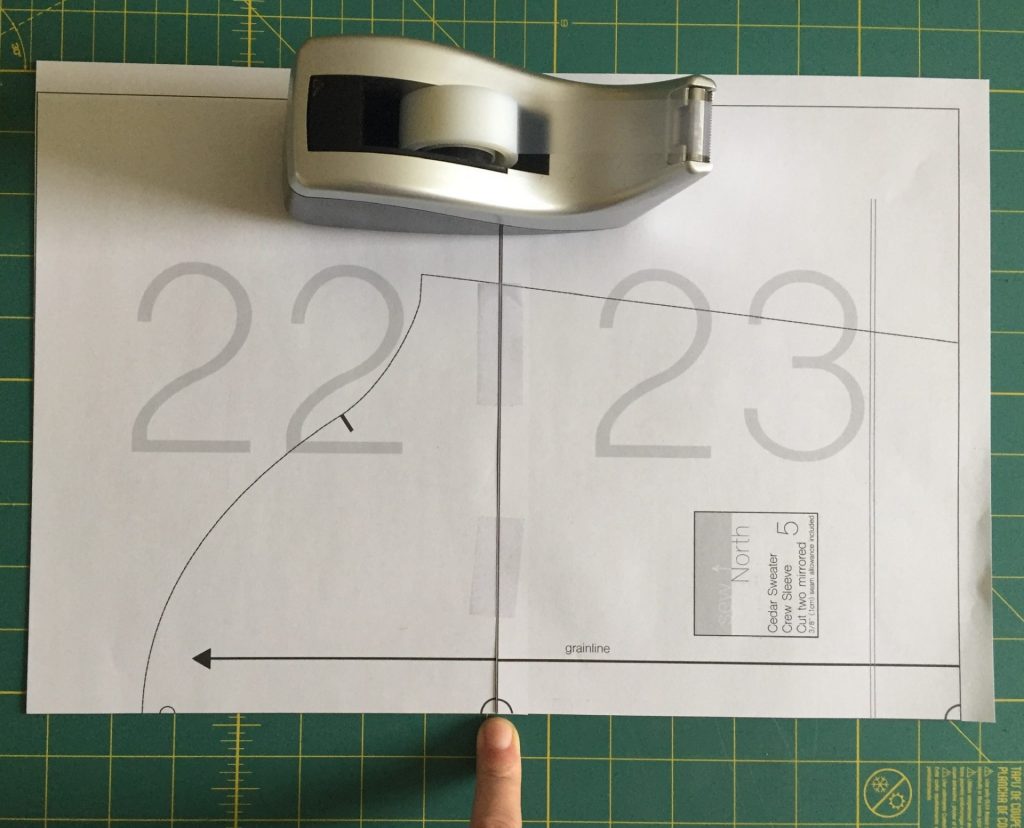
Tape pages together to align pattern piece. 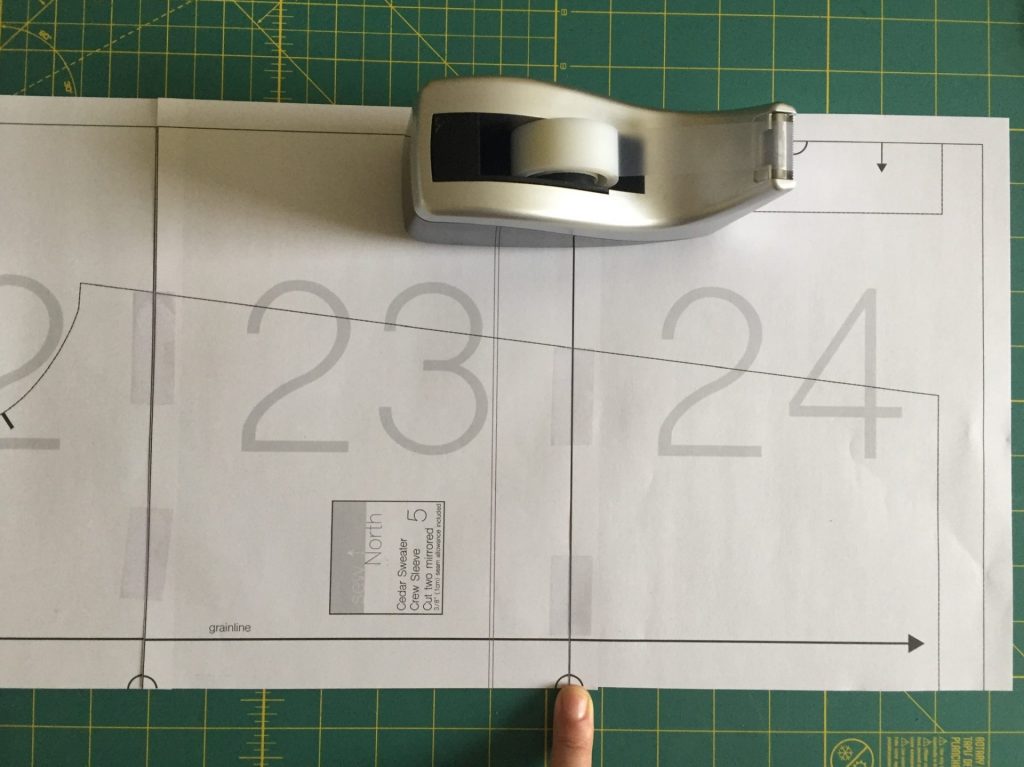
Continue taping pages with connecting circle marks together. 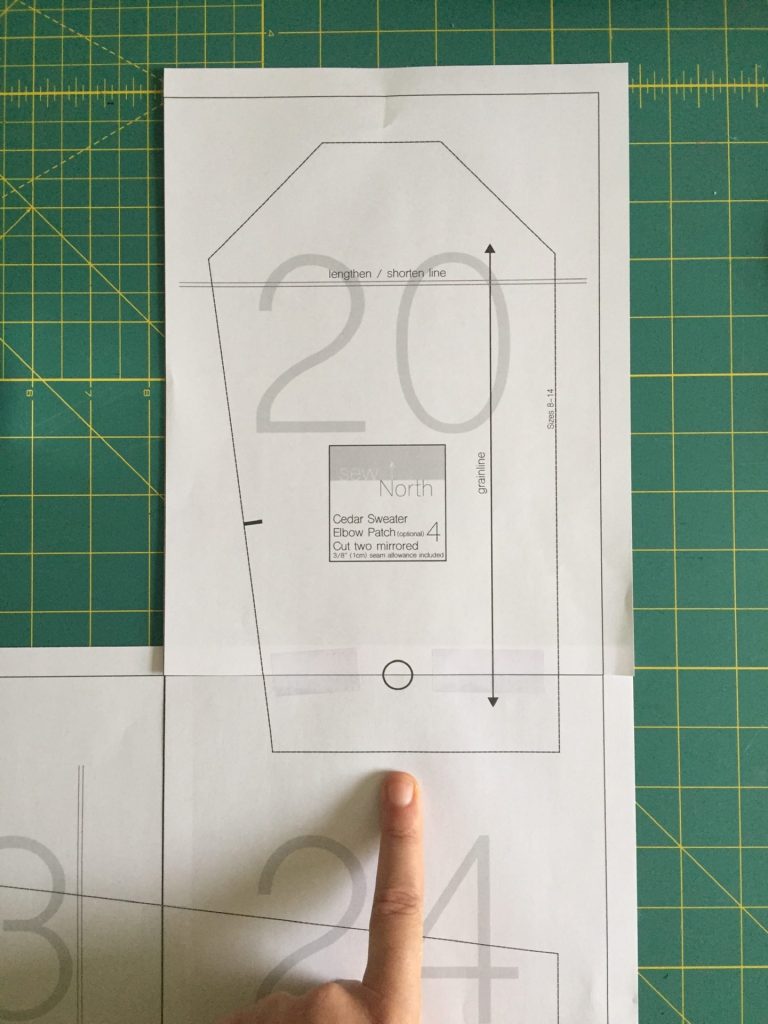
Some pieces have a circle on an edge rather than a corner. 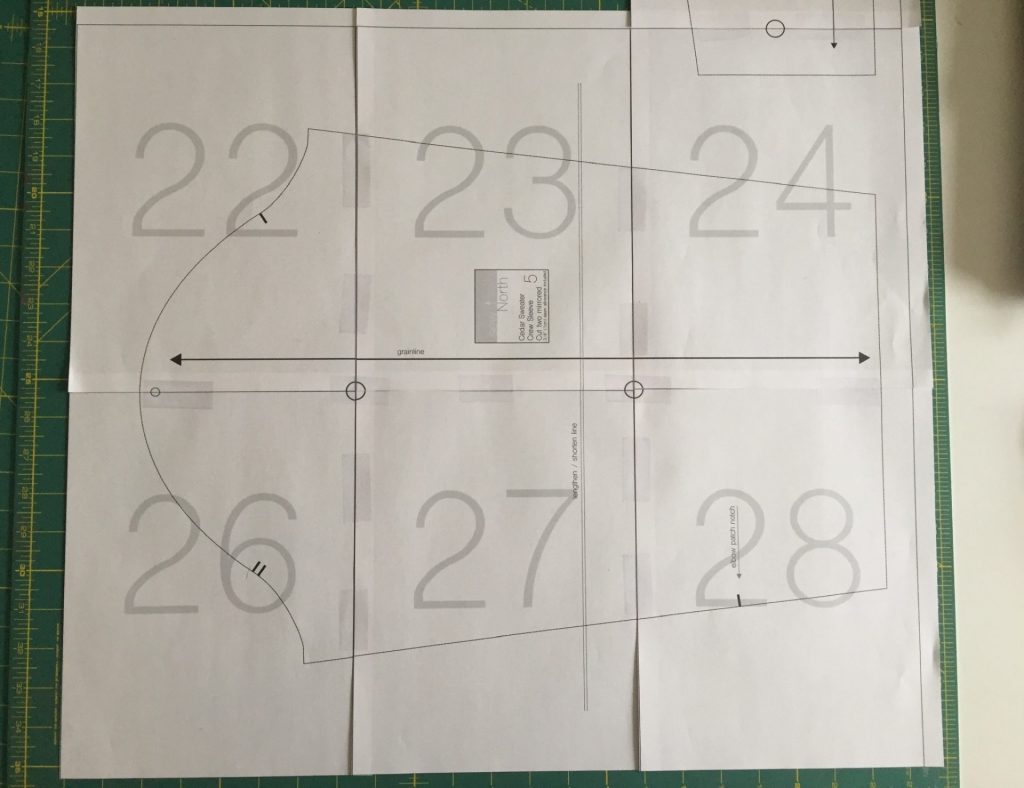
Completed Crew Sleeve. No other pages need to be taped to the edges. 
Cut out your sleeve piece. Recycle scrap paper. 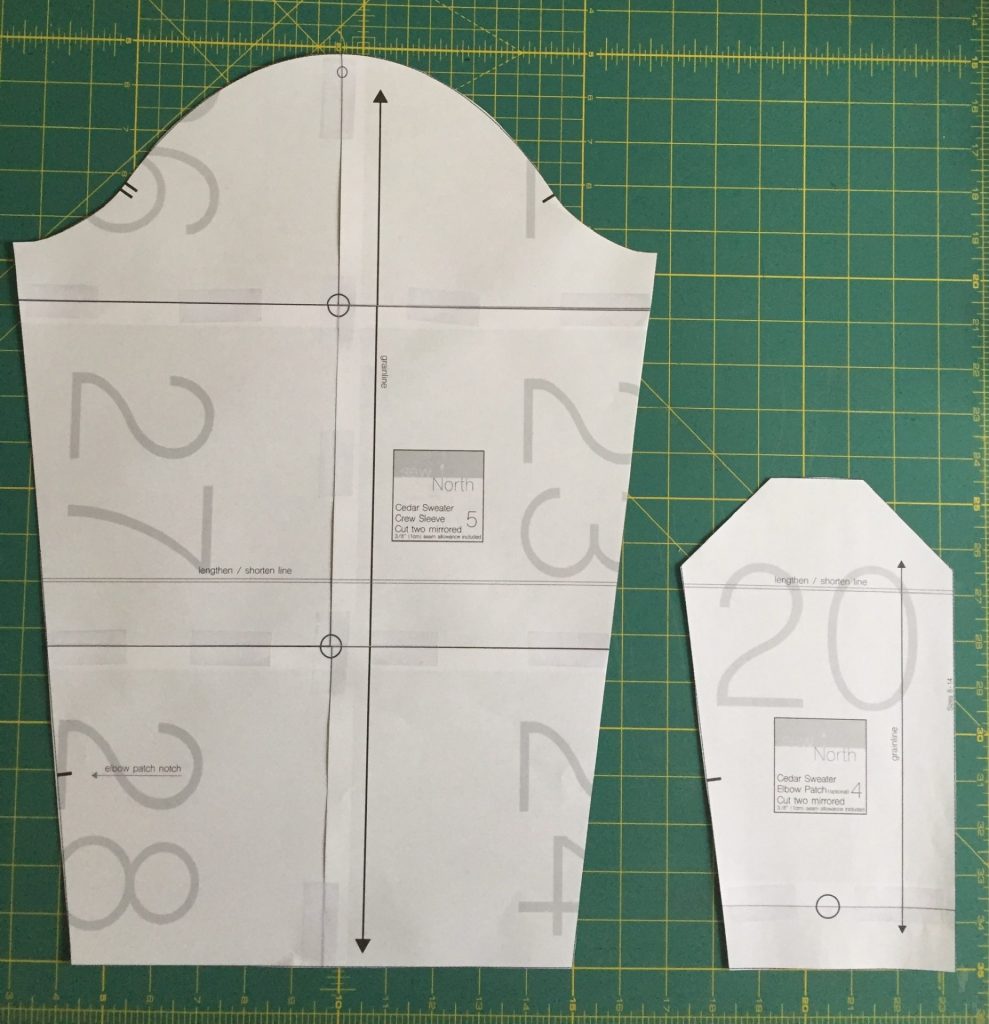
Assembled Crew Sleeve and Elbow Patch
Fit Adjustments to the Pattern Pieces
One of the most common adjustments for the Cedar Sweater is simply lengthening or shortening the sleeves. Another common adjustment is to lengthen or shorten the body of the sweater. If you benefit from a Full Bust Adjustment (FBA), you can do this on your Cedar Sweater, even as it’s a pattern without darts!
Lengthen/Shorten Pattern Pieces
Here’s an example of how to add 1/2″ length to the Crew Sleeve and Elbow Patch pieces. The same steps apply to lengthening the Front and Back body pieces as well. To shorten, you will overlap the pattern pieces rather than adding scrap paper between them. Remember, if you lengthen/shorten the Sleeve, be sure to do the same adjustment to the Elbow Patch as well.
Crew Sleeve and Elbow Patch, ready to lengthen. 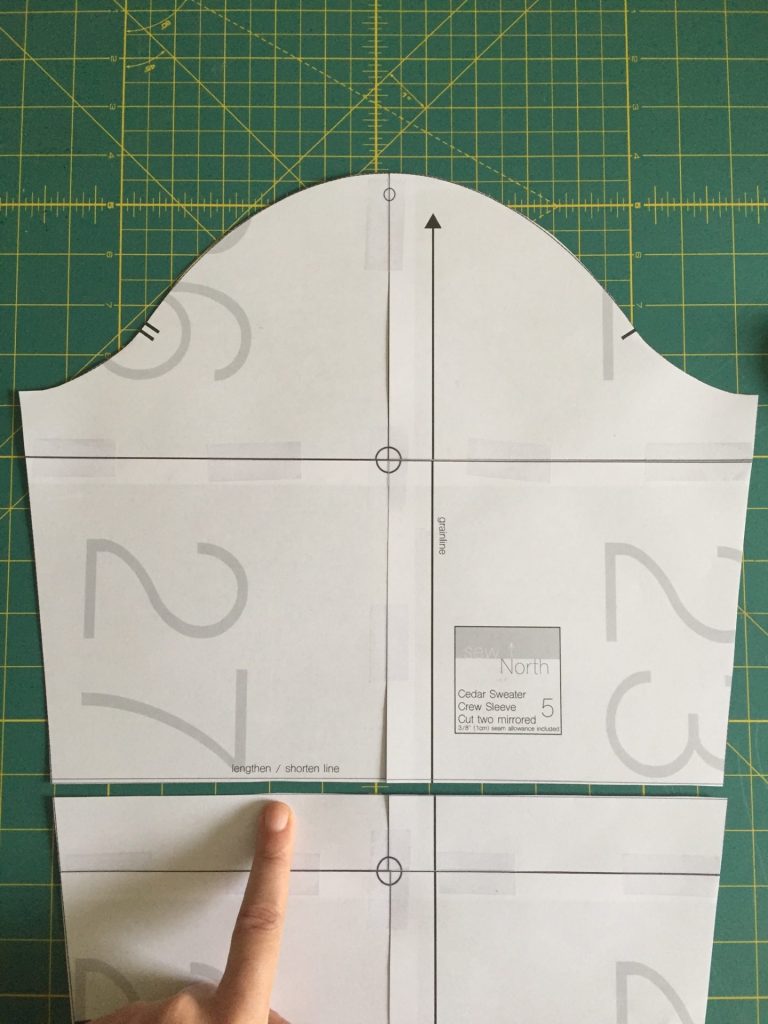
Cut along the lengthen/ shorten line on the pattern. 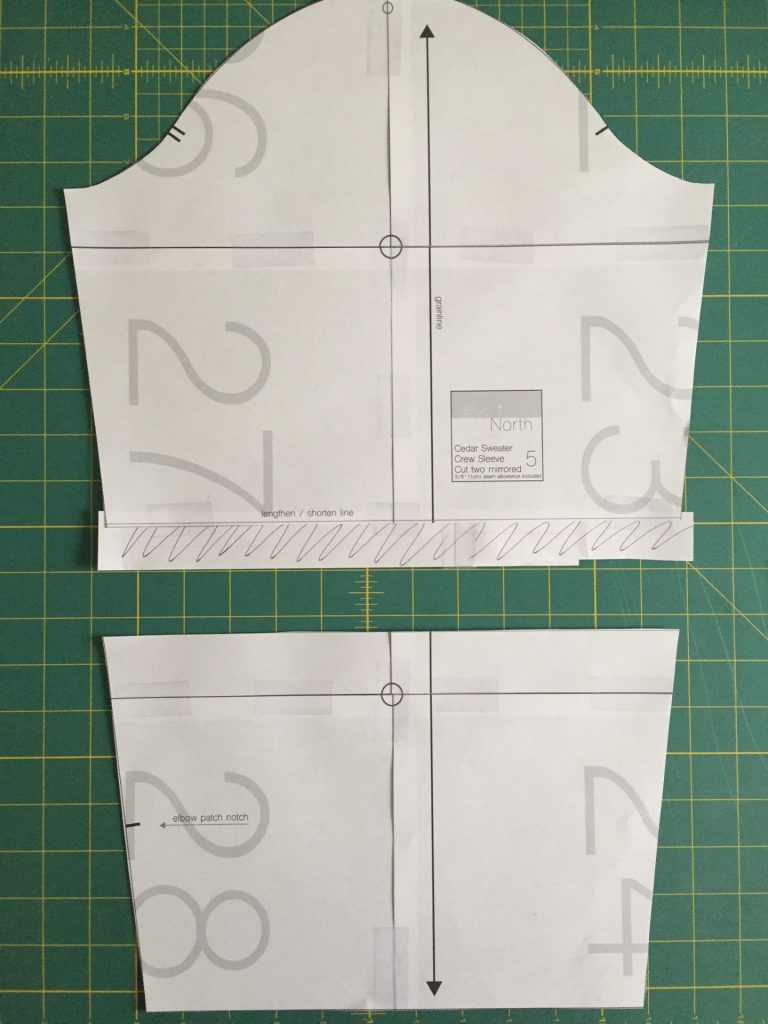
Tape some scrap paper to the edge of one piece along the edge you just cut. 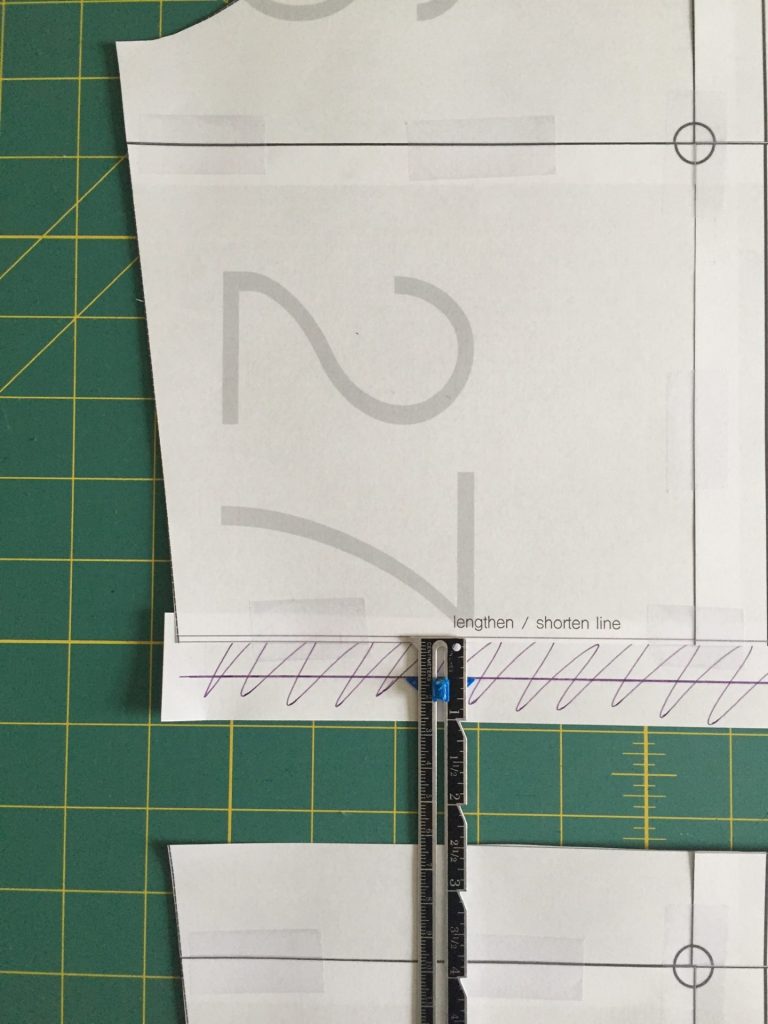
Draw a parallel line 1/2″ away from the cut edge. 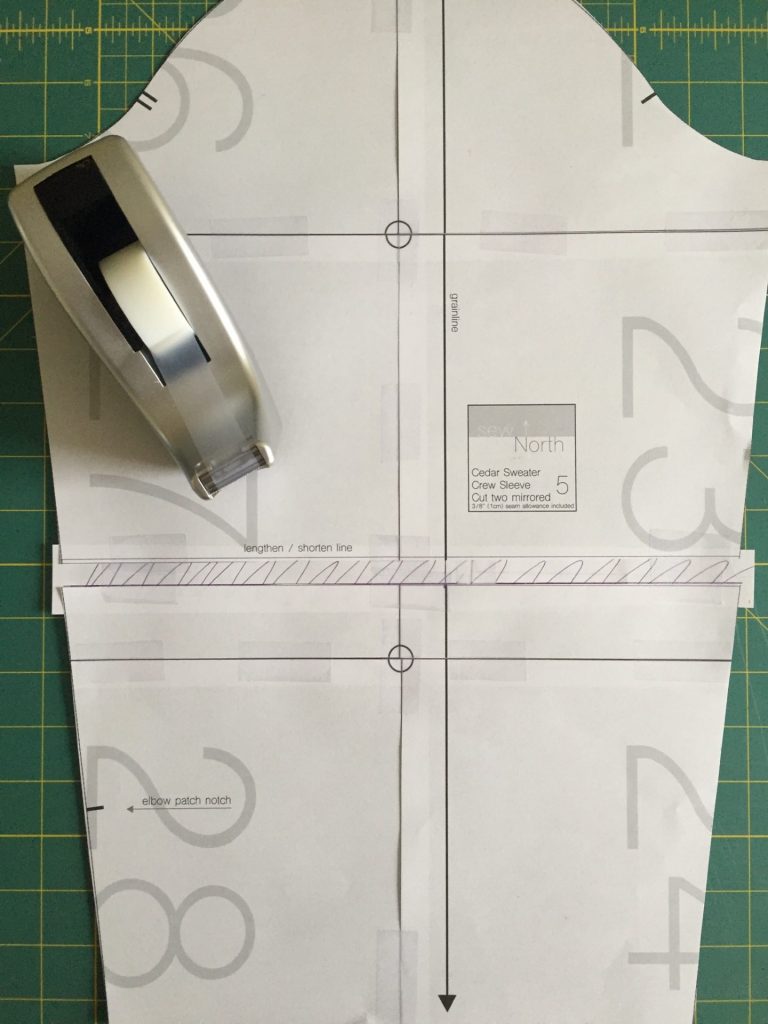
Align the other sleeve piece to the drawn line. Tape. 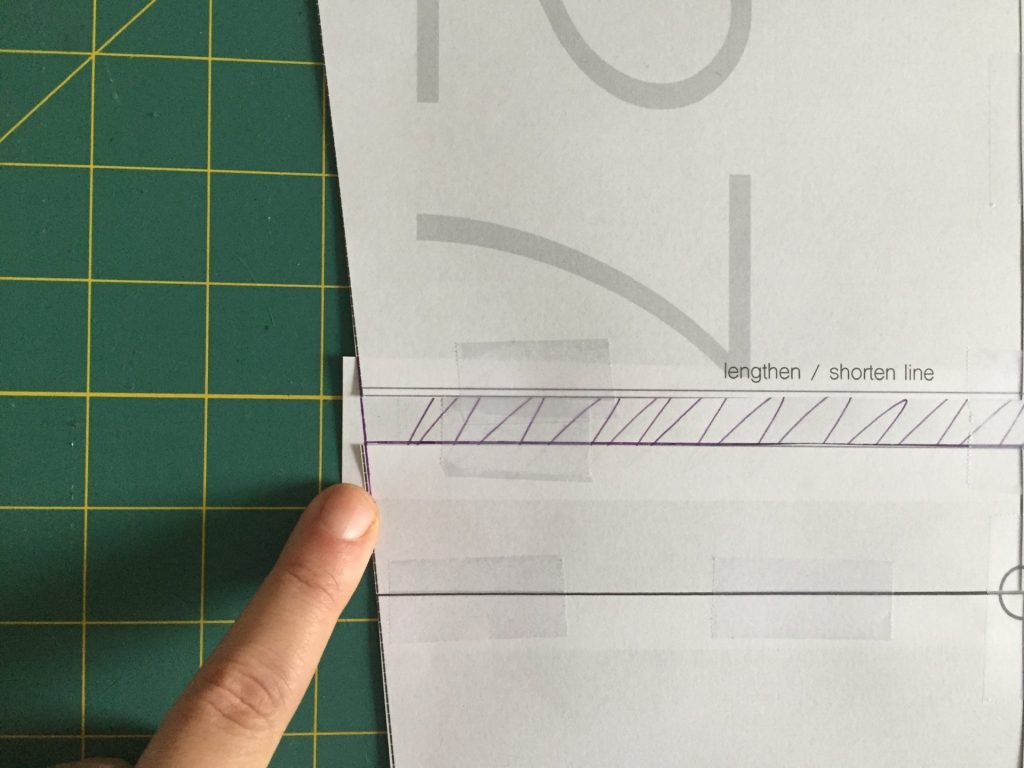
Connect the side edges with a straight line. 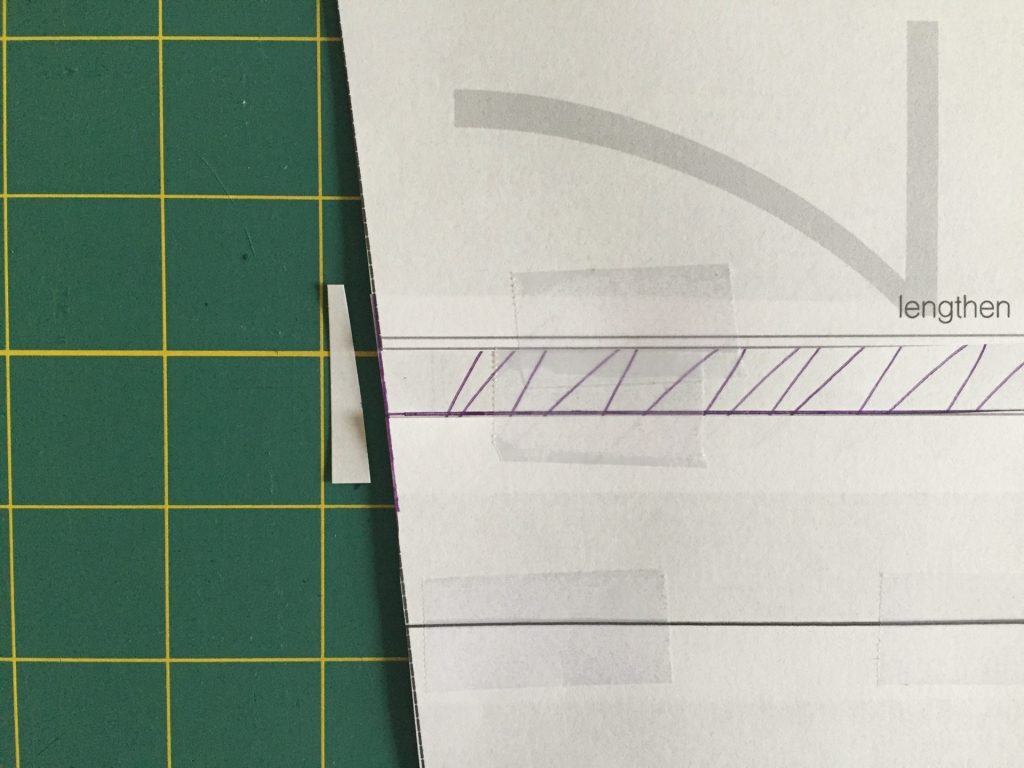
Trim off the excess scrap paper. 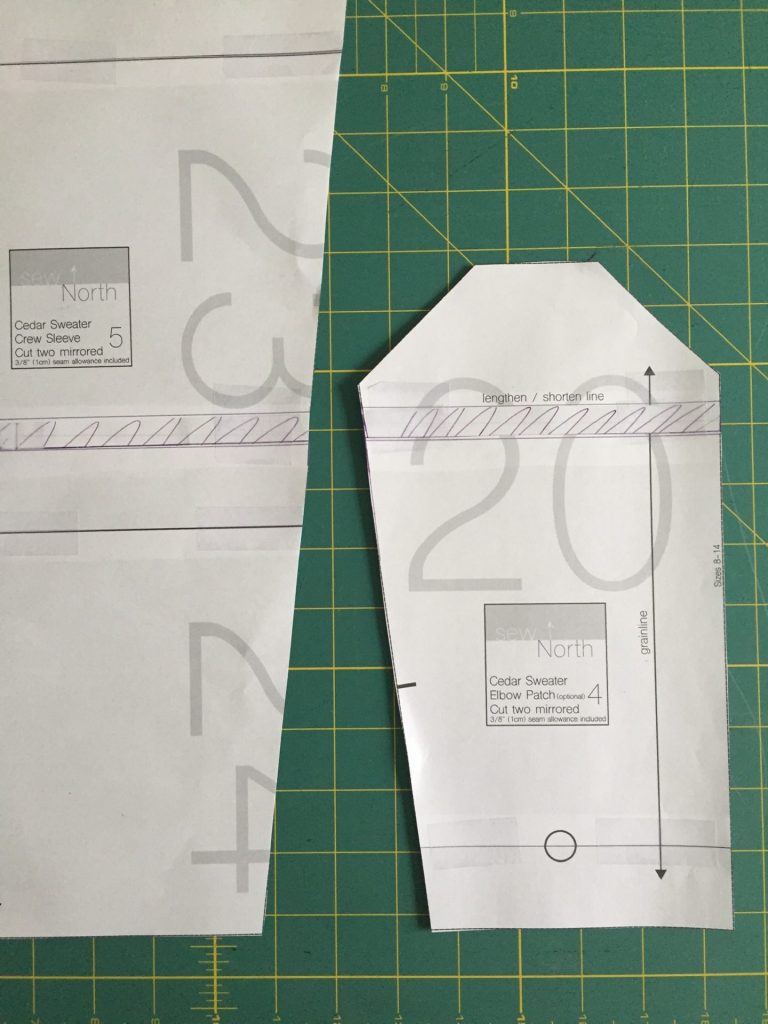
Repeat these steps for the Elbow Patch. 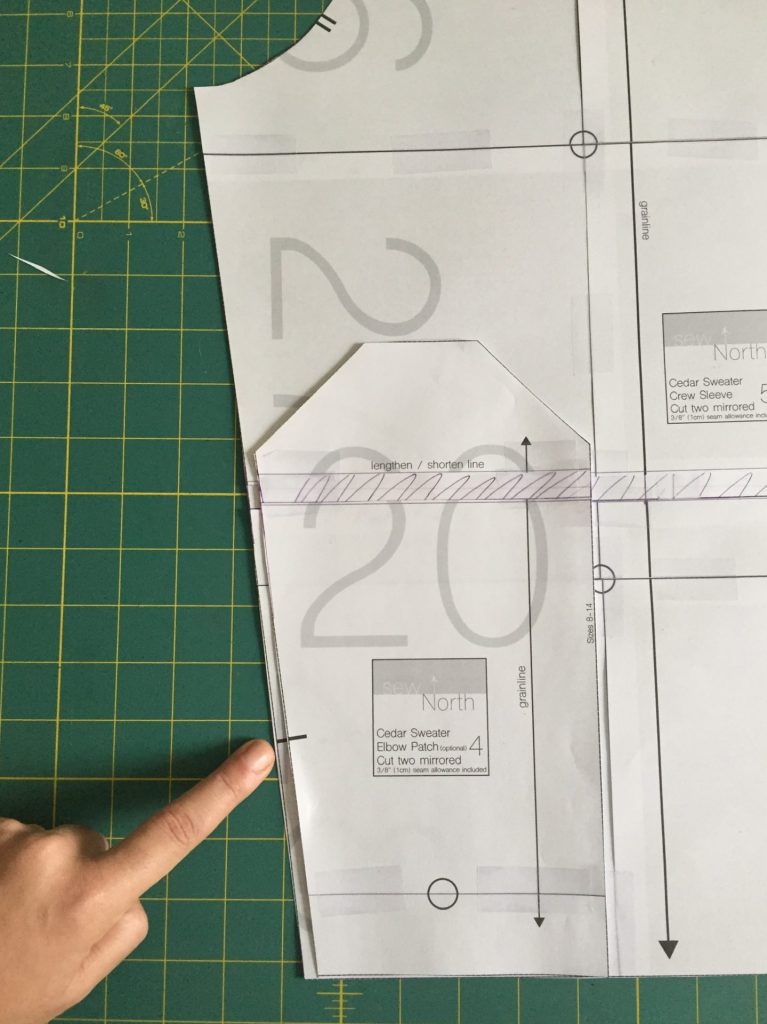
Check the Sleeve and Patch edges match by aligning notches. Looks good!
Prepare to Cut Fabric
Pre-wash and dry your fabric before cutting into it! This will pre-shrink it so that it minimizes any further shrinkage after you’ve made your sweater. This is a great pattern to use some scraps, do some color blocking, or use ribbing for the bands and cuffs. There’s a whole section about ribbing (including separate fabric requirements for ribbing only) on page 3 of the instructions. If you’re using all the same fabric for your sweater like I am today, check out the cutting diagrams organized by size on pages 6 and 7 of the instructions. The grainline runs parallel to the selvage edge, so fold your fabric according to the diagrams keeping the selvage edges in mind. In order to find the grainline, I usually fold the fabric in half, holding the selvage edges in my hands and lifting my arms up to allow the fabric to hang. Then I look at the bottom to see how the folded edge is hanging. If there are any ripples, then I shift the selvage edges until the ripples go away. Then I lay the folded fabric flat on my cutting table.
Cut out your Fabric
Arrange your pattern pieces according to the cutting diagrams on pages 6 and 7 of the instructions. They are organized by size and view (Crew or Raglan). You can often save some fabric by cutting the pieces flat or playing “pattern tetris,” but if you’re a beginner, the diagrams will give you a surefire way of getting the job done correctly. Either trace the pieces with chalk or a fabric pen, or use pattern weights. I prefer using a rotary cutter with pattern weights, but do what works best for you. Be sure to transfer all the notches and markings to your fabric. If you’re making a small clip to mark your notches, be sure you don’t clip deeper than 1/4″ since the seam allowance is 3/8.”
Ready to Sew!
Excellent! All our ducks are in a row and we are ready to get to sewing! If you’re sewing the Crew View, head over here. If you’re sewing the Raglan View, right this way!