This project checks all the boxes for me: scrap-busting, functional, and makes a perfect gift. I get so many compliments when I wear my Fennel Fanny Pack around. The most common compliment: “It’s just the perfect size!” (It’s true). If you’re thinking about making a Fennel fanny pack, now is the perfect time because you will use it all summer. Dog walking, brewery hopping, festival going, biking, hiking, all the hands-free activities. Fair warning though: if you are accustomed to carrying around a purse, you will have tiny moments of panic and feel like you left it behind at every turn. If you make this, do yourself a favor and double or triple up. Keep one or two on deck for the next time you want to give the perfect gift.
The Details
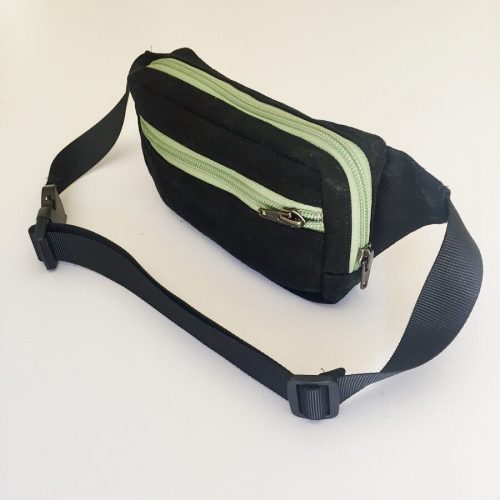
- Pattern is Fennel Fanny Pack from Sarah Kristen
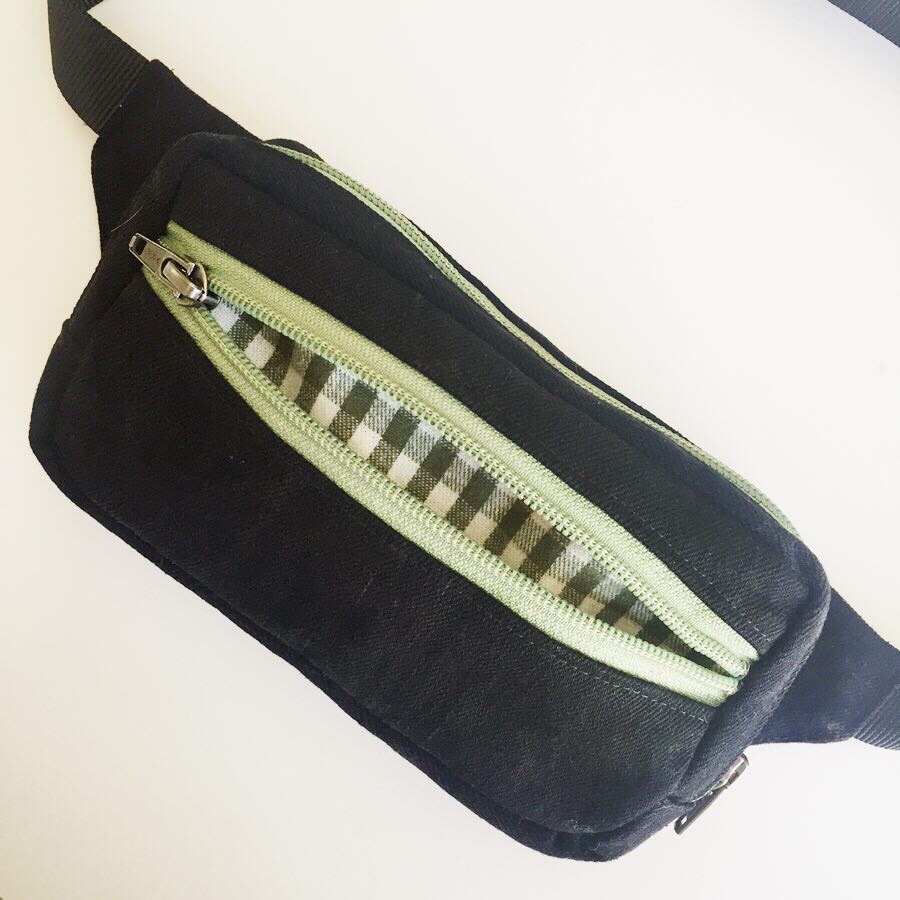
- Features front and top zipper openings, buckle fastener
- Fully Lined with bias bound seams
- Fabric is leftover Cone Mills rigid black denim from my Philippa Pants
- Lining is plaid flannel from my stash
- Nylon strap and buckle set from Amazon: 5yd. strap + 5 buckles ($8.99)
- Extra long zippers from my stash
- 1/4″ bias binding from my stash (this width was too small and fiddly for my liking)
- Modification: I used only one layer of lining fabric behind the front zipper to reduce bulk
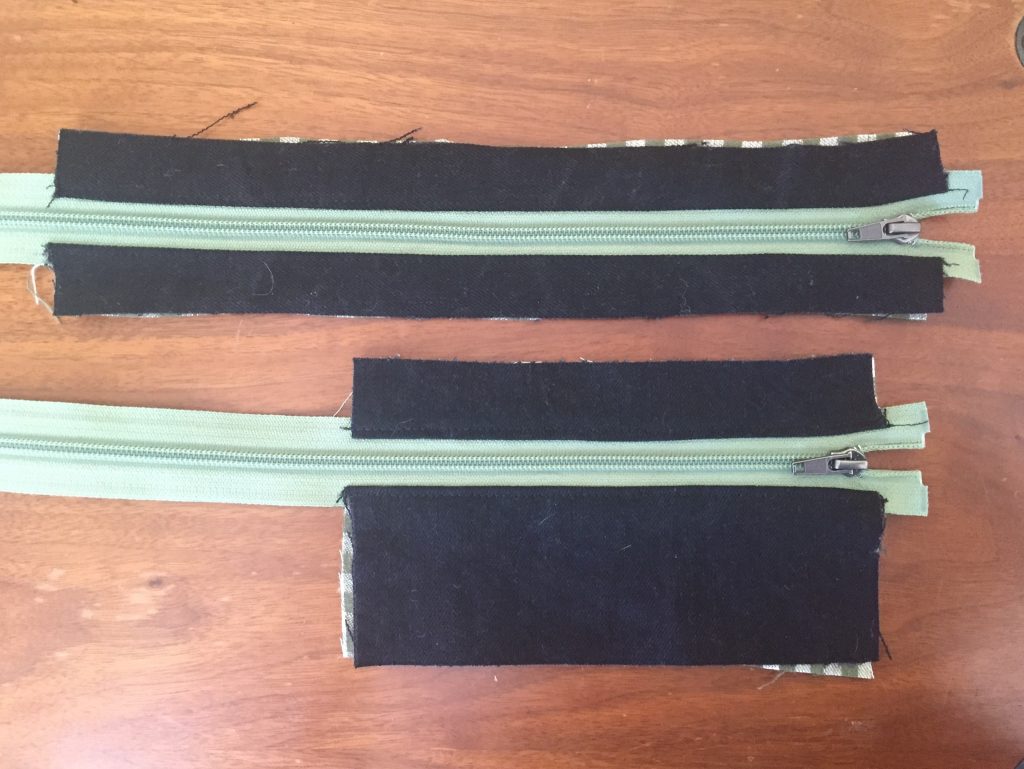
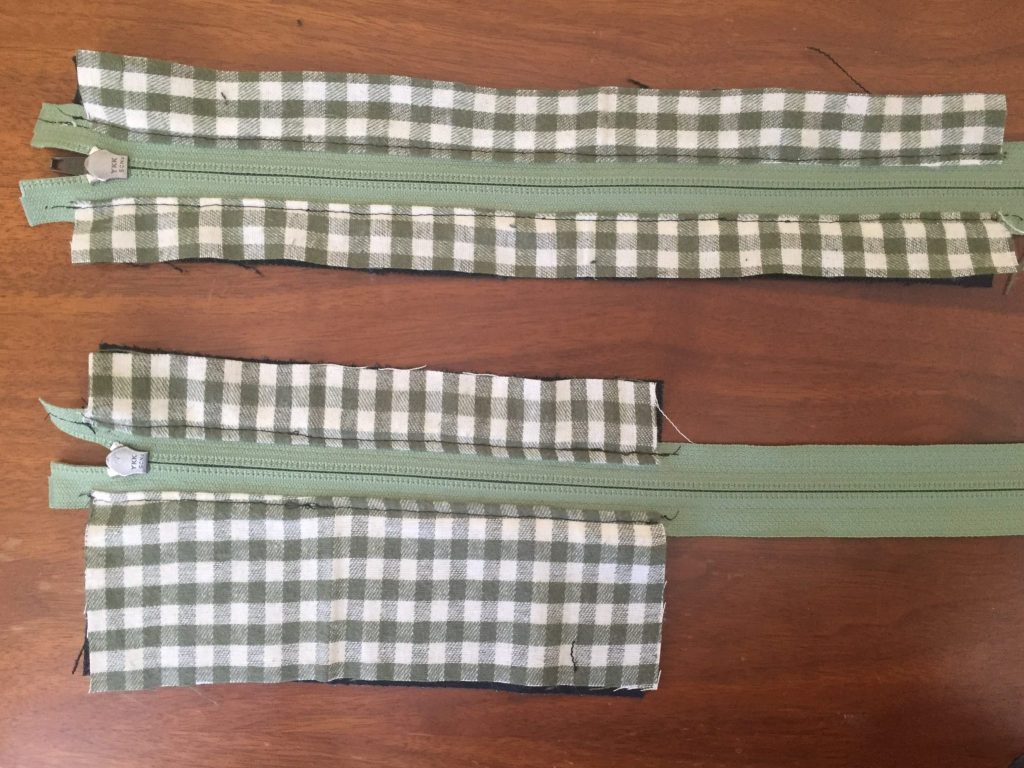
Steps 1-9
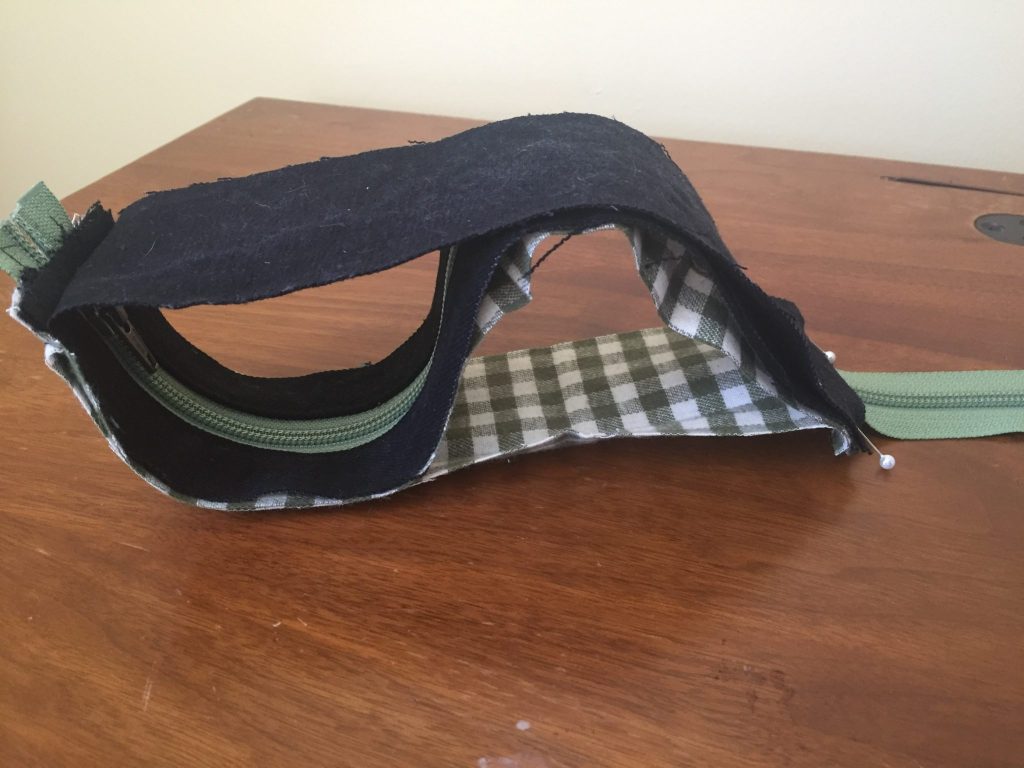
If you’ve got the pattern and want to follow along with some photos, I snapped some pictures of a few of the steps that were tricky to imagine until the steps were done. The first 9 steps include cutting the fabric, and encasing the zipper between the main fabric and the lining. The long piece will be the top of the fanny, and the other piece will be the front. The black denim is the main/outer fabric, and the green plaid is the lining.
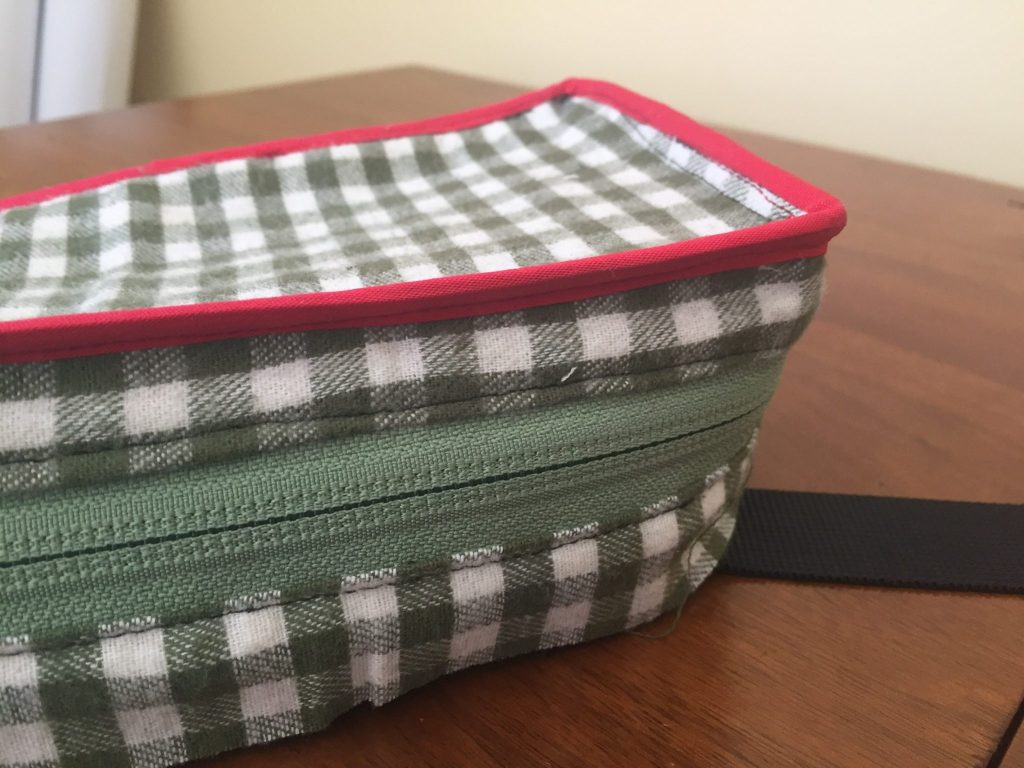
Steps 10-12
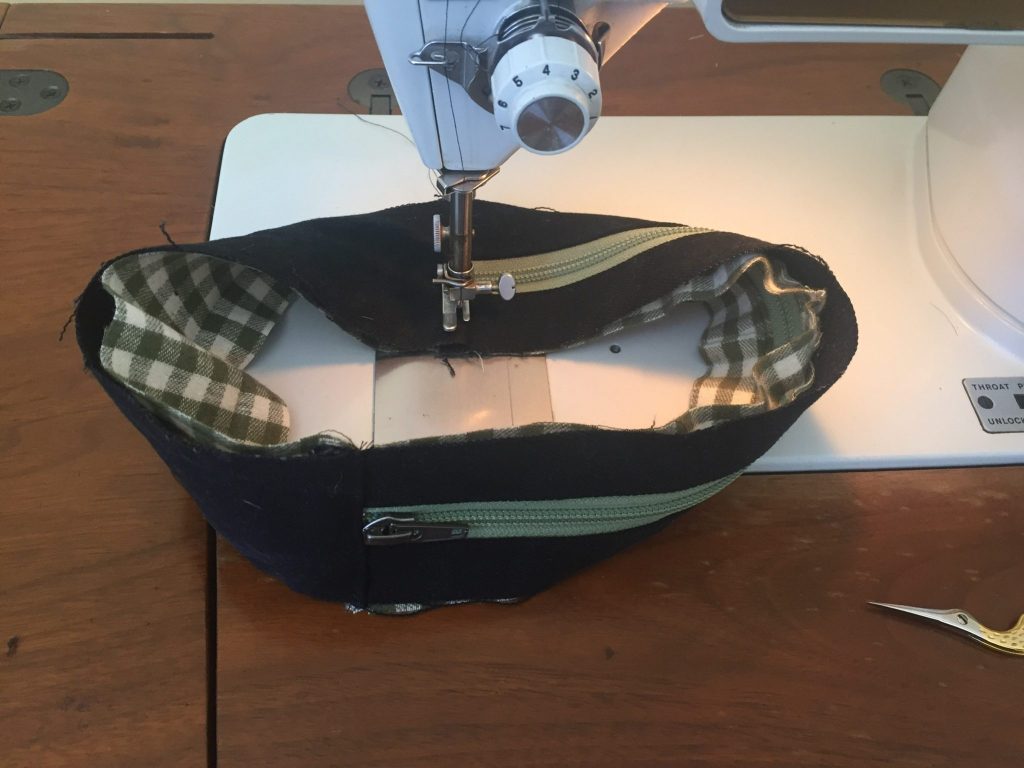
These steps connect the upper part of the Fennel fanny pack (with the zipper) to the bottom of the fanny pack (the part that will face the floor while wearing). Because the upper part is longer than the bottom, it looks a little warped when you are sewing right sides together, as seen in the pictures below. You will end up with a closed loop, with a zipper covering a little more than half of the circumference.
Steps 16-18
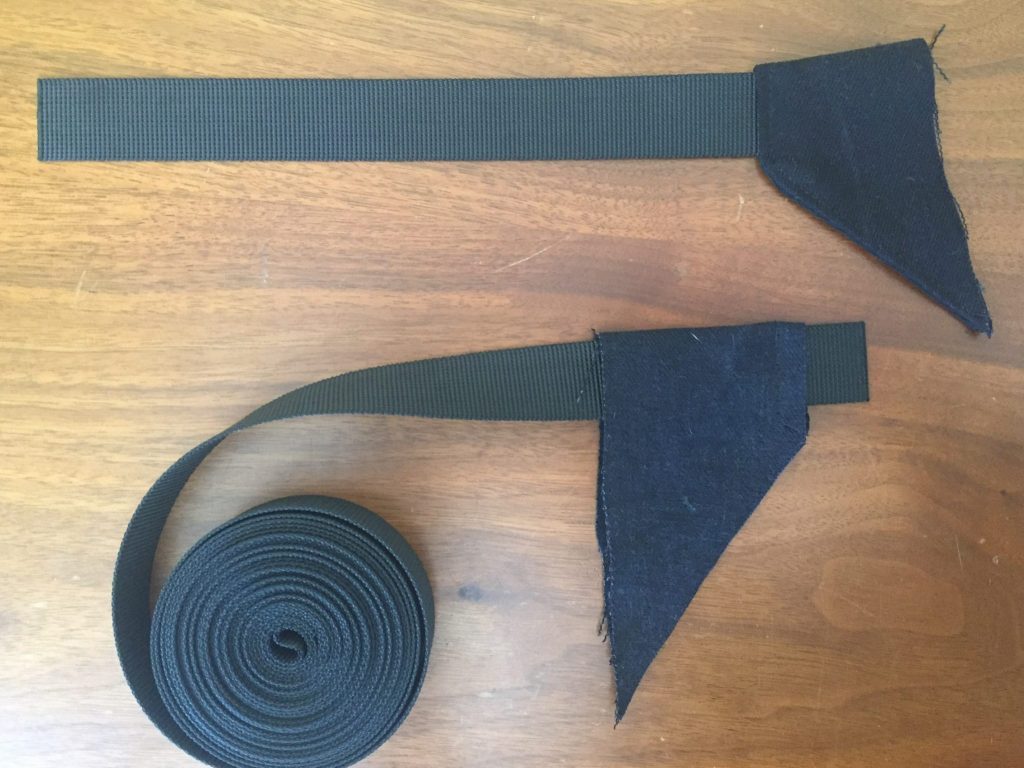
These steps prepare the little shapes that connect the bag of the fanny pack to the straps. I wanted to conserve webbing for future projects, and this webbing came in a 5 yard roll. I cut the shorter length of webbing and left the rest uncut until I could put it on a measure my waist.
Steps 19-25
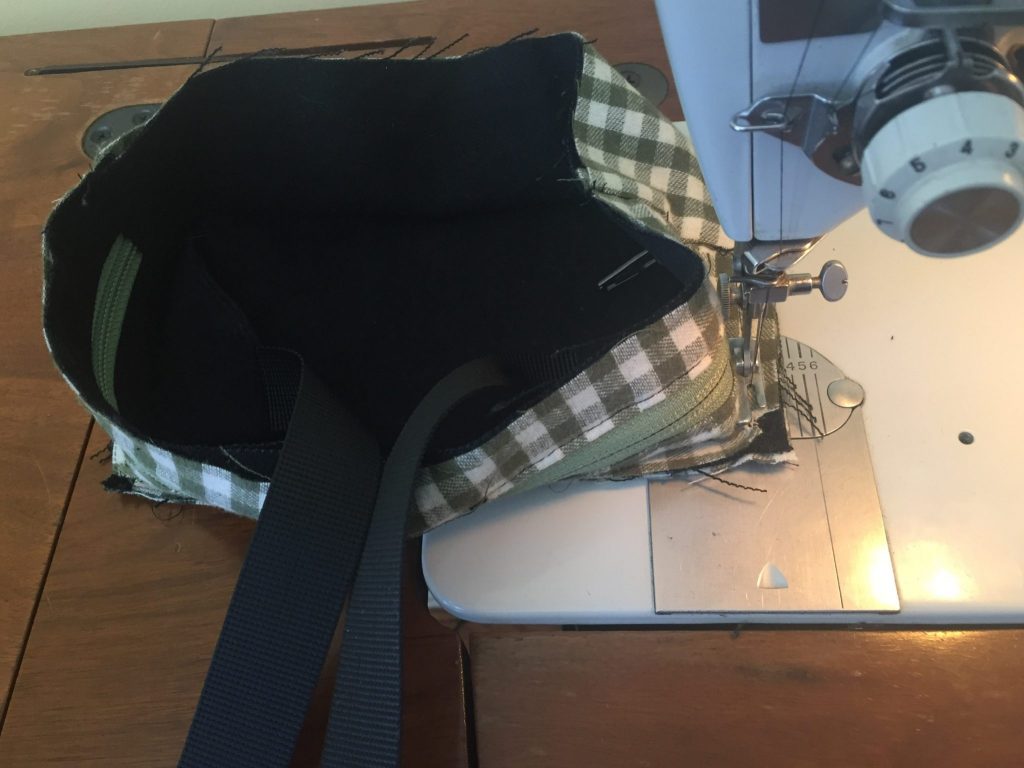
Next it’s time to attach the front and back pieces to the loop made in the previous steps. By “front” and “back,” I mean the panel that faces the world, and the panel that touches your body when wearing. These steps were the most fiddly for me, mainly because I was using really narrow bias binding (1/4″). I don’t recommend going that narrow, but I had a ton of the stuff and I wanted to use it up. Sometimes I felt like I was just shoving layers upon layers under the presser foot, but it worked. Don’t doubt the process here!

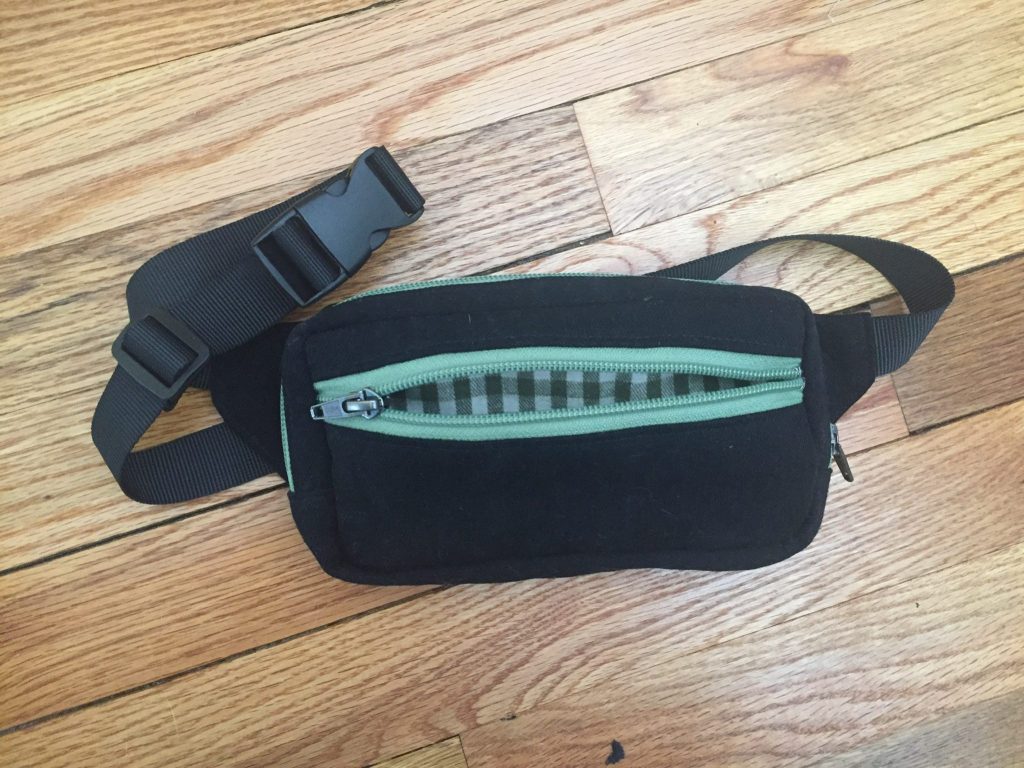
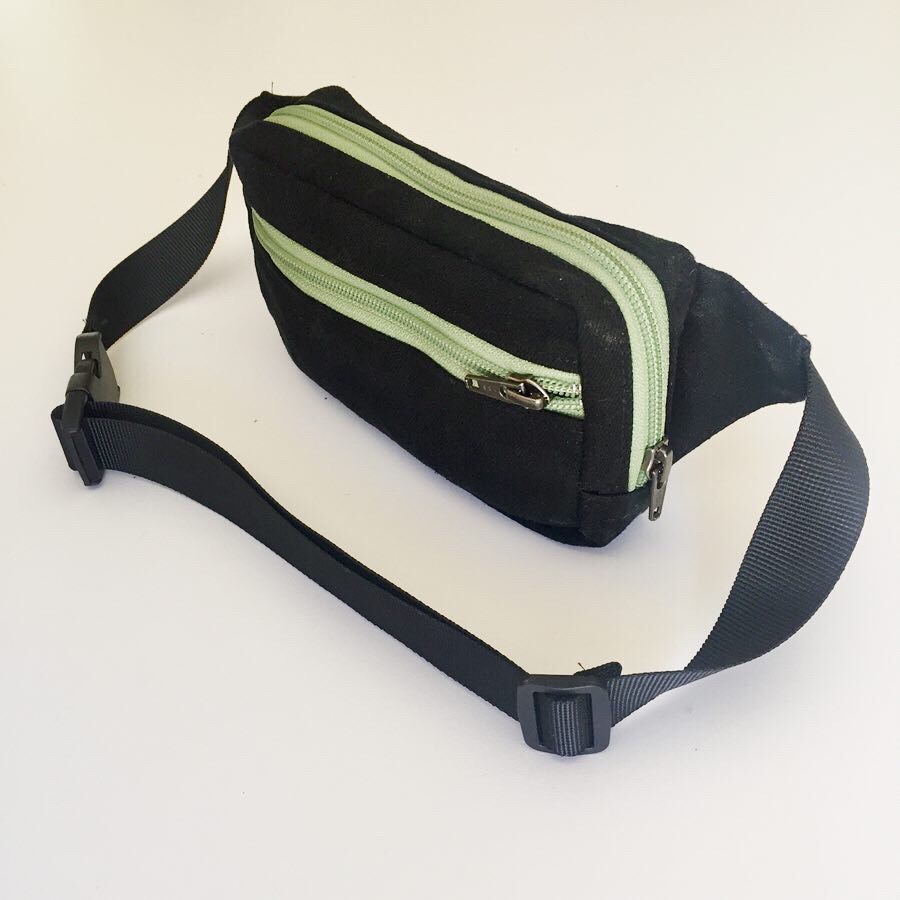
The Last Step: Buckle Up!
It is so satisfying to turn out your Fennel Fanny Pack and see the beautiful baby its become! Sarah’s instructions for the buckle (and all the steps, for that matter) are really clear, and there are simple illustrations to accompany the steps as well. This was an enjoyable make! I have already made one of these in blue for myself, but this denim one went to a BFF for her birthday.

Again, this Fennel Fanny Pack checks all my favorite boxes to check: sustainable, frugal, fast, great gift! If you grab the buckle set and the 5yd. roll of strap, and a handful of zippers, you’ll be pretty much set to make 5 of these for gifts (or yourself) using leftover fabric from other projects. I just realized I need to make one that camouflages into a full outfit. On it, ok g2g bye. xx
On my Make Nine for this year… which is going pretty poorly so far… so perhaps I should get on this for an quick win!
Jump the queue! Jump the queue! 😉
I love wearing a fanny pack (I also love calling it a bum bag, it makes me laugh which words sound rude where). But I am no stranger to that ripple of joyful freedom followed immediately by a ripple of fear. “MY BAG! WHERE IS MY BAG?” Totally worth it though. 🙂 I bet your friend loves their gift!
Gosh, it really happens to me every time! “MY BAG!” Haha, what a funny universal experience! I also love “bum bag.”
Thank goodness for your tutorial. I was confused!!
Thank you for the pictures – I never would have been able to sew this without them!