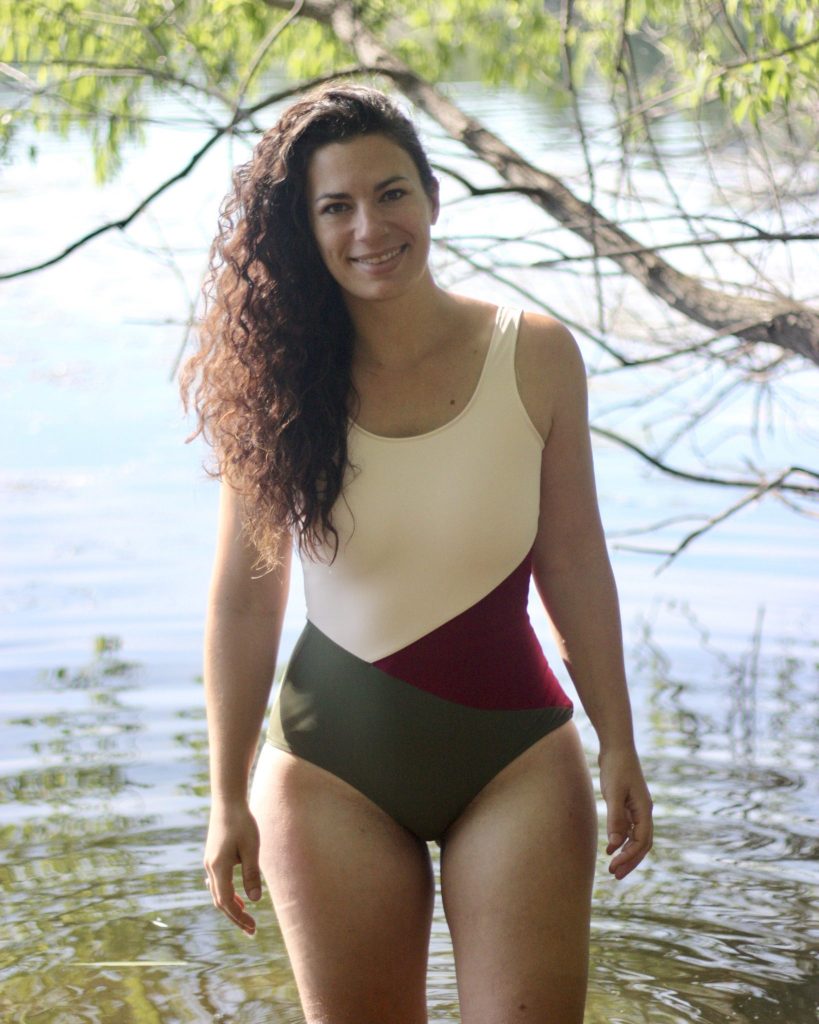
Many other makers have expressed that making their first swimsuit was much easier than they anticipated! I’m no exception. Not only did I make my first swimsuit, I also did my first real color-blocking! Let me tell you how to color block the lovely Cottesloe Swimsuit by Megan Nielsen Patterns.
The Details
- Pattern is the Cottesloe Swimsuit by Megan Nielsen Patterns available sizes 0-30
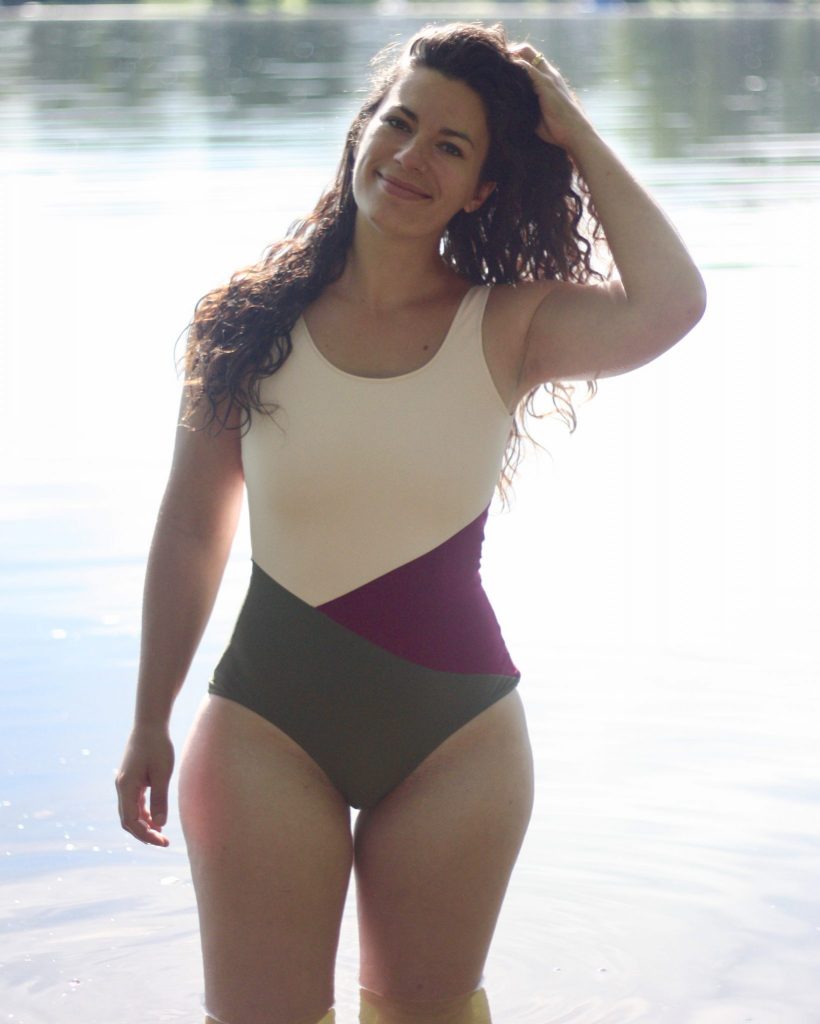
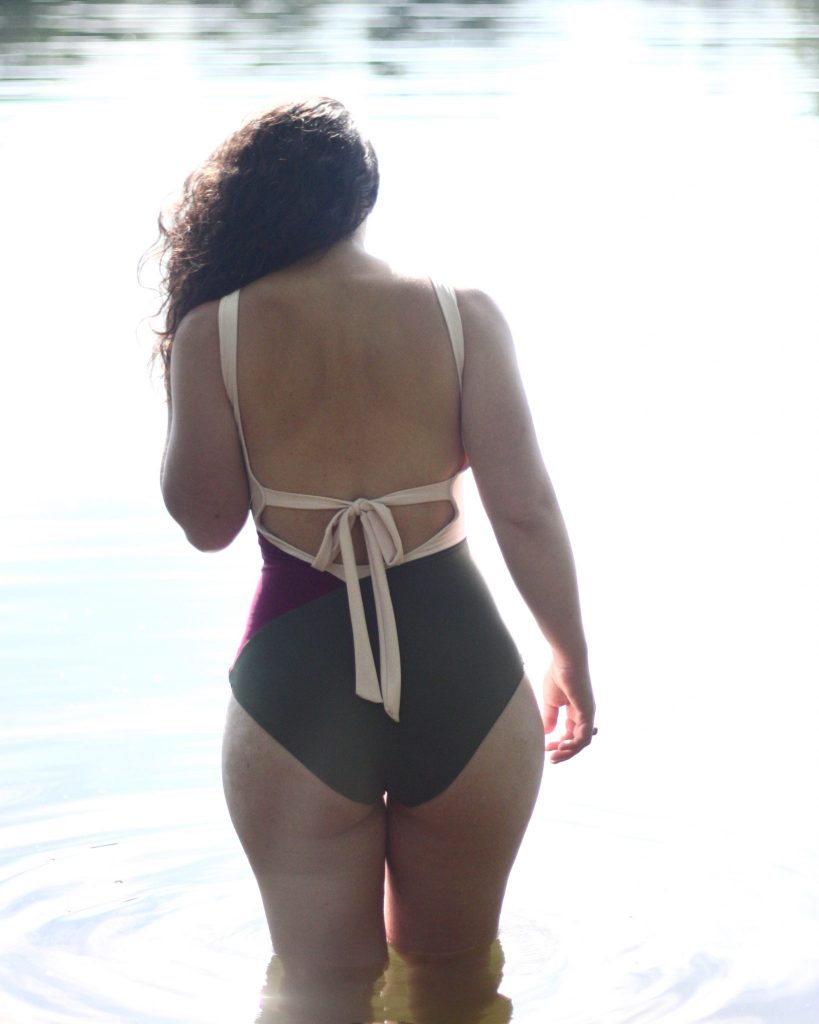
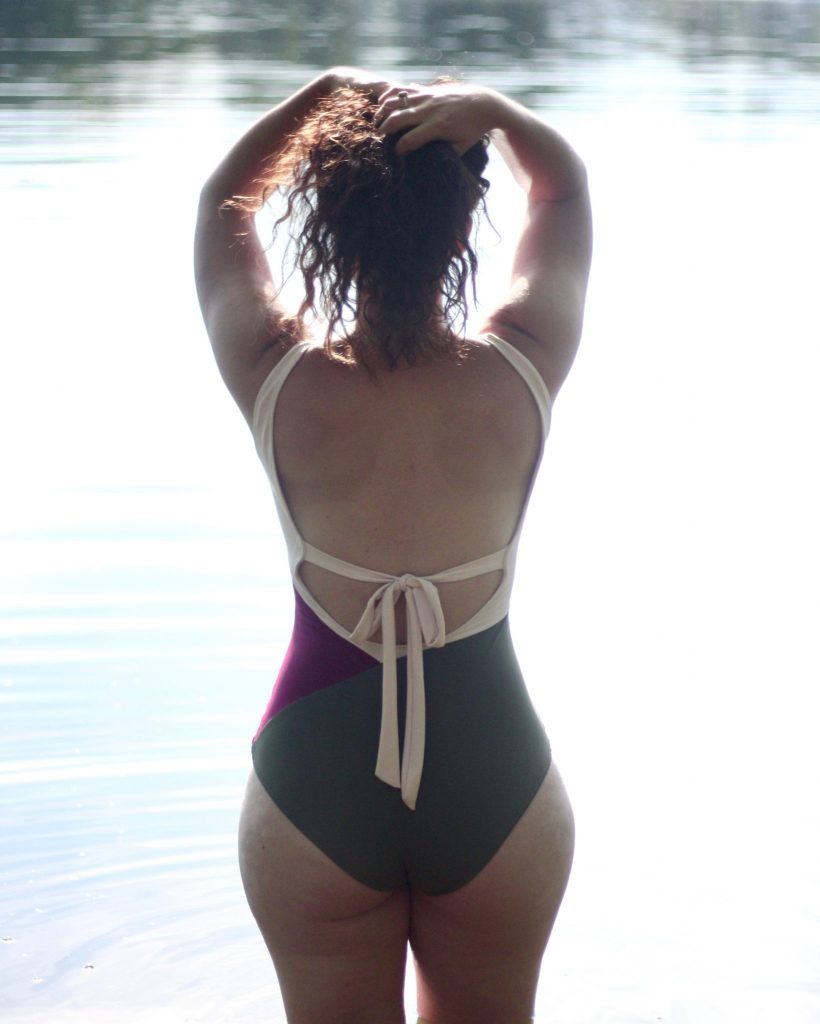
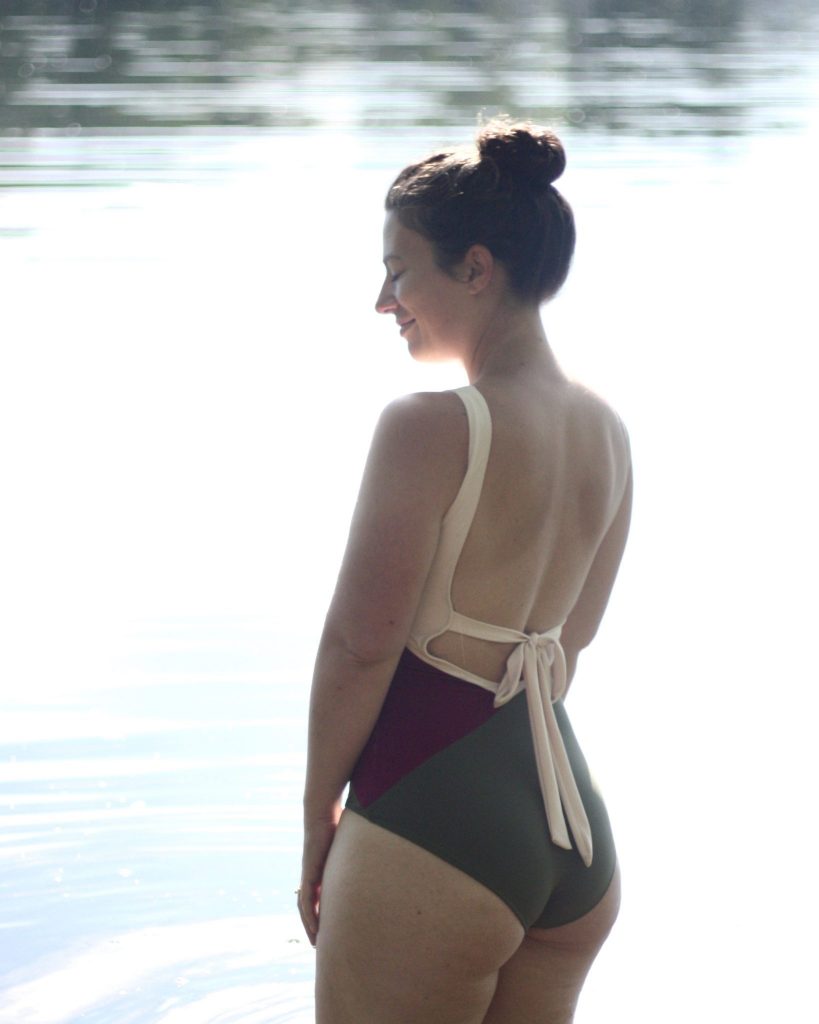
- I sewed View A scoop back with ties, opted for no shelf bra, nor foam cups
- Size 8 in bust and waist, graded to size 16 at the hip (I am 36/29/45″)
- Length added by grading within the nested pattern
- Fabric is Poly Lycra in three colors with similar weight and over 50% stretch from my local outlet (SR Harris)
- Fully lined with swimsuit lining from Blackbird Fabrics
- Materials needed: 1/4″ elastic, stretch needle, tracing paper, curve ruler for grading
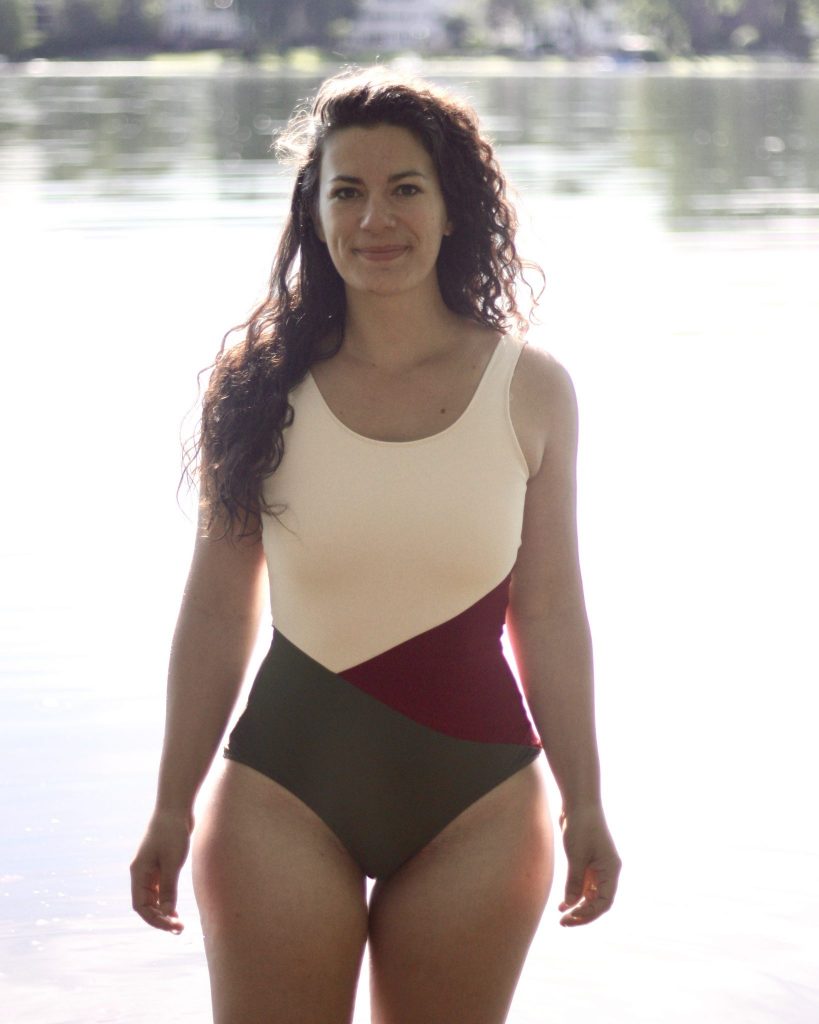
The Color Block Inspiration
The color-blocking idea was actually out of pure indecisiveness at the fabric store. I put these three colors in my cart: a light blush pink, a rich fuchsia, and a sweet forest green. I thought to myself, “Ok, I’m going home with one of these.” I couldn’t commit. At first I considered making one in each color, but then I thought, “No, that’s wasteful – I don’t need three swimsuits.” Plus I know myself and I will finish one and just let the others sit in my queue/fabric stash. Then I realized why I liked these colors so much – I loved them together. Removing one color from the trio made the whole project lose its magic.
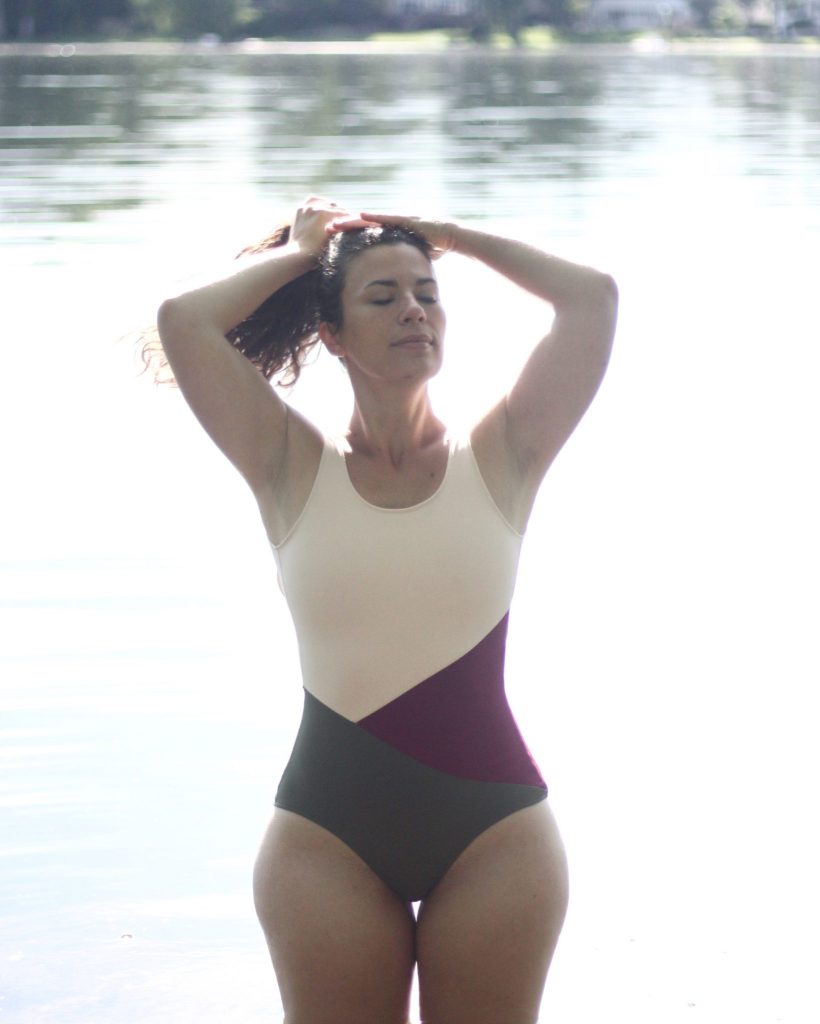
The diagonal lines of this color blocking actually came from my husband. We were chatting over coffee one morning (see coffee stains below…) and he wanted to explain his idea by drawing it. I grabbed some similar colored pens and the illustration from the pattern. I love it, and he loves taking credit. When I texted him a photo of my cut out pattern pieces he was like, “Oh no way, I didn’t think you were actually going to use my idea!” I often ask for input and then do things my own way anyway. This totally worked for me. The colors are intentionally placed, and it makes me think of a mountain sunrise.

Grading Sizes
I graded from a size 8 in the bust and waist to a 16 in the hip to accommodate my measurements. My measurements are 36/29/44″ bust/waist/hip. I used a curved ruler to make sure not only the front and back were consistent with each other, but also the right and left seams stayed consistent too.
You can see how I marked about an inch above the shorten/lengthen line (the arrow in the photo below) and shifted the ruler around until it looked like a natural curve for me. I made a note of the number on the curve, and mirrored the same thing on the other side.
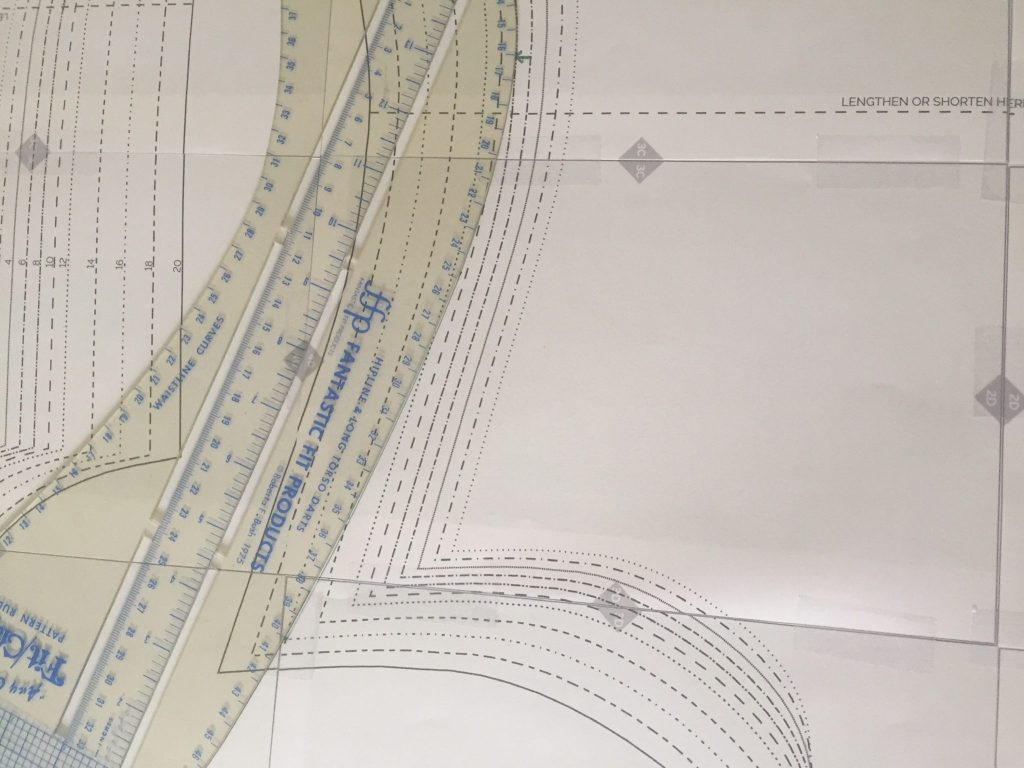
One thing I would do differently is to adjust the angle of the corner at the hip. See in the photo above where the ruler meets size 16 (the third largest size). Due to my grading, the corner angle is sharper than the pattern. I would try to mimic the angle of the pattern by moving the corner point up toward the waist by a little bit and then blending back into the leg line. I can tell in my final suit that that seam is not as smooth as it could be.
Color Blocking Plan
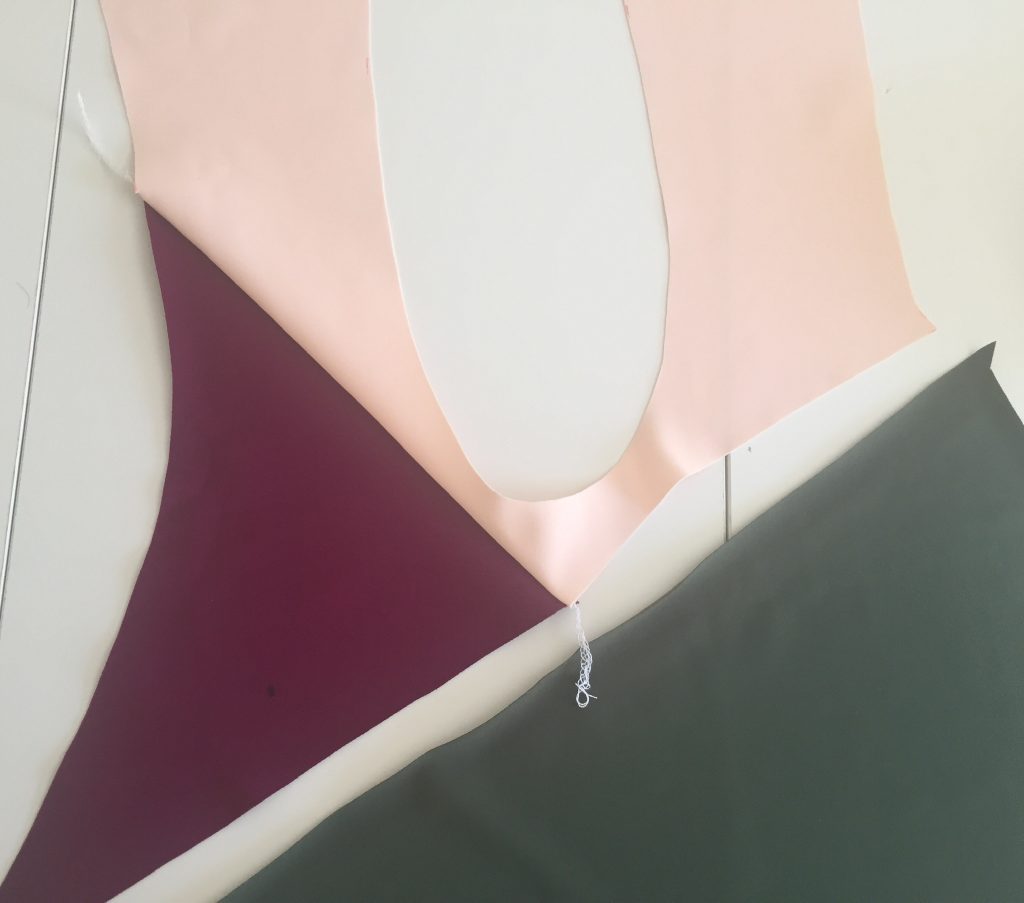
I wanted to mirror the front and back so a fuchsia diamond would form on one side. I started by drawing some diagonal lines on the front piece, and then used those as a reference for where to start drawing the lines on the back piece. On the back, I wanted to say far enough away from the scoop back so that none of the color blocking seams would interfere with that edge. This was especially important for reducing bulk with the elastic.
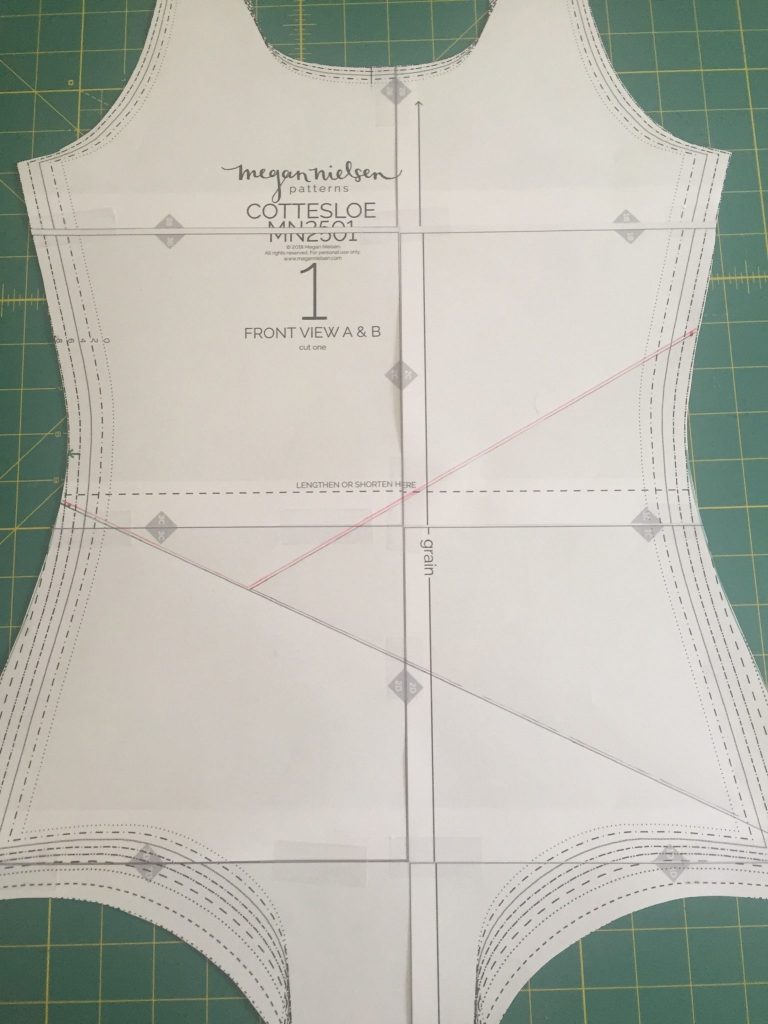
Front color block plan 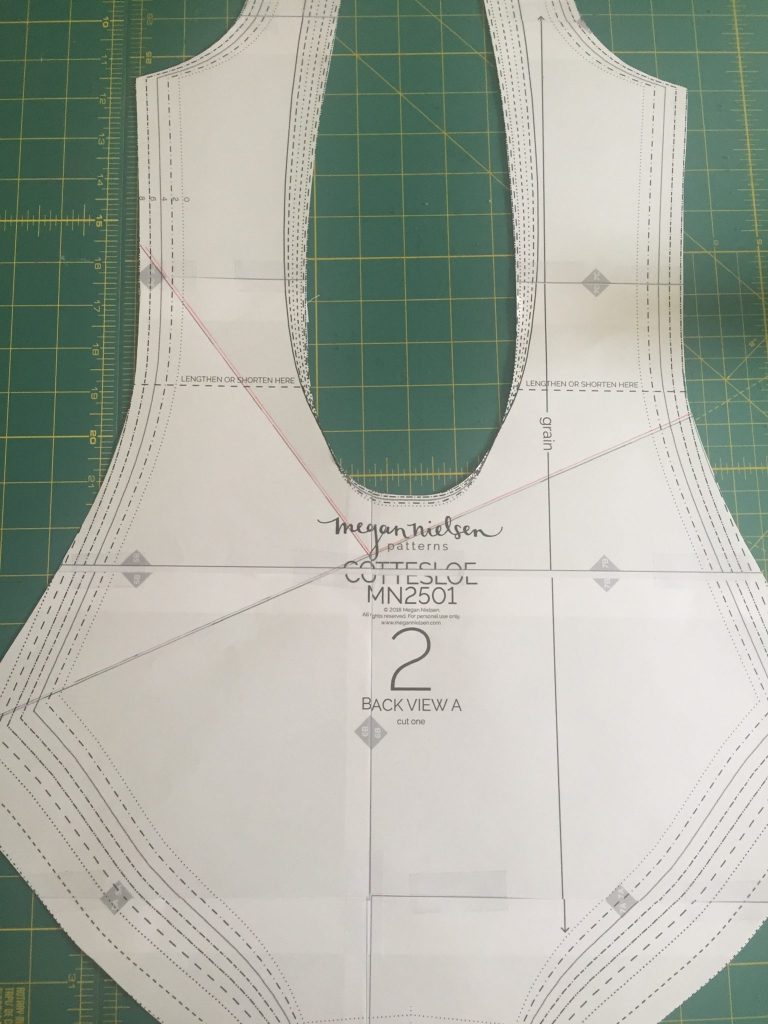
Back color block plan 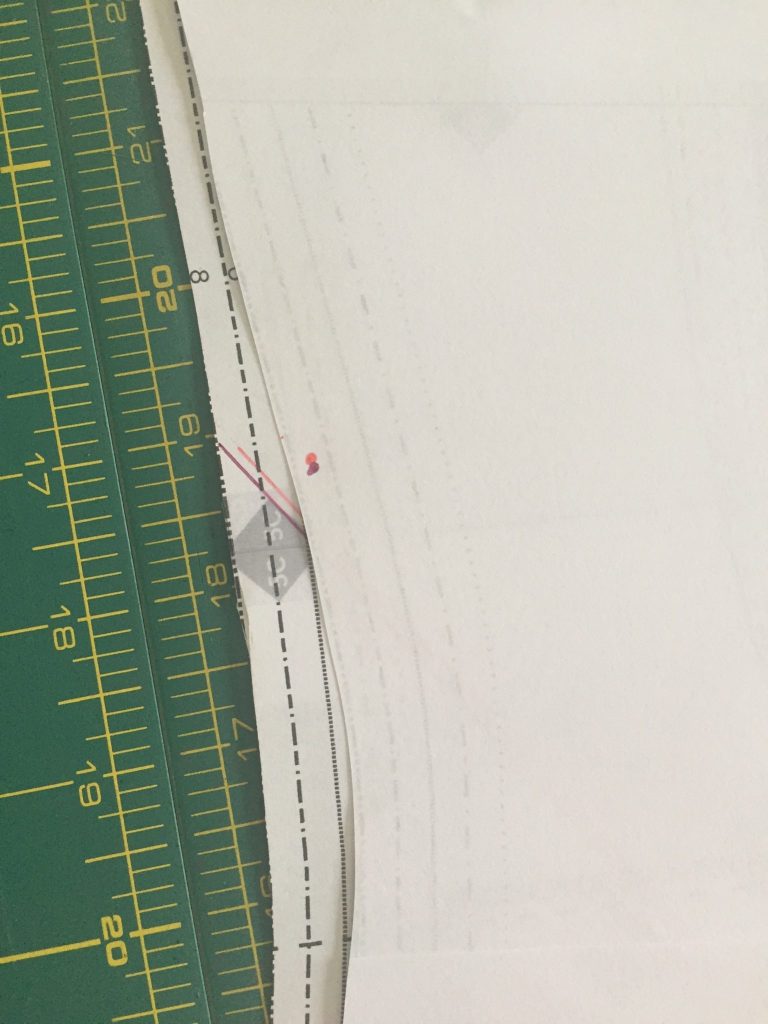
Pink and fuchsia matching 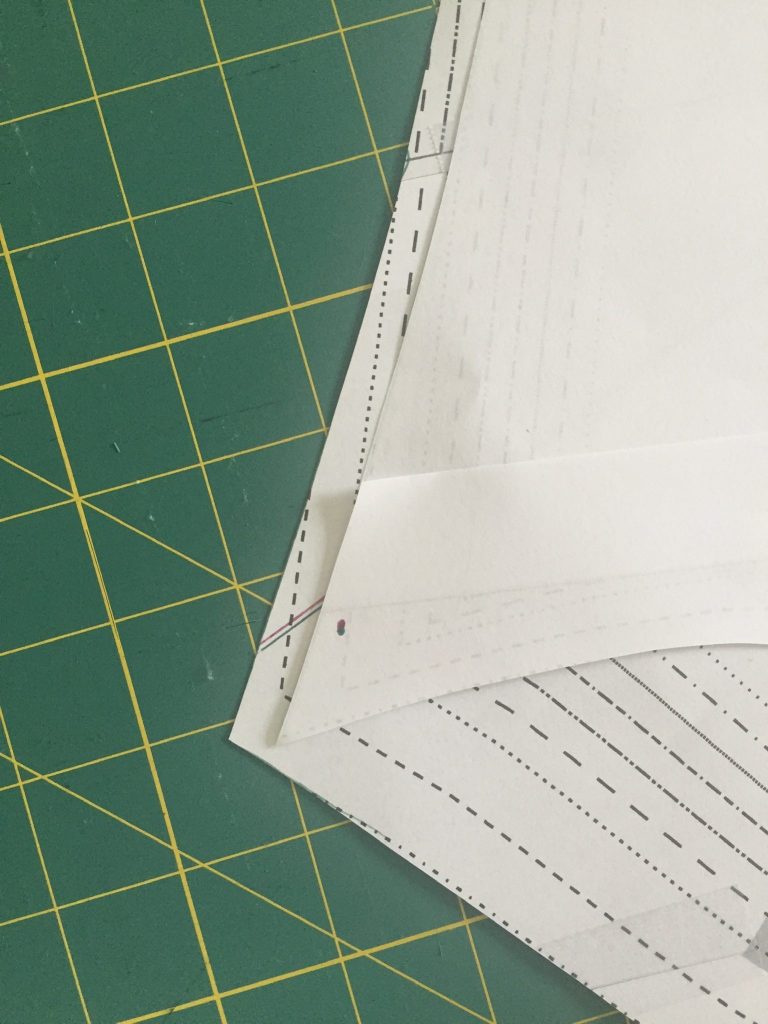
Fuchsia and green matching
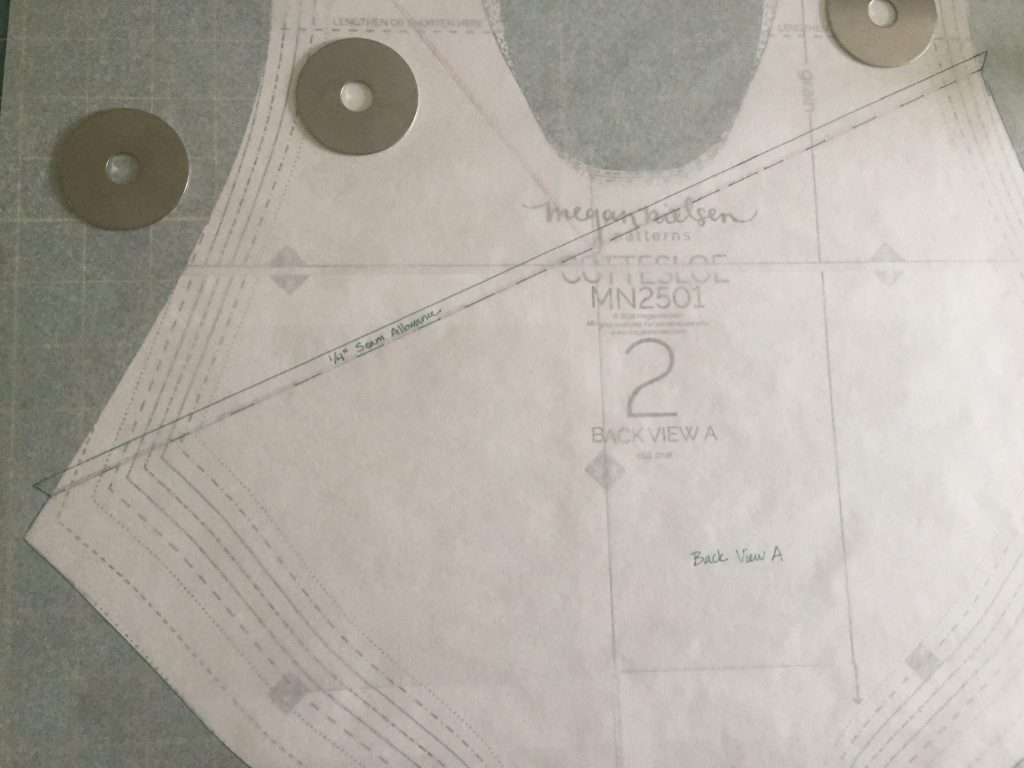
I used coordinating color pens on both the front and back of the pattern pieces to make sure everything was lined up nicely. If you do this too, be sure to take into account the seam allowance that is included in the pattern. If you match the diagonal lines at the very edge of the paper, the colors won’t match up when you sew. Match at the sewing line, not the cutting line!
Pattern Pieces and Seam Allowance
Since I drew directly onto the original Cottesloe swimsuit pattern pieces where I wanted the color blocking seam lines to be, I needed to trace each color’s pattern piece and add seam allowance. Rolls of medical tissue paper are great for tracing because they’re cheap and they work.
I trace the seam line and the outer edge of the pattern piece. I then add a parallel line 1/4″ on the outside of that line to account for the seam allowance. See in the photos below. Be sure to transfer over the grain line onto each piece, as well as the notches and any other markings. Repeat for all pattern pieces on the front and back. Keeping the color blocked seams straight made this process so much easier!
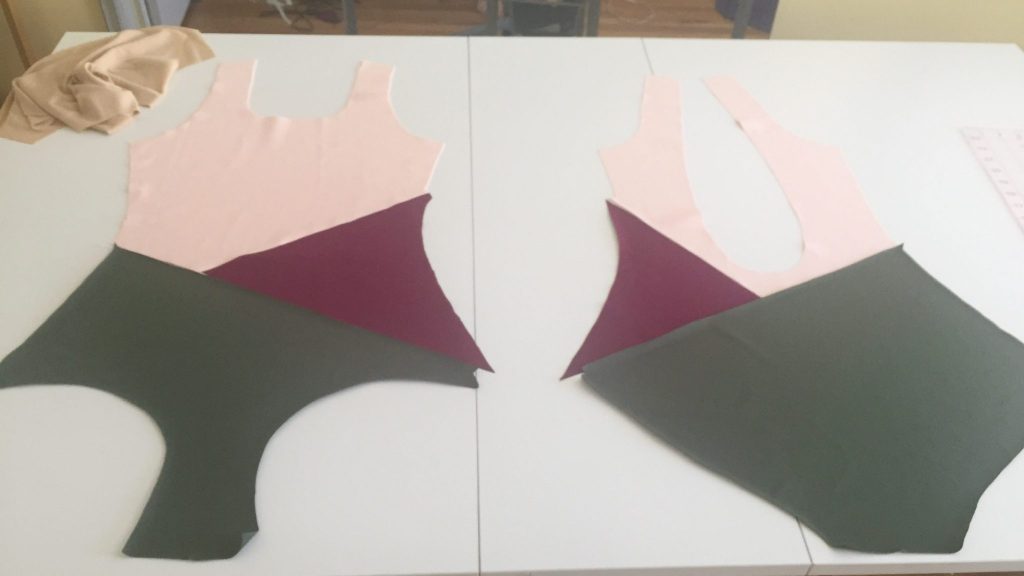
Bottom green piece 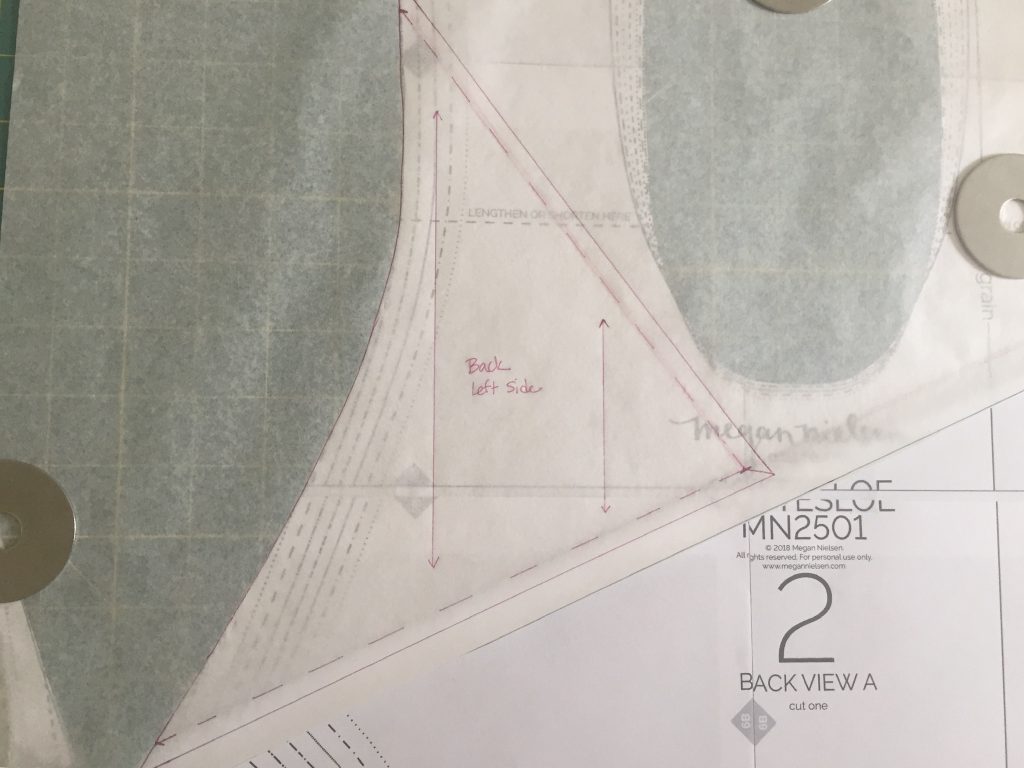
Middle fuchsia piece 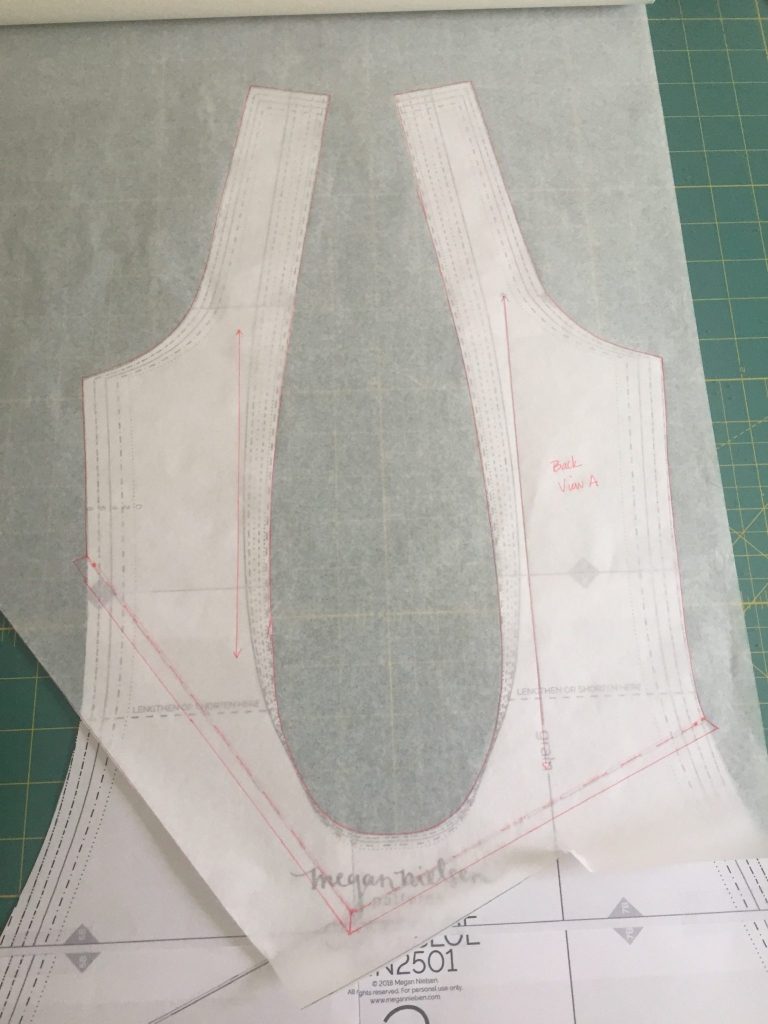
Upper pink piece (back)
Constructing the Color Blocked Pieces
After cutting out my pattern pieces, I puzzled them together and started to get really really excited about what this suit was going to become. Full steam ahead!
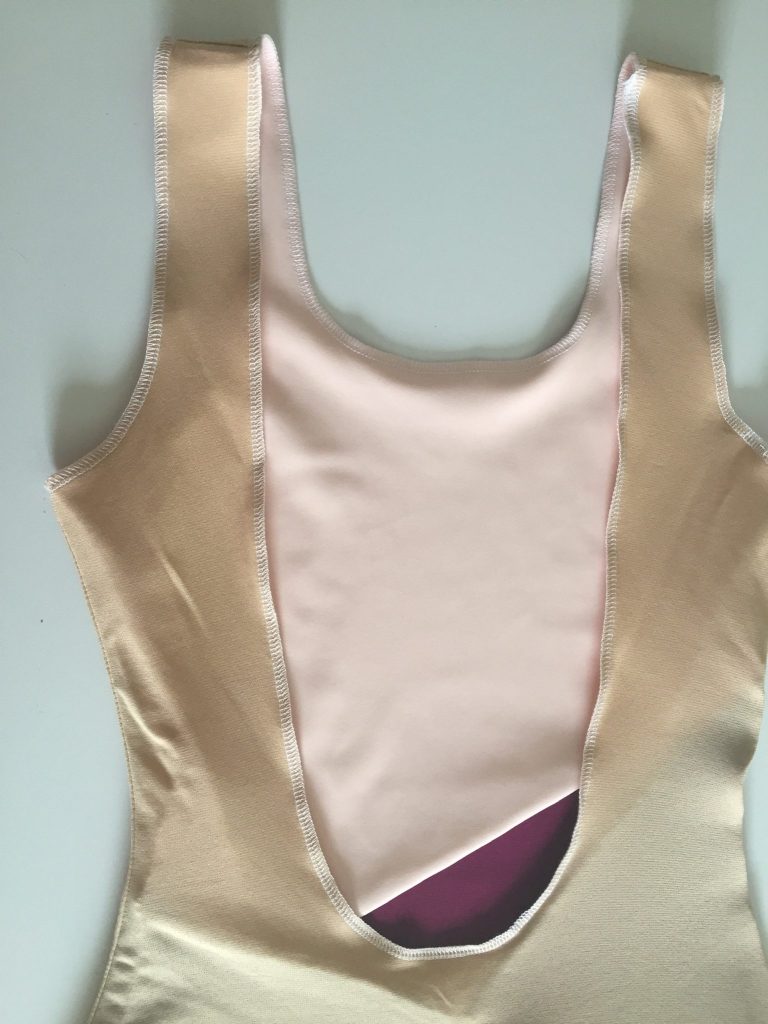
I did lots of testing with the pink fabric over my chest to figure out what needed to be done to ensure coverage. My layering of choice was to double layer the pink fabric and line it. I tried one layer of pink plus foam cups, one layer of pink and one layer of lining. Turns out I didn’t love the foam cups because they pucker and show through this fabric. I was also concerned about only one layer of the pink and it being see-thru while wet. So! Double layer pink plus lining on the front; single layer pink plus lining on the back.
First, I sewed the pink and fuchsia back pieces together with my serger. For the front, I sandwiched the fuchsia between the two pink payers and put the diagonal edge through the serger. Then when you flip right sides out, the finished seam will be encased between the layers of pink. Finally, sew the bottom green part to the upper pink and fuchsia piece. You now have your completed front and back pieces.
Pink and fuchsia (back) 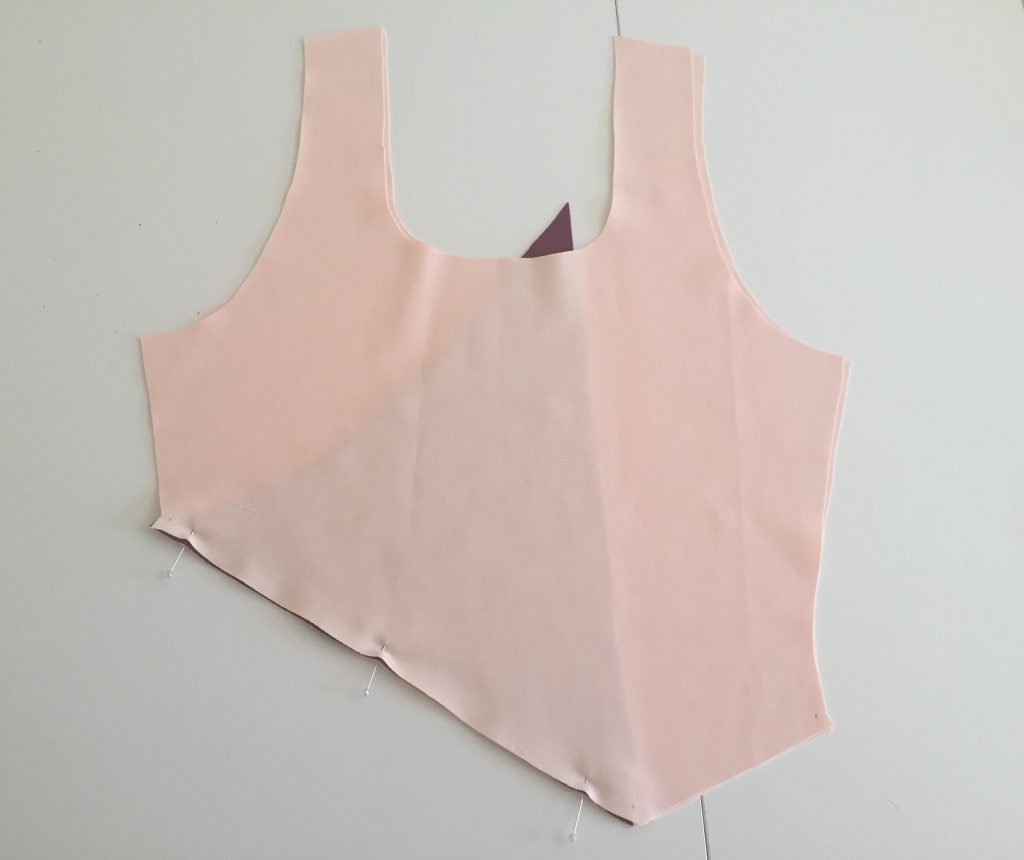
Front: fuchsia in between 2 pink layers 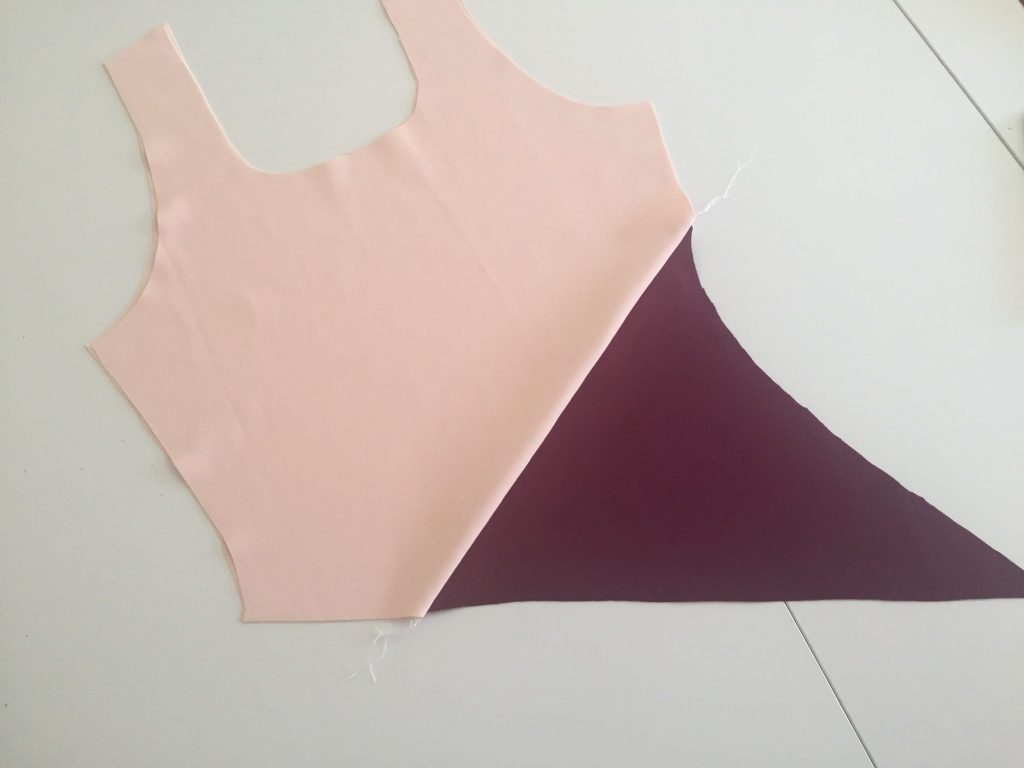
Pink and fuchsia (front) 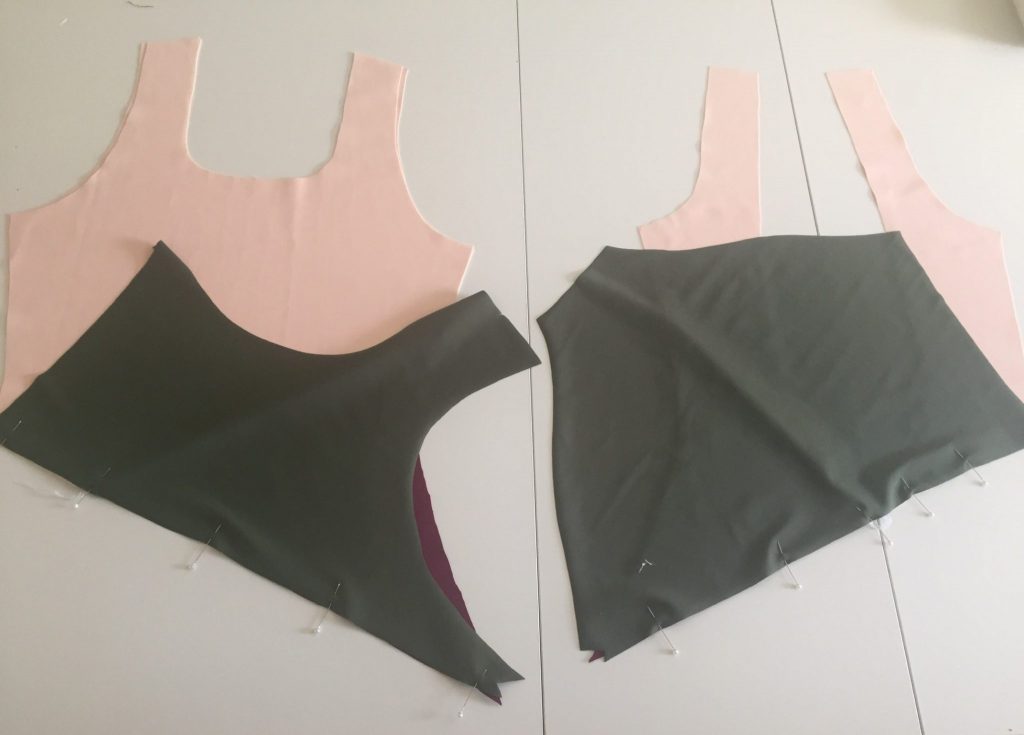
Sew bottom green part 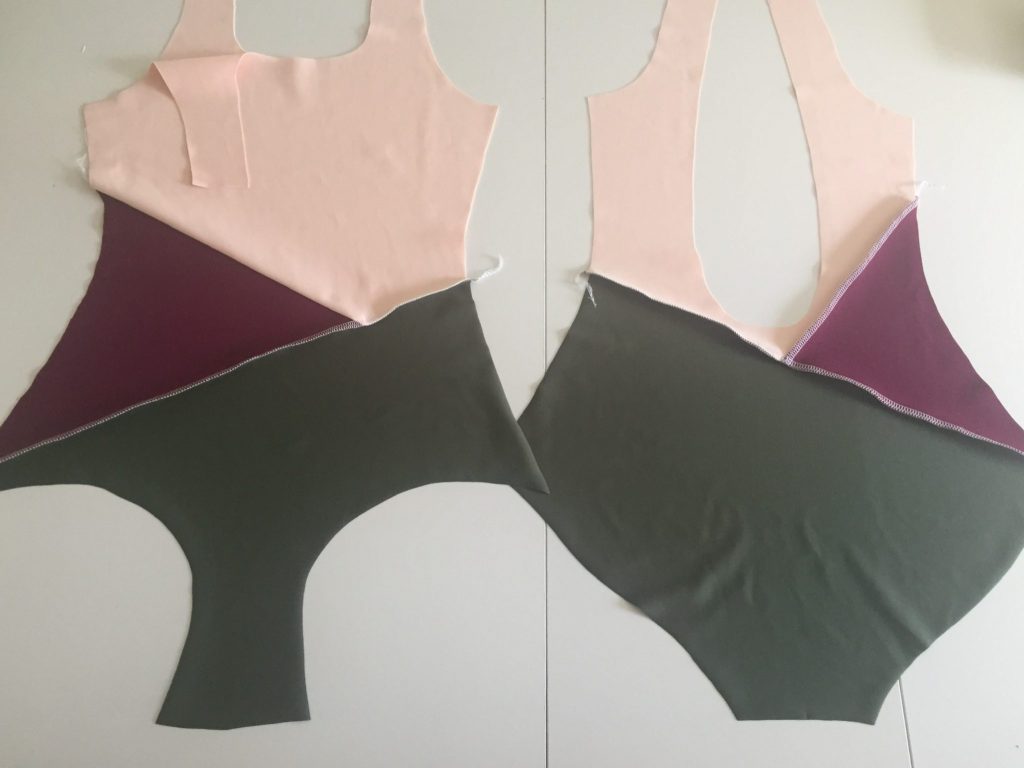
Wrong sides of front and back
Sewing the Swimsuit
From here you’re ready to construct the Cottesloe swimsuit by following the pattern’s instructions. The instructions are clear and the swimsuit comes together really quickly. I fully lined the swimsuit, so you can see in the picture on the left below, I sewed the lining to the main with the serger. This helps keeping all the layers in check. I used 1/4″ black elastic for the neck/back, leg, and arm holes. Be sure to test your needle and tension before working on your swimsuit. Mine was a bit tricky with the double front layer, but it was doable.
Lining sewn to outer fabric 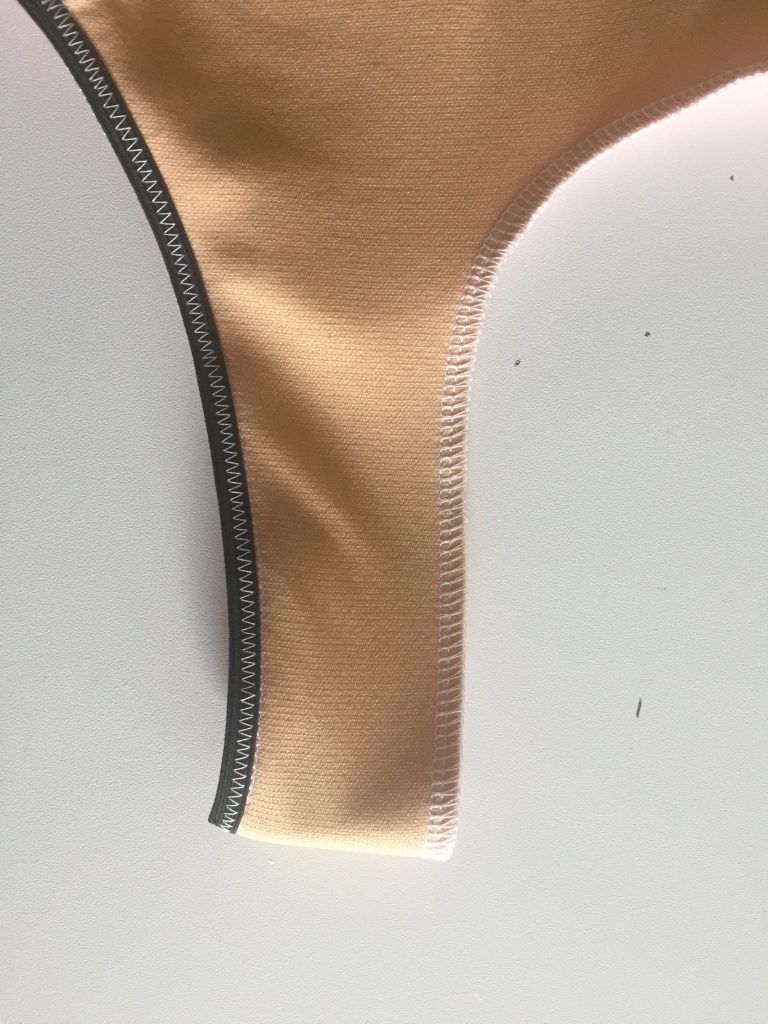
Elastic insertion detail 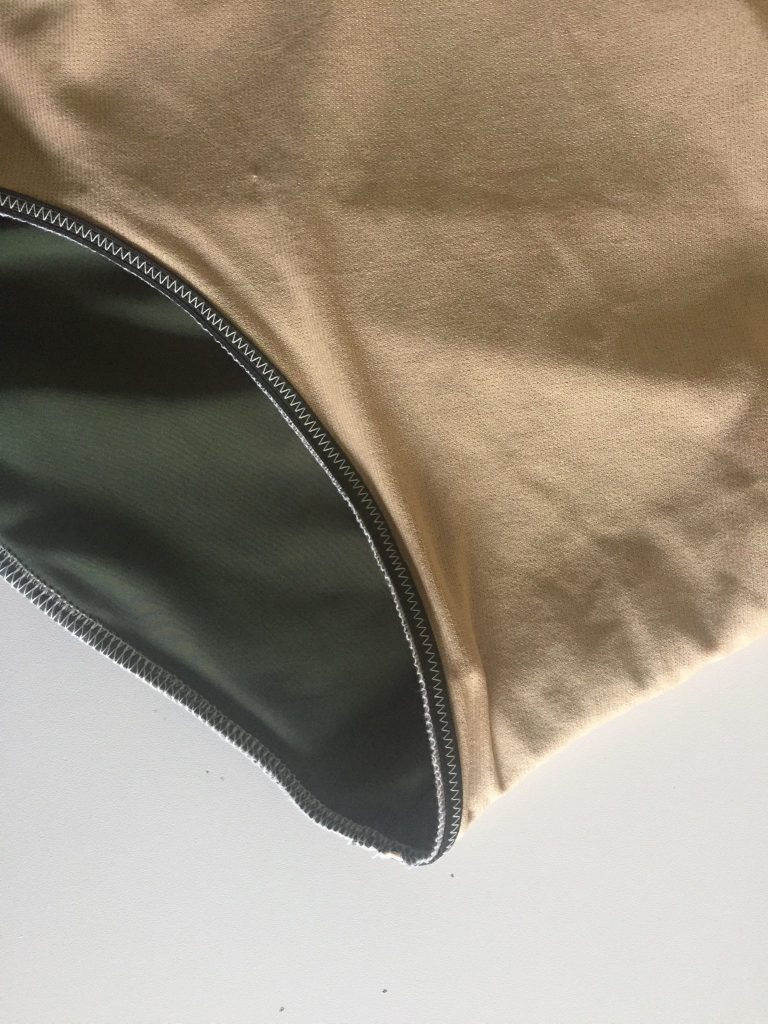
Leg elastic detail
Final Thoughts
I really like this Cottesloe swimsuit pattern. I don’t know if I’ll make View A again though because I find myself messing with the shoulder straps a bit, and I can tell there’s a bit of gaping on the back side. That could be resolved with adjusting the length of the suit too. I’ll definitely give View B a try someday, which is the not-so-low scoop back one piece.
I’ve already made the bikini top view as a sports bra, and you can read about that here. I looooove the top so I will probably give the high waist bikini version a try before anything else. Remember in the beginning how I didn’t want to be wasteful and make a bunch of swimsuits I don’t need? Yeah, funny how those feelings come and go. I have enough of the green fabric to make that two piece, so maybe I’ll make that one before the summer’s over, otherwise it’ll be ready for me next year.
Looks great. Very inspirational! Thank you.
Thanks so much Carol! xo
It really is lovely!! The color blocking is inspired and I like the tie back!!
I love the tie back too! Thank you, Kim!
Your suit is gorgeous! Love the colorblocking!
Thank you Darlena!
This is absolutely fabulous Mia and you look amazing!! I have been eyeing this swimsuit pattern and like you have three colors that I couldn’t decide on, but seeing you actually make this inspired me to definitely make mine for the summer!
Excellent! I’d love to see which three colors you have picked out!
Amazing.
Love love love! I’ve made the two piece and I’m scared to make the one-piece bc I’m not sure how much to lengthen it (I’m 5’8″). Yours is spectacular! I may just have to go for it!
Thank you Courtney! I mentioned this before, but by grading out at the hips using the nested pattern, it adds a bit of length anyway, maybe an inch or so. I’m 5’7″ if that helps. Just go for it! I think it also depends on how much stretch is in your fabric too!
So beautiful, Mia!
Thank you Denise!
👏
I can just echo all the other comments! Your swimsuit is absolutely stunning! I love colorblocking and your colors go together so well and yet it looks really fresh.
Thank you Bettina!
Hey! I have exactly the same measurements as you so love following your instagram and blog. Did you have to do a full seat adjustment at all? Or was it ok just to grade out at the hips? The swimsuit won’t actually reach my widest part (which is around my bum not my hips) so I would love your advice! Thank you!
Hi Alice! I didn’t do a full seat adjustment at all, I just graded out at the hips. I’m happy with the size at the hips, but I think I could also get away with grading up to a size smaller than I did. I think I could reduce the leg elastic by a tiny amount as well since I prefer a little more snugness there, but not so much that it cuts off my cheeks if you know what I mean 🙂
Love the colorbloking ! Wonderful mix 🙂 You look great !
Thank you so much! The colors together are just perfect.